Это цитата сообщения Сальчанка Оригинальное сообщение
ИГРУШКИ ИЗ ФЕТРА
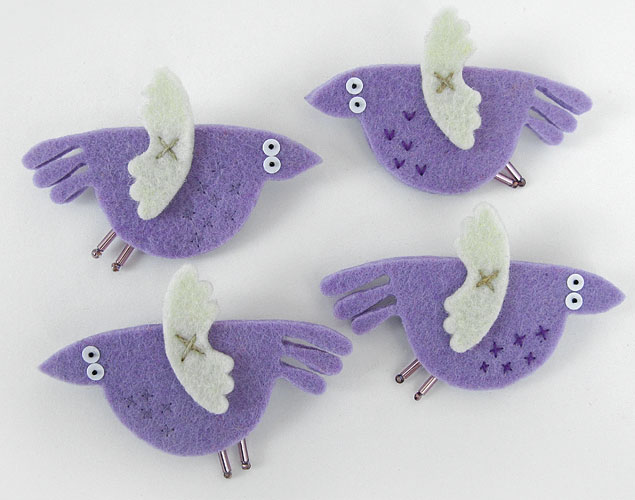
Красивые игрушки из фетра можно сделать своими руками всего за несколько минут!
1.
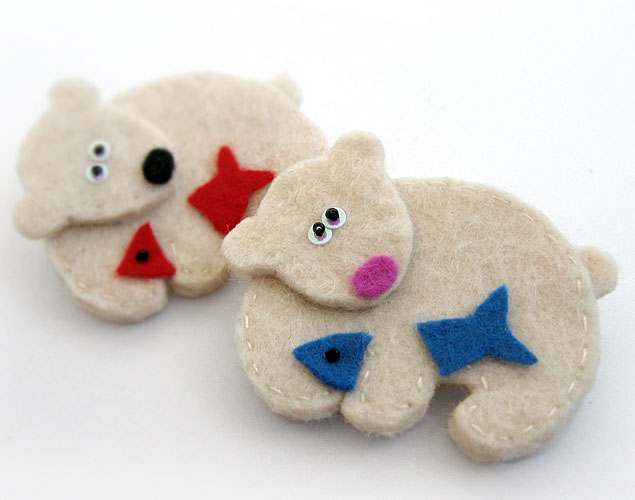
2.
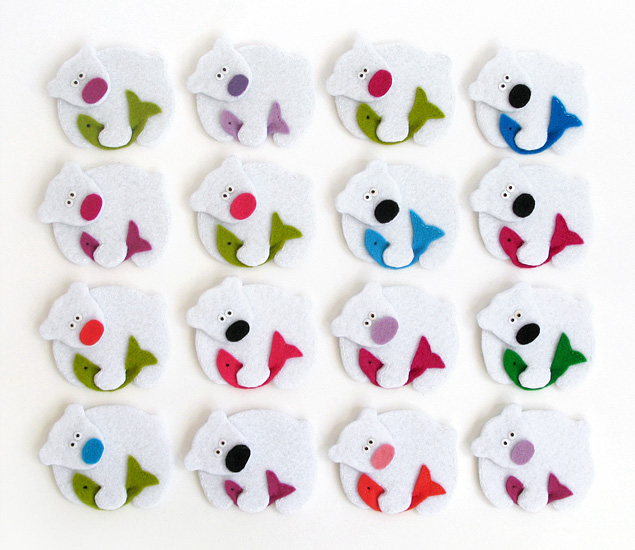
3.
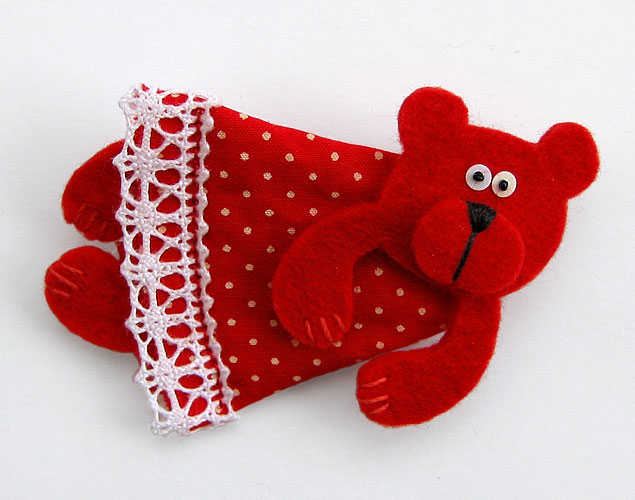
4.

5.
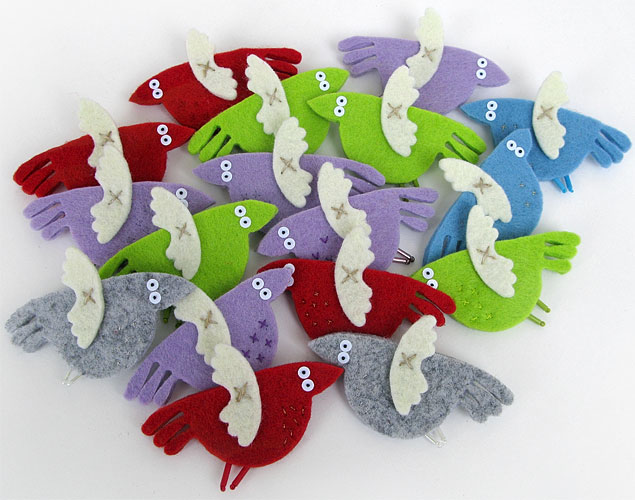
6.
7.
Это цитата сообщения SveKlad Оригинальное сообщение
слоник
Выкройка от Светланы Мацкевич

Это цитата сообщения Сударыня_Галя Оригинальное сообщение
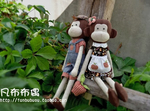
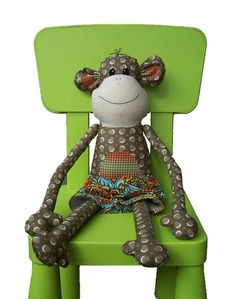
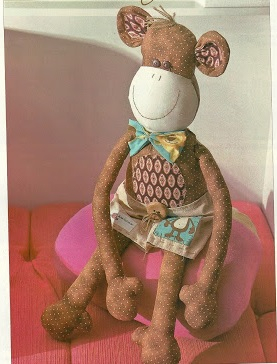
Выкройки текстильных обезьянок

Это цитата сообщения красавицаумница Оригинальное сообщение
Волшебство из бумаги от Эльзы Мора
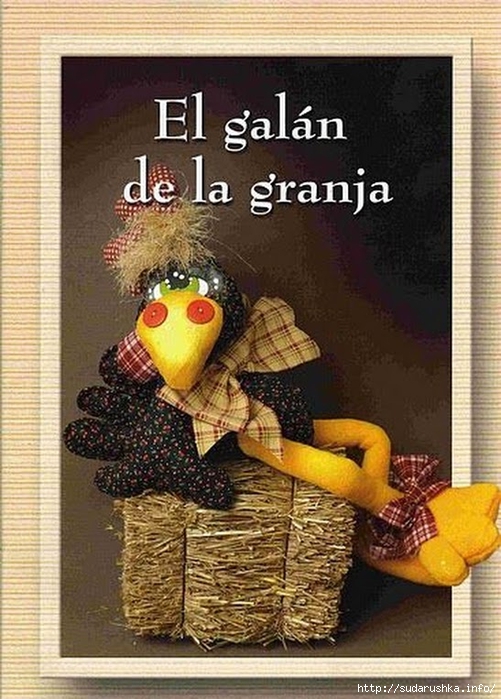
В умелых руках мастера бумага просто необыкновенный материал. Волшебство из бумаги — так можно назвать многослойные композиции из бумаги, которые создает кубинская художница Эльза Мора. Оказывается, вырезание из бумаги очень трудоемкий процесс, одно неосторожное движение и… начинай все сначала. Но и это еще не все — чудесные куколки из папье-маше, одетые в разноцветные платьица с крохотными сумочками, а также объемные колечки из бумаги с целым сюжетом — все это Эльза Мора.


Это цитата сообщения Сударыня_Галя Оригинальное сообщение
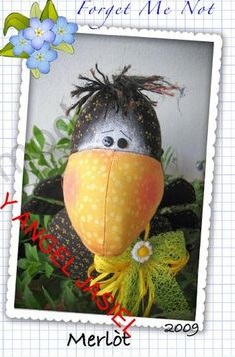
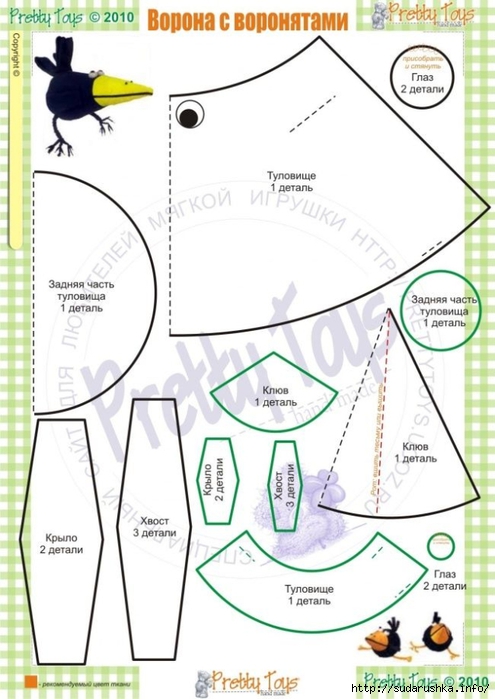
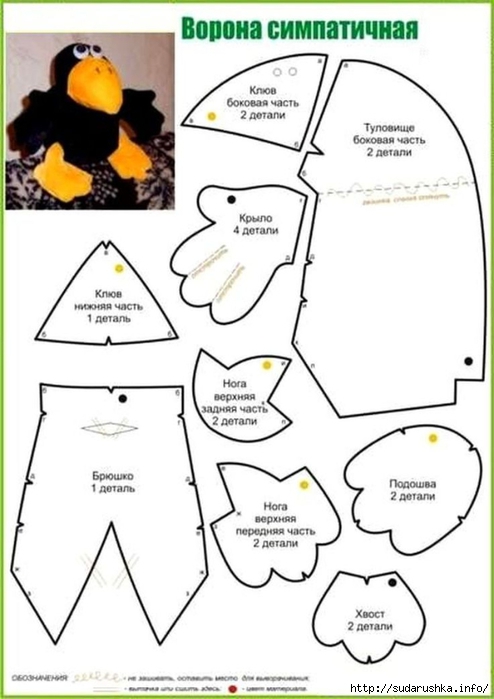
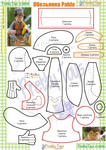
Текстильные обезьянки. Выкройки от Pretty Toys
Это цитата сообщения Марриэтта Оригинальное сообщение
Шьем пасхальных зайцев. Выкройка
Очень симпатичные пасхальные зайцы. Выкройку смотрите ниже

Это цитата сообщения Ksenia_ja Оригинальное сообщение
Совместный пошив тильда аиста! 2 ЭТАП! швейный!
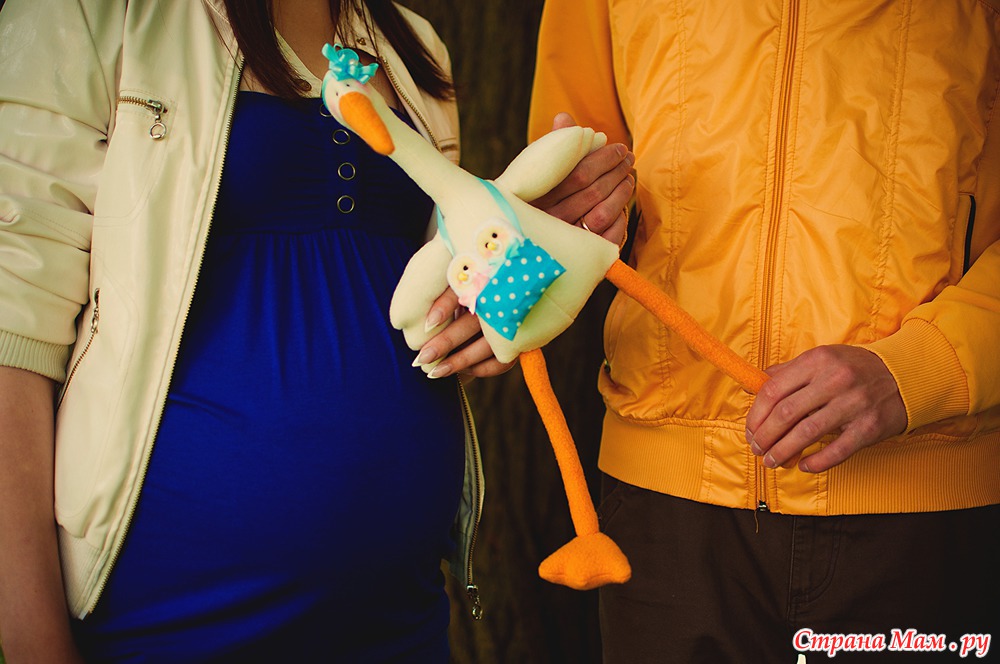
Поэтому поехали!  [показать]
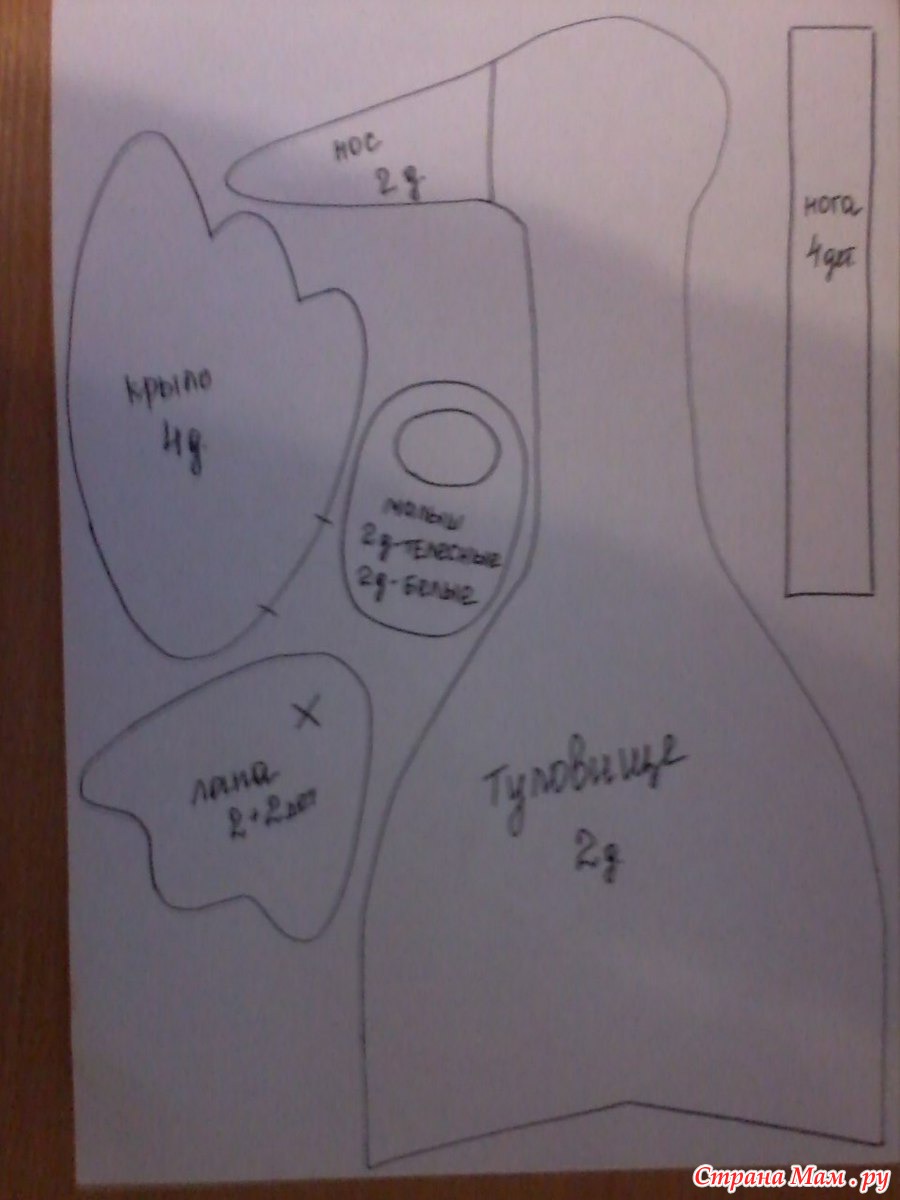
Первым делом - выкройка!

Это цитата сообщения losik-kurnosik Оригинальное сообщение
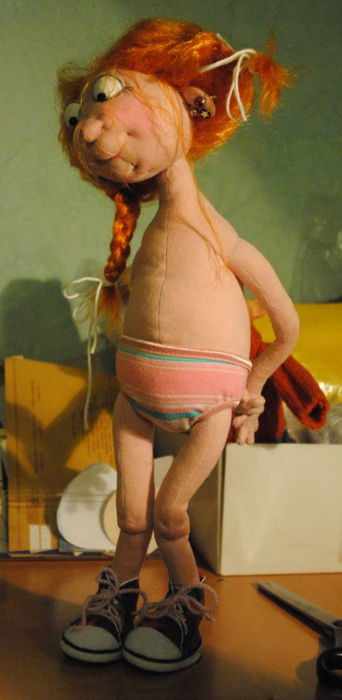
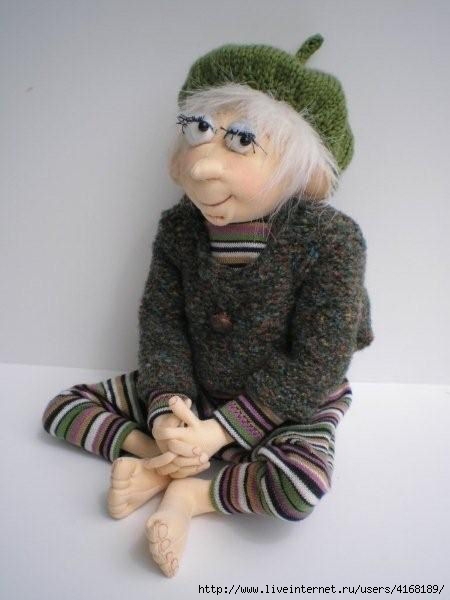
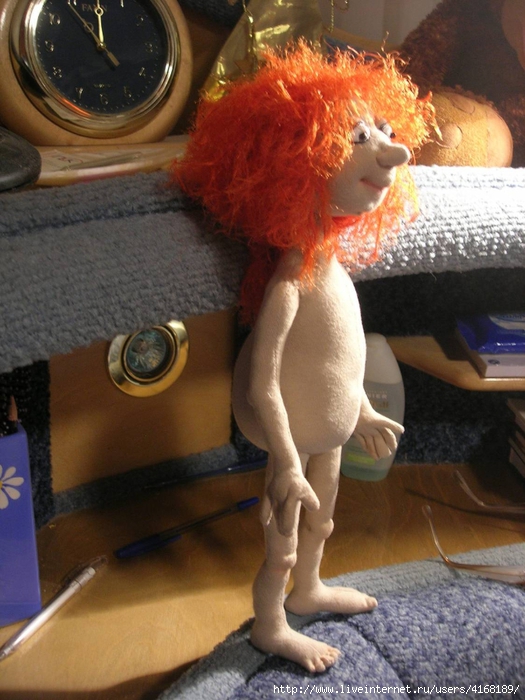
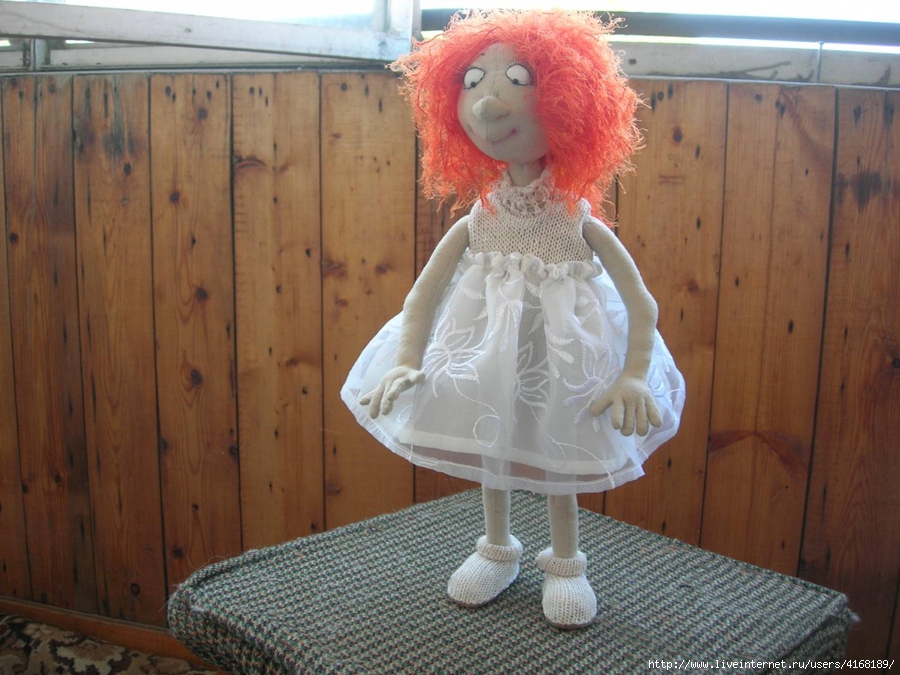
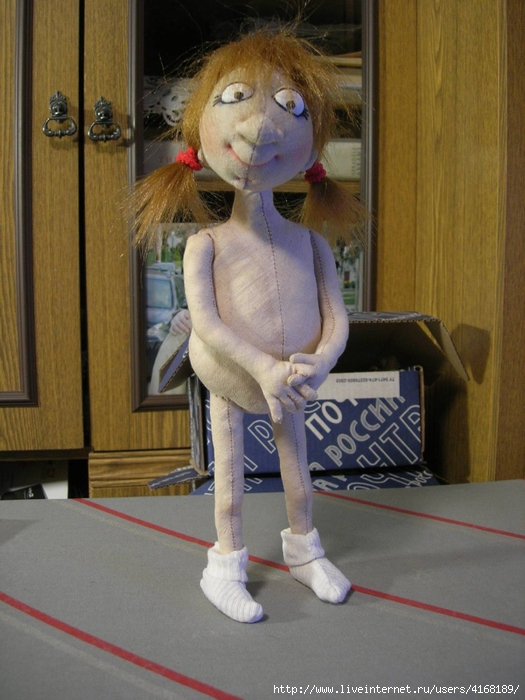
Характерные куклы
Характерная кукла
1. [700x539]
2.
 [342x700]
3.
 [281x500]
4.
 [525x700]
5.
 [450x600]
6.
 [360x480]
7.
 [700x529]
8.
 [300x400]
9.
 [525x700]
10.
 [700x525]
11.
 [525x700]
12.
 [525x700]
13.
Это цитата сообщения OleSascha Оригинальное сообщение
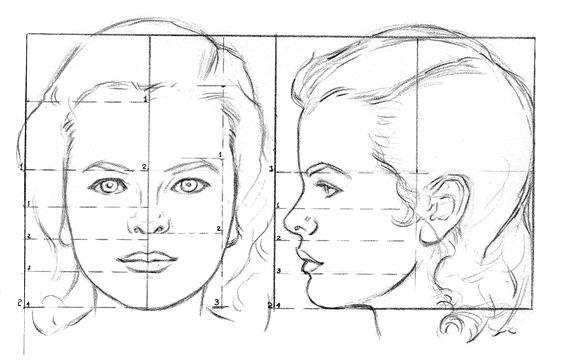
Пропорции человека... Роспись кукольного лица...
http://forum.hobbyportal.ru/viewtop...p;&start=30

Это цитата сообщения Елена_200559 Оригинальное сообщение
Лепка куклы фото МК. Видео 2 МК по лепке лица из полимерной глины.
http://www.liveinternet.ru/users/4805458/post262916788/
Лепка куклы фото МК. Видео 2 МК по лепке лица из полимерной глины.
Если Вы увлекаетесь лепкой кукол, то для Вас будет очень ценным материал на этой страничке :)Сначала Вы можете посмотреть видео по лепке лица из полимерной глины, ну а ниже посмотреть фото различных этапов лепки туловища.
[more
Это цитата сообщения Елена_200559 Оригинальное сообщение
Удивительная и необычная кукла-брошь
Часто хожу по блогам кукольников. Очень удивительные вещи можно увидеть!
Такая красотища - глаз не оторвать!
Сегодня хочу поделиться одним шедевром. Жаль, что не было имени автора у этой чудесной броши.
 [525x700]
Это цитата сообщения svtusik555 Оригинальное сообщение
Основы кукольной скульптуры.
Основы кукольной скульптуры.
 [показать]
 [показать]
Это цитата сообщения Байкалочка_10 Оригинальное сообщение
Очень подробный МК по кукольной ручке!!
Опять с заграничного сайта! Ну очень подробно!!!!!!!! Стащила отсюда! Классный сайт по куклам! http://members.home.nl/asrai/cursus-en.htm
|
The hand I made for this lesson is from the palm of the hand to the finger tips about 1.80 inch. It is a bit bigger than I usually make, smaller gave some photographic problems 'cause I don't have a macro lens. |
|
[250x163] |
[250x163] |
|
The size of the hands depend on the size of the head. The length of a hand is equal to the length from chin to halfway the forehead. A face is usually about 2 hands wide. This can always vary a bit depending on the kind of doll. You start off by making 2 cylinder shaped rolls of fimo, in this lesson they are about 2.6 inch long and 0.60 inch thick (pict. 1). Sculpt one end in a kind of spoon shape by pressing the clay with your thumb. Sculpt the hand thinner to the "finger tips' by pushing it more flat (pict. 2). |
|
|
[250x163] |
[250x163] |
|
For this lesson I'll continue with the making of the right hand. Try to work simultaneously on both hands because it is hard to make an equal looking hand afterwards. To make a wrist, roll the clay between thumb and point finger like pict. 3 You now have a roughly shaped hand with a part arm. Make the arm thinner if necessary. Smooth the hand nice and round. The hollow part is the inside/hand palm of the hand (pict. 4). |
|
|
[250x163] |
[250x163] |
|
At pict. 5 you see the back of the hand. You will now make 3 incisions with a knife for separating the fingers. The thumb will be added later. Because this will be a right hand, the incision for the little finger is cut a little further than the other incisions, take your own hand as example. Bend the 2 outer fingers gently side wards so you have more space (pict. 6). Hold the fingers between your point finger and thumb. While warming the clay by the warmth of your hands, very gently roll the fingers slightly back and forth, so the inside of the fingers will also become round. You can use a sculpting tool for the areas that are difficult to reach. |
|
|
[250x163] |
[250x163] |
|
When the two outer fingers are smoothed, you start with the middle two. Bend them slightly apart and again roll them gently back and forth to round off the edges on the inside of the fingers (pict. 7). Do this very slowly, it is important that while you are doing this, the clay will be warmed by your fingers so they don't rip at the beginning. Use a sculpting tool to smooth the areas that are hard to reach (pict. 8). |
|
|
| |
Это цитата сообщения НебоОблака Оригинальное сообщение
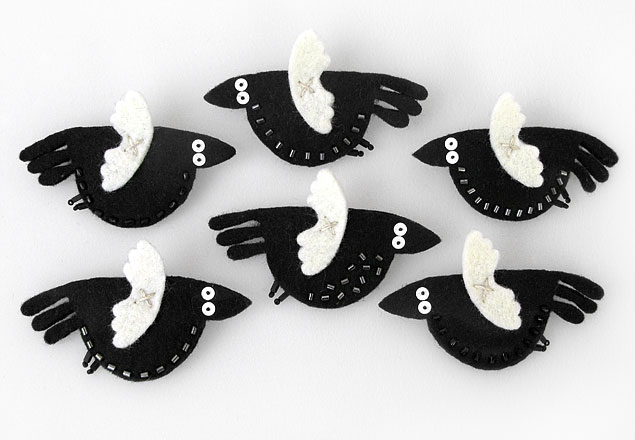
Цветы из ткани своими руками, 10 простых способов. МК
-
Небольшой анонс фотогалереи, которую можно посмотреть ниже:
- Цветы из мешковины.
- Цветы из атласных лент.
- Цветы из тесьмы.
- Цветы из фетра.
- Цветы из молний.
- Цветы весенние.
- Цветочная классика — розы.
- Цветы из старого свитера.
- Видео мастер класс.
- Брошки, заколки, обручи своими руками


Это цитата сообщения Tenderrainy Оригинальное сообщение
Мастер-класс по текстильной кукле - ведьмочке :))
Вот такая ведьмочка получается!
[показать] [показать] Это цитата сообщения Dimoni_Tempesta Оригинальное сообщение
Изготовление трессов из козьего меха - туториал от Алушка
Любые вопросы относительно содержания туториала можно задать в дневнике у автора туториала, Алушка.
Выражаем благодарность за размещение статьи на страницах нашего журнала.
Пишет Алушка:
[показать]