Это цитата сообщения НатаСеваса Оригинальное сообщение
.
цитата отсюда: http://myhobbyismyheaven.blogspot.in/2012/02/love-carriage.html
(МК на англ., мне кажется, все понятно. если возникнут сложности, постараюсь перевести.)
Love Carriage

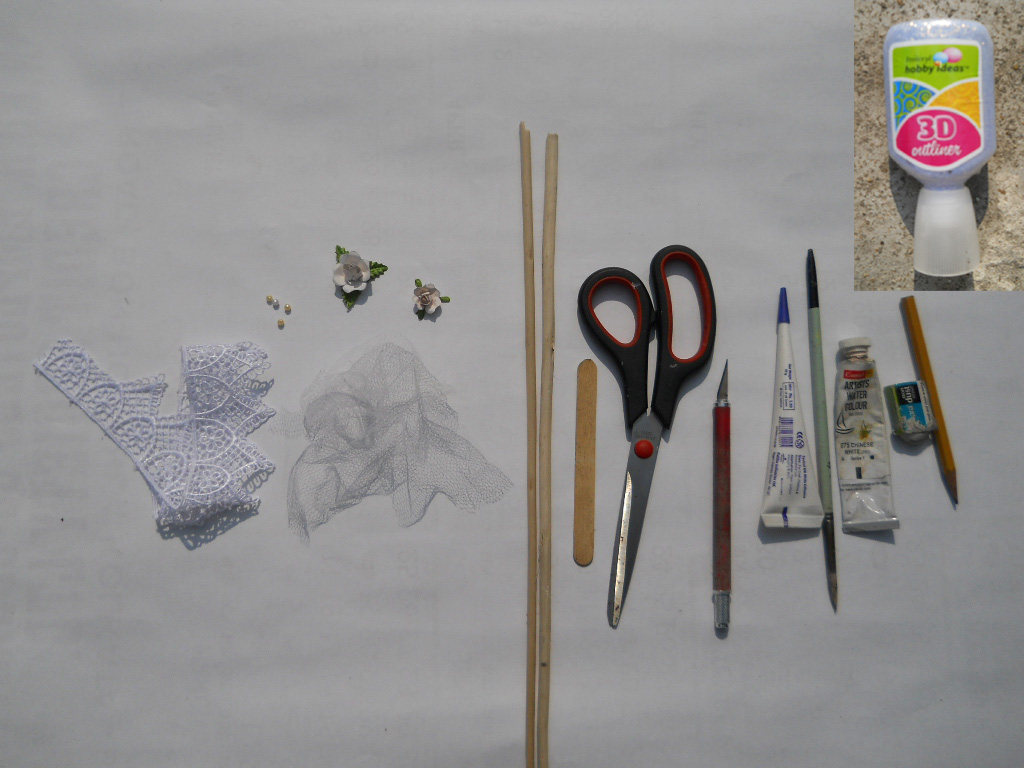
Material used
1.Scissors
2.Precision knife
3.Two long stick (24 cm & 6cm) & a ice creame stick
4.Glue
5.Color and brush (optional, if you like to color your carriage)
6.Lace,tutu,flower,feather and beads( or whetever you want for embelishment)
7.3D glitter
8.Heavy Card Stock (Really essential)
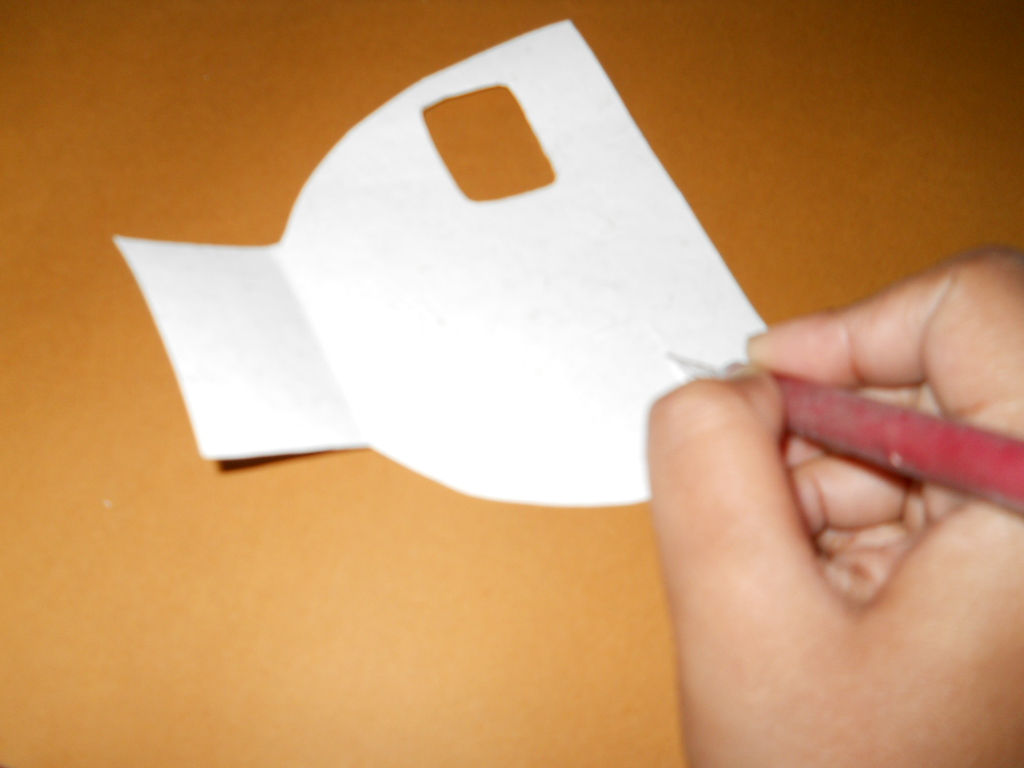
Step:1
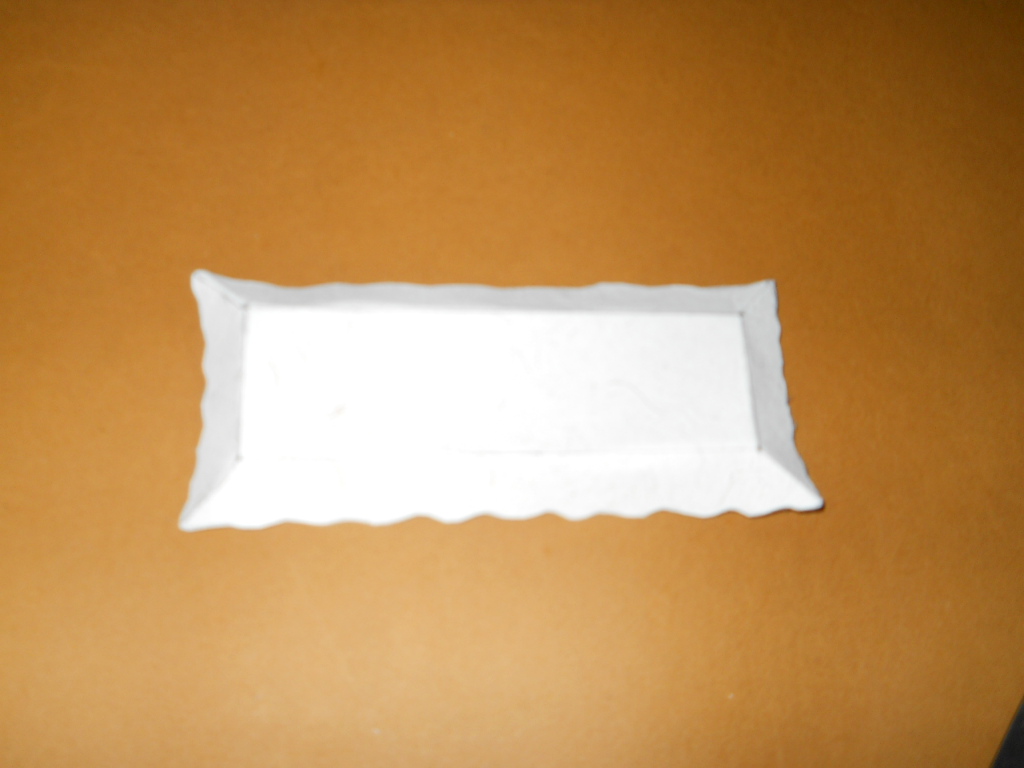
Cut this shape from your template and with the preciosn knife make this window, you can cut small portion of this window through which your ceasor can enter, after that you can cut out the window by scissors.

Step:2
Now according to the template cut & fold the floor. Glue at the side and stick together.
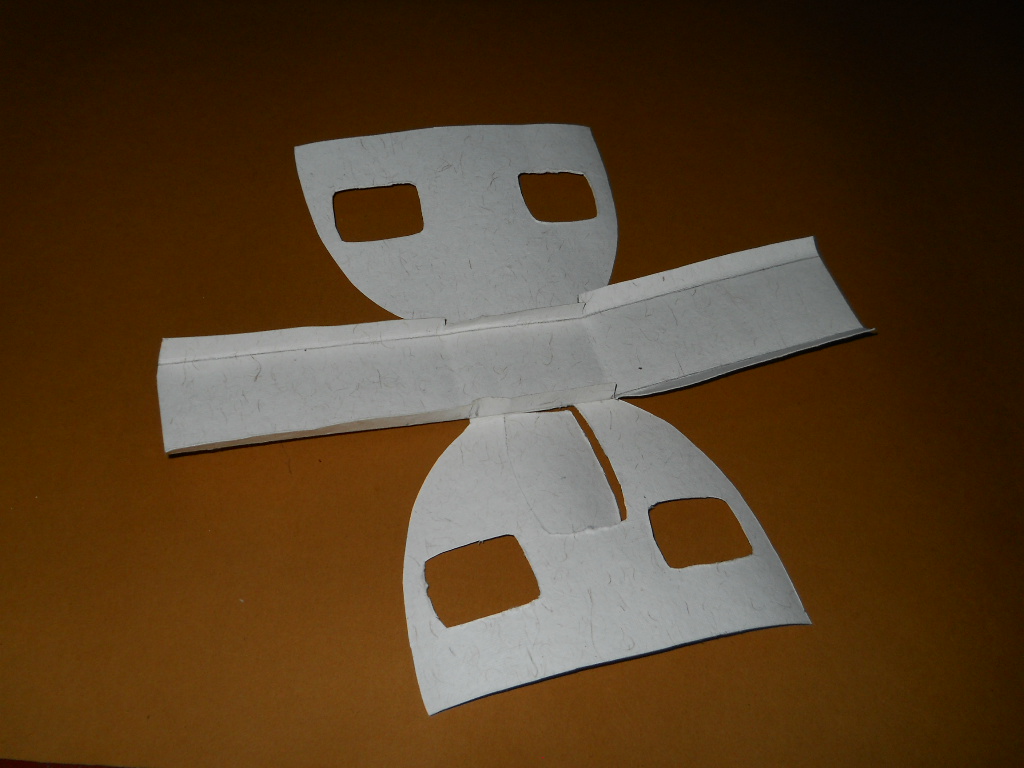
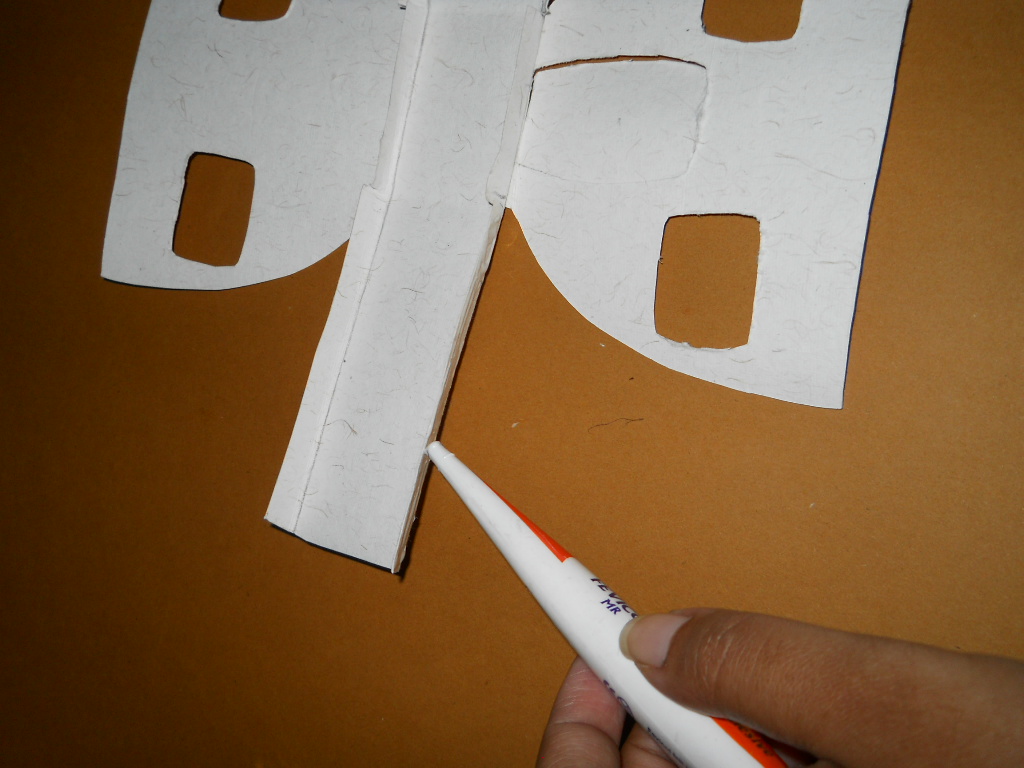
Step:3
Fold the roof in this way. With the help of your precision knife cut at the middle of the floor through which your ice cream stick can enter tightly.


Step: 4
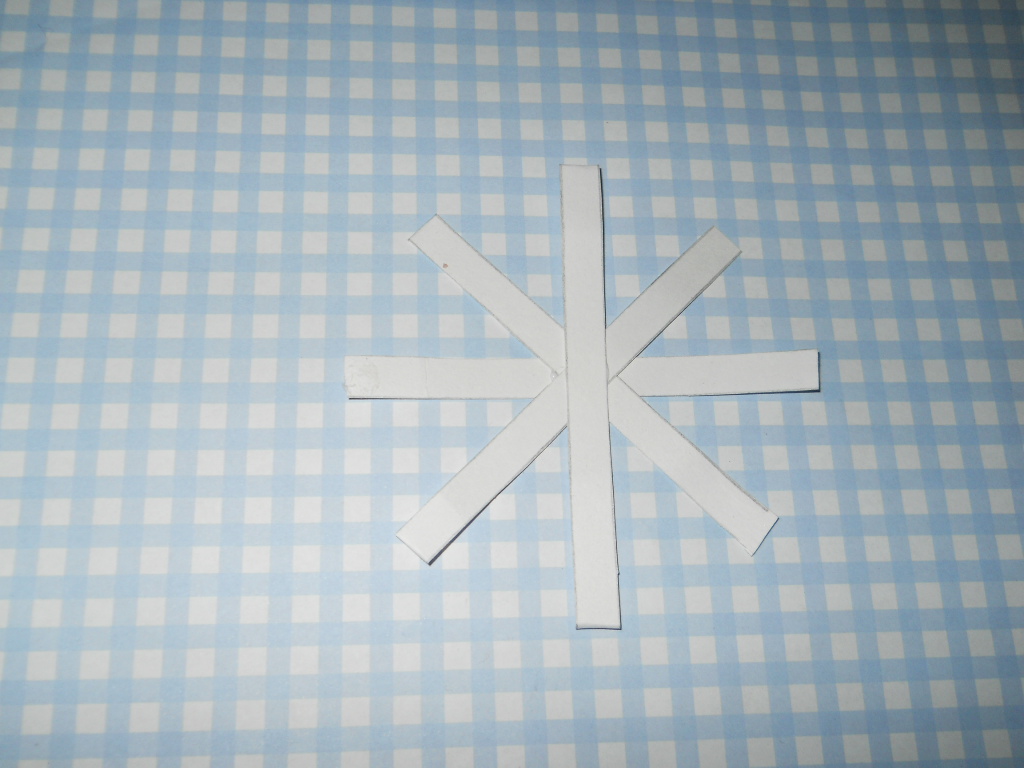
Cut small piece of paper and arrange in this way and above it place the round frame. (Or you can cut out entire wheel from my template) Your wheel is ready.

Step:5

Step:6
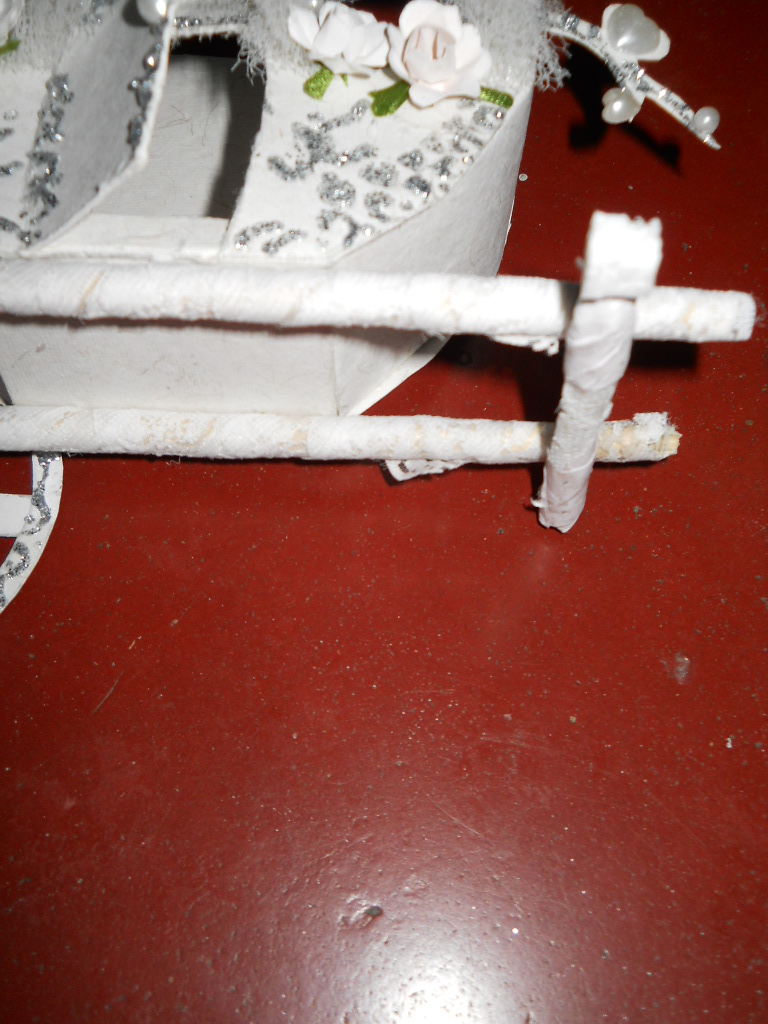
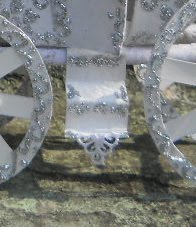
Now you decorate your roof separately and body separately, and attach stick below the body so it can hold the wheel ( See above). Well I wrap some lace around the stick so it look good. And also I wrap paper around the end of the small 6 cm stick to hold my wheel ( Here in this pic a dimentional is visible on my stick end but its not necessary u attach your wheel directly on the stick). Remember if your wheel is strong your cart also be strong. So you can attach two to three round frame together to make your wheel more strong :)

Step :7
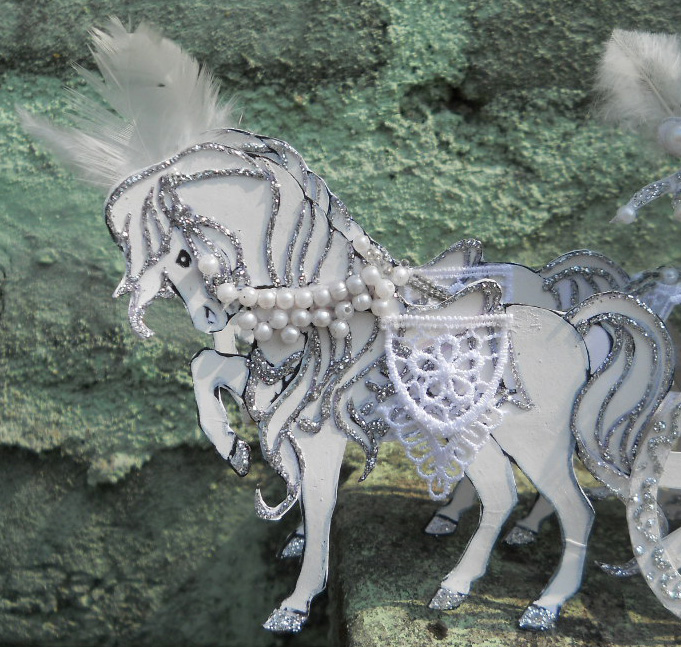
Ok next I print out and cut out (Horse pic size I have taken 4”) horse (from here http://freekidscoloringpages.net/horse-coloring-pages.php) and I decorate it with 3D glitter, beads and Lace and keep it aside.
Step:8
Then I attach a long folded paper stripe at the middle of the front 6 cm stick to hold the horse cart driver seat straight ( see above) and over it I place the folded decorate seat. And glue its back side with the body.

Now glue your horse on the long stick according to the height of the wheel, means your horse lage and 4 wheel end will be the same line other wise it will not stand.
Step: 10
And finally I attach the decoratd stair case at the gate to get down from the cart Jand my cart is ready.
Tips- You can keep your roof open so you can put a small lamp inside it so its look more romantic, or you can put a small note card inside it to tell your dear one how much you love him or herJ
Feel free to ask any question to leave a comment here.