Это цитата сообщения adelaidaivi Оригинальное сообщение
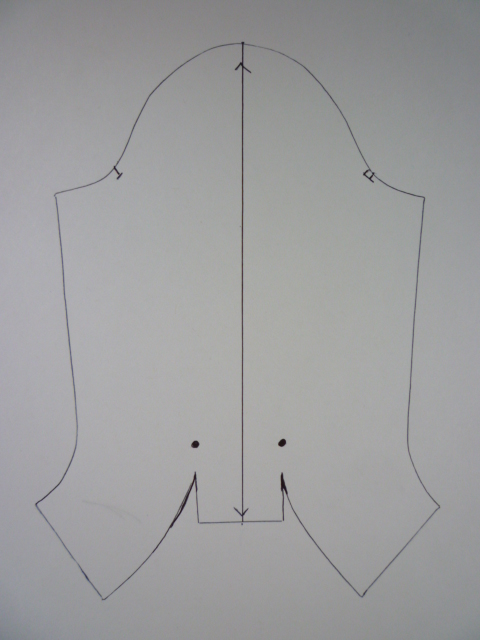
моделирование рукава

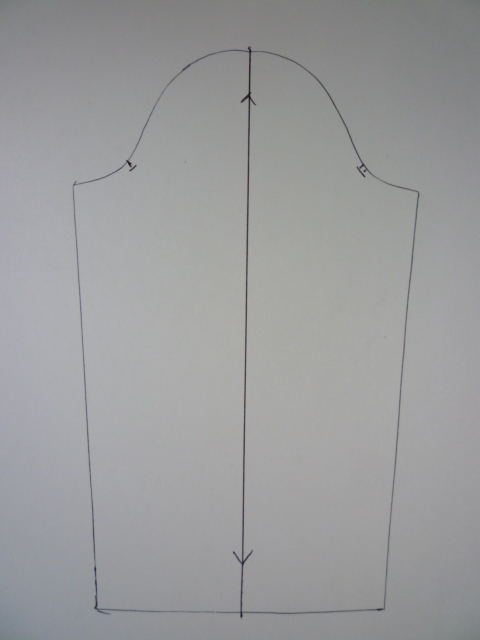
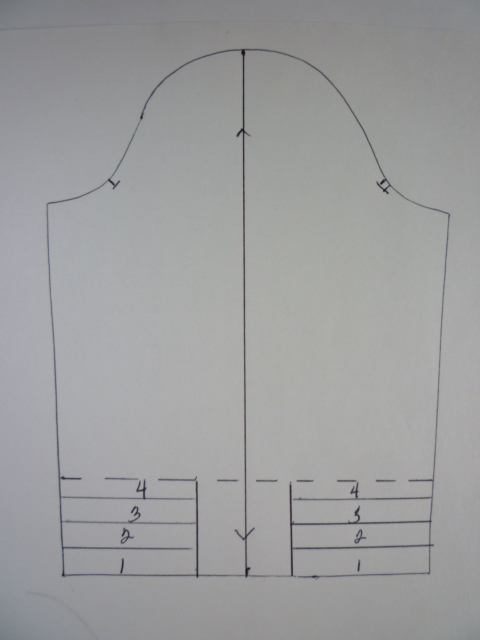
Determine where you would like the sleeve to end on your arm. I chose to make mine a 3/4 length sleeve. The dotted line in the picture below represents this.
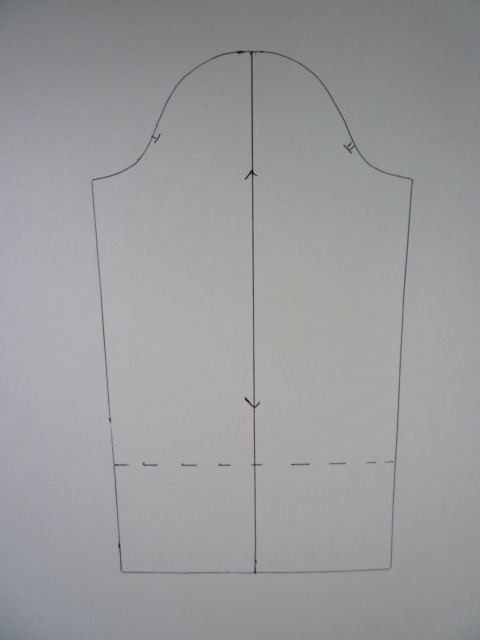
Once you have determined where you would like the sleeve to finish, cut that portion away. Now determine how high up the arm you would like the gathers to go. The dotted line in the picture below represents this.

Now draw in the center tab. Mine is 2". Draw in the tab lines as you see below.

Measure the section where the gathers will be and divide this measurement into 4 equal parts. If your gathers will go further up the sleeve, you may want to divide this number by 6 or even 8. Draw in the sections as you see below. Make sure to number them.
Cut along the tab lines and then over to the under arm seam as you see below. Be careful to not cut through the seam you want your pieces to remain attached. If by chance you do cut through, your pieces are numbered so you will not have a problem with putting them back together.

Cut all of the sections to the underarm seam as you see below.
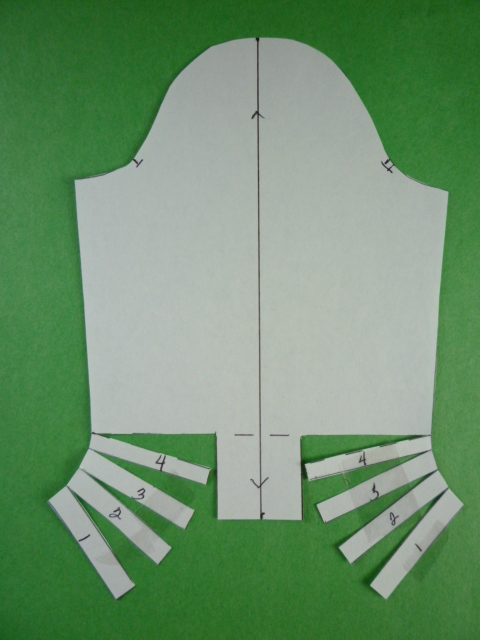
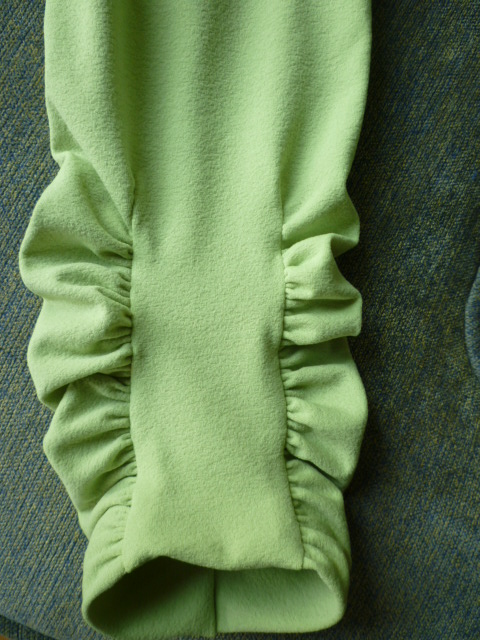
Spread the sections equally and tape or pin in place. My sections were spread 1 1/2" each. If your fabric is a little bulkier than a light weight fabric, you may want to reduce this amount to 1" between each section.
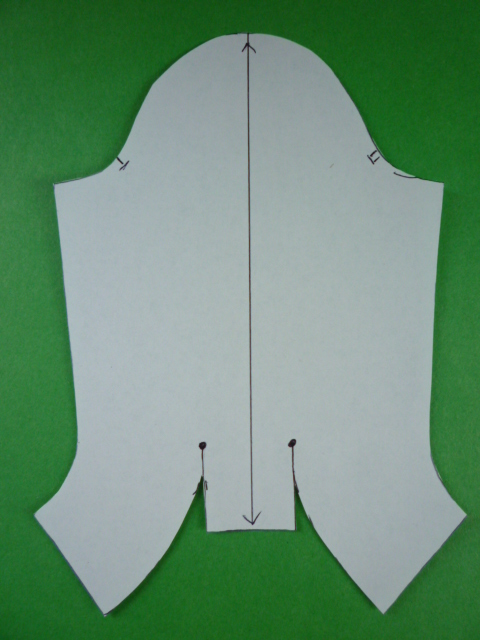
Now that the sections have been equally spread, connect the lines. The dots that you see in the above picture are at the top of the tab section. Add 1/4" seam allowance to the tab as well as the shirring lines.