Это цитата сообщения Dimoni_Tempesta Оригинальное сообщение
CHAIR UPHOLSTERING TUTORIAL - How to make and upholster a 1 inch scale chair.

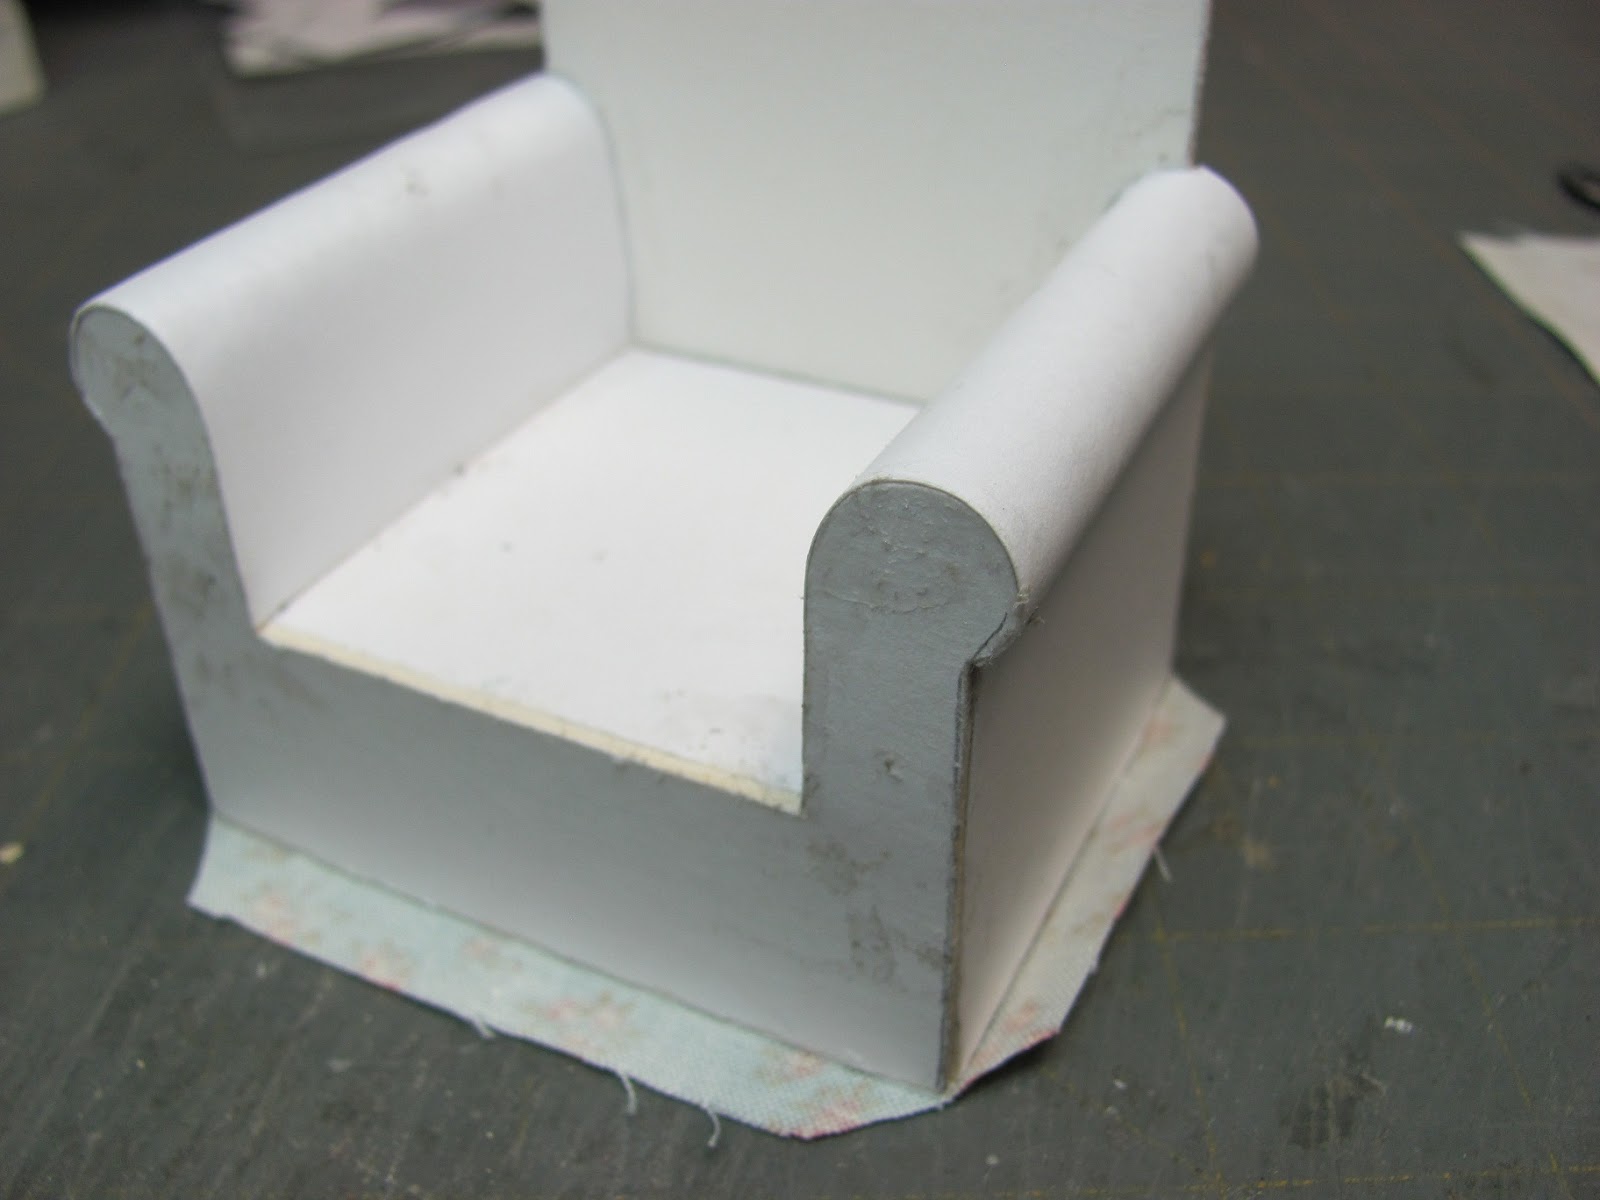
This is the chair I found to draft and build. I did change the back to an upholstered back, not a loose pillow back. Something you can do later. This pattern can be modified with a round top back, camel back, keep the square corners of the back but give the top of the back an arc; you can have the arms sweep out, you can make the rounded part of the arm larger; if you have access to legs you can make the seat base thinner and leave the skirt off and add legs; you can widen the chair to make a sofa; you can lengthen the seat to make a chaise; as always have fun, expand on it, make it better . . . .
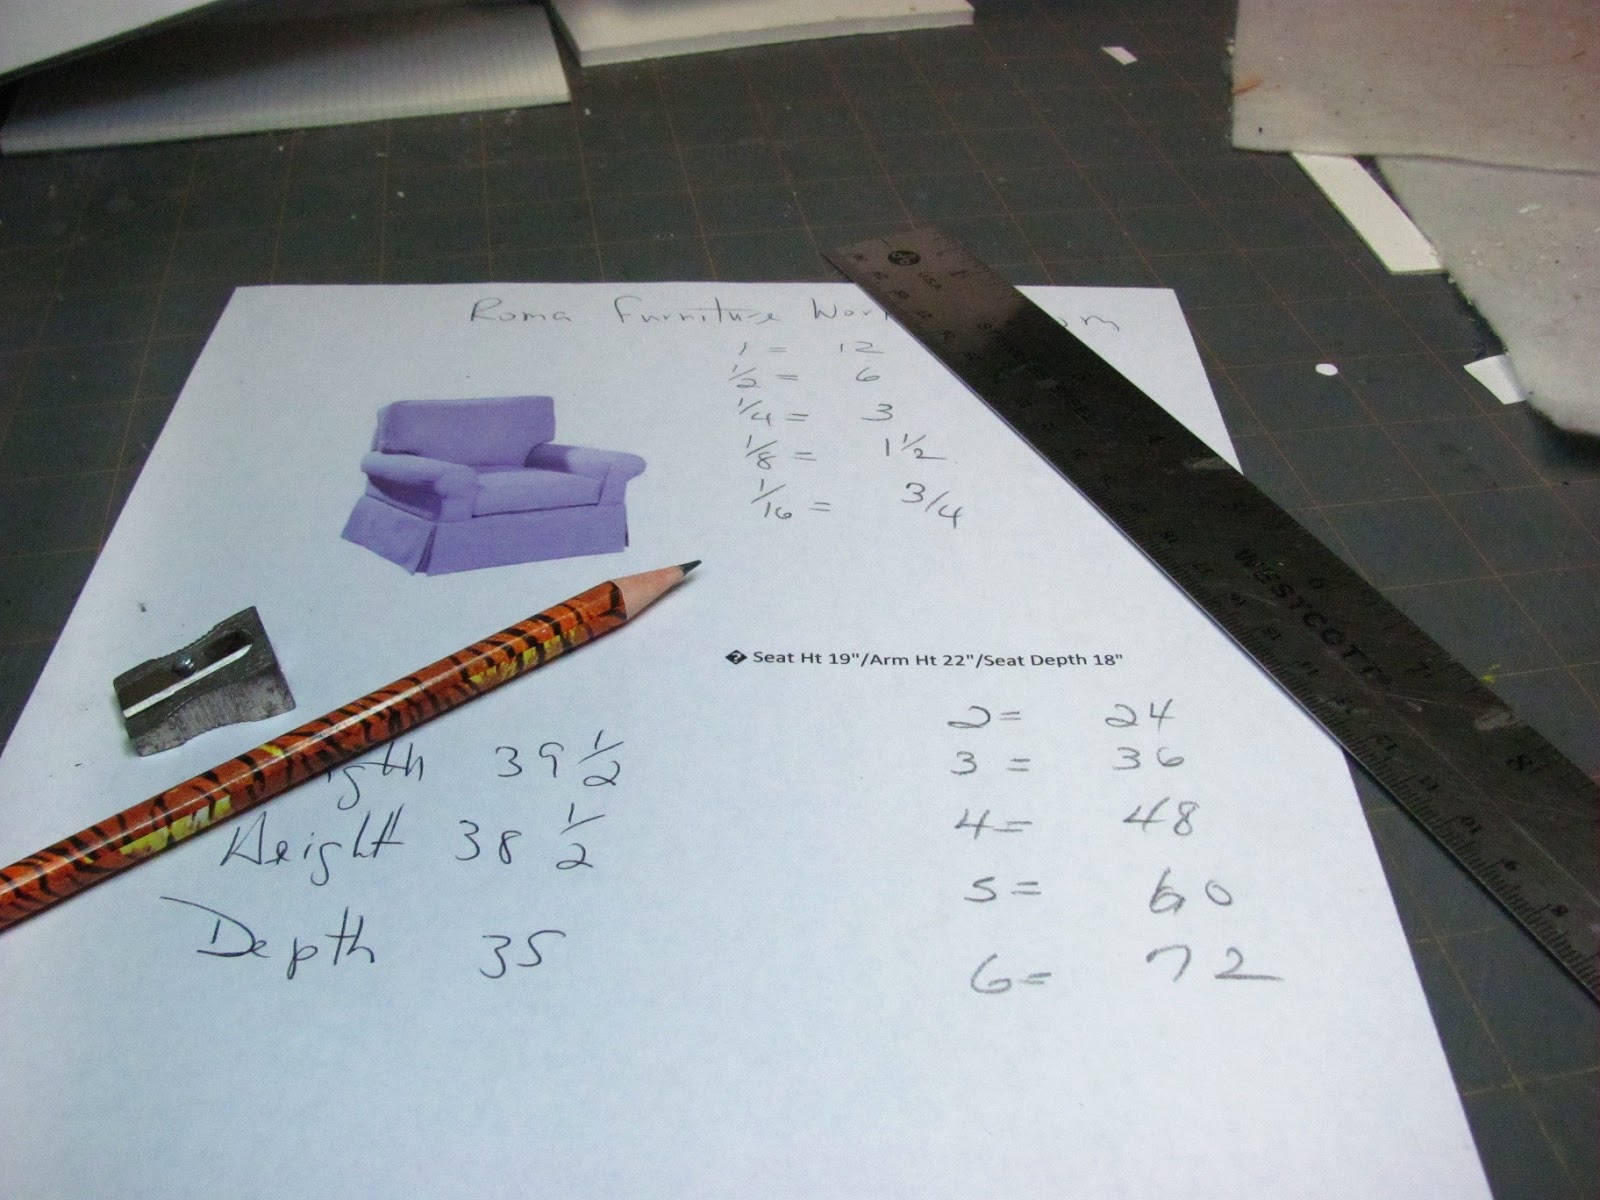
I did want to show you how I begin. I always write the conversion of 1 inch scale down. You would think after all of these years I would have it memorized, just lazy I guess.
Before we start I want to talk about fabric. It is my opinion that the reason that a piece of furniture fails is because of fabric. There are lots of pretty fabrics out there, not so many for miniatures. Do yourself a favor and begin with simple cotton. I would even go so far as to say you should make the first chair from muslin to get the feel of doing this. I want you to be successful and that's the better choice for the first chair. I make all of the "first" pieces from muslin or white-on-white fabric just to see if everything is all right. I am not ashamed to say that there has been more than a few chairs in my garbage can because things just didn't work out the first time.
When you do want to make the chair for a setting try looking at the quilting cottons first, something floral, not patterns that you will have to match. Think of the size of a 1 inch scale doll's hand for the largest size of the flower. Take your sample chair with you to drape the fabric on so you can see what the fabric will look like. Try to stay out of the other departments for now, you will fall in love with something that is, "Just the thing!" and it may be very hard to work with. Glue failure, raveling and fabric being too thick are just a few of the problems you could have. Save that for a little later.
I could confuse you with more stuff, but I think you would be better served if I just started you building.
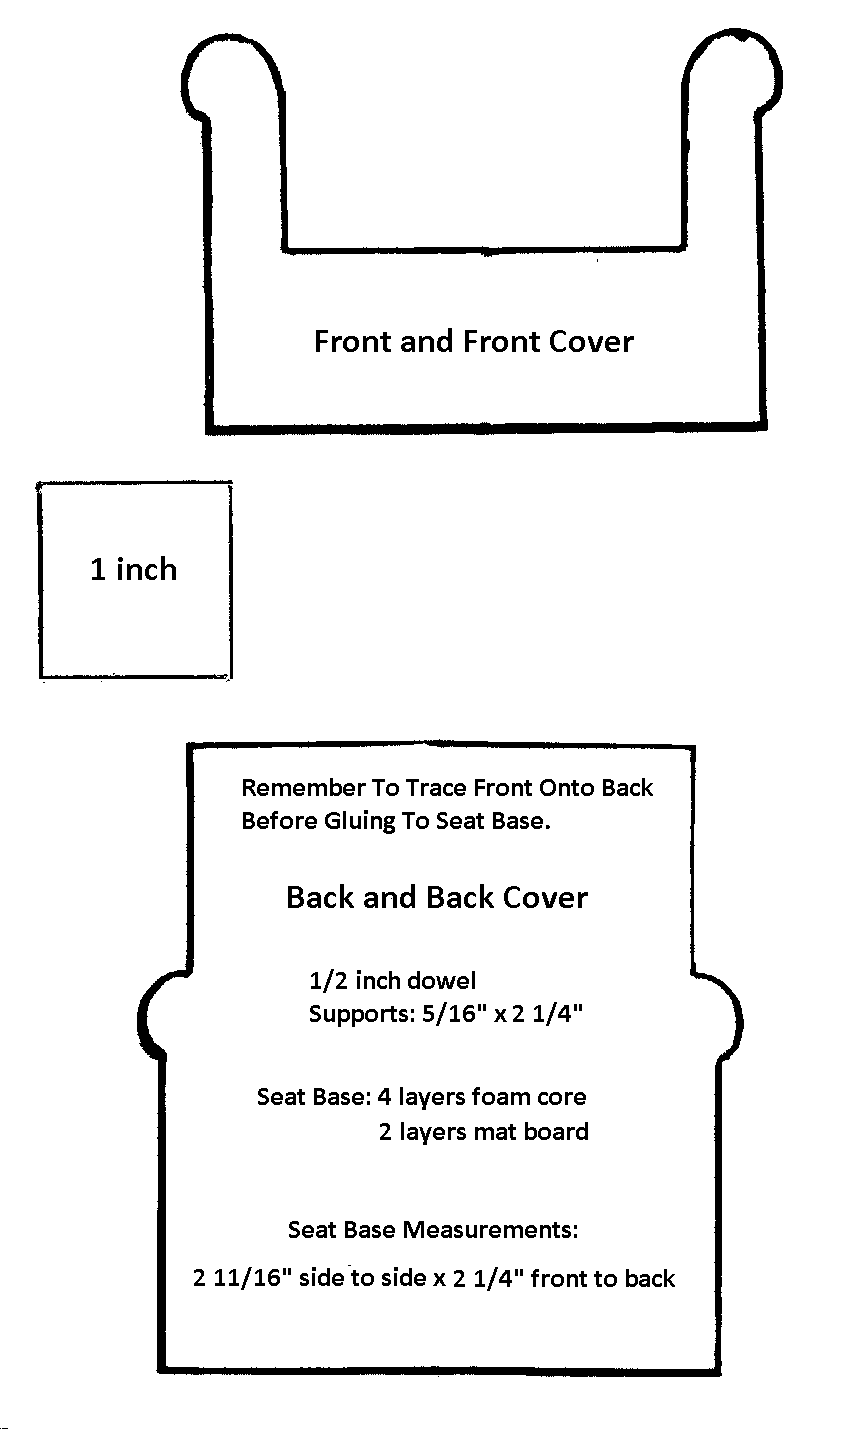

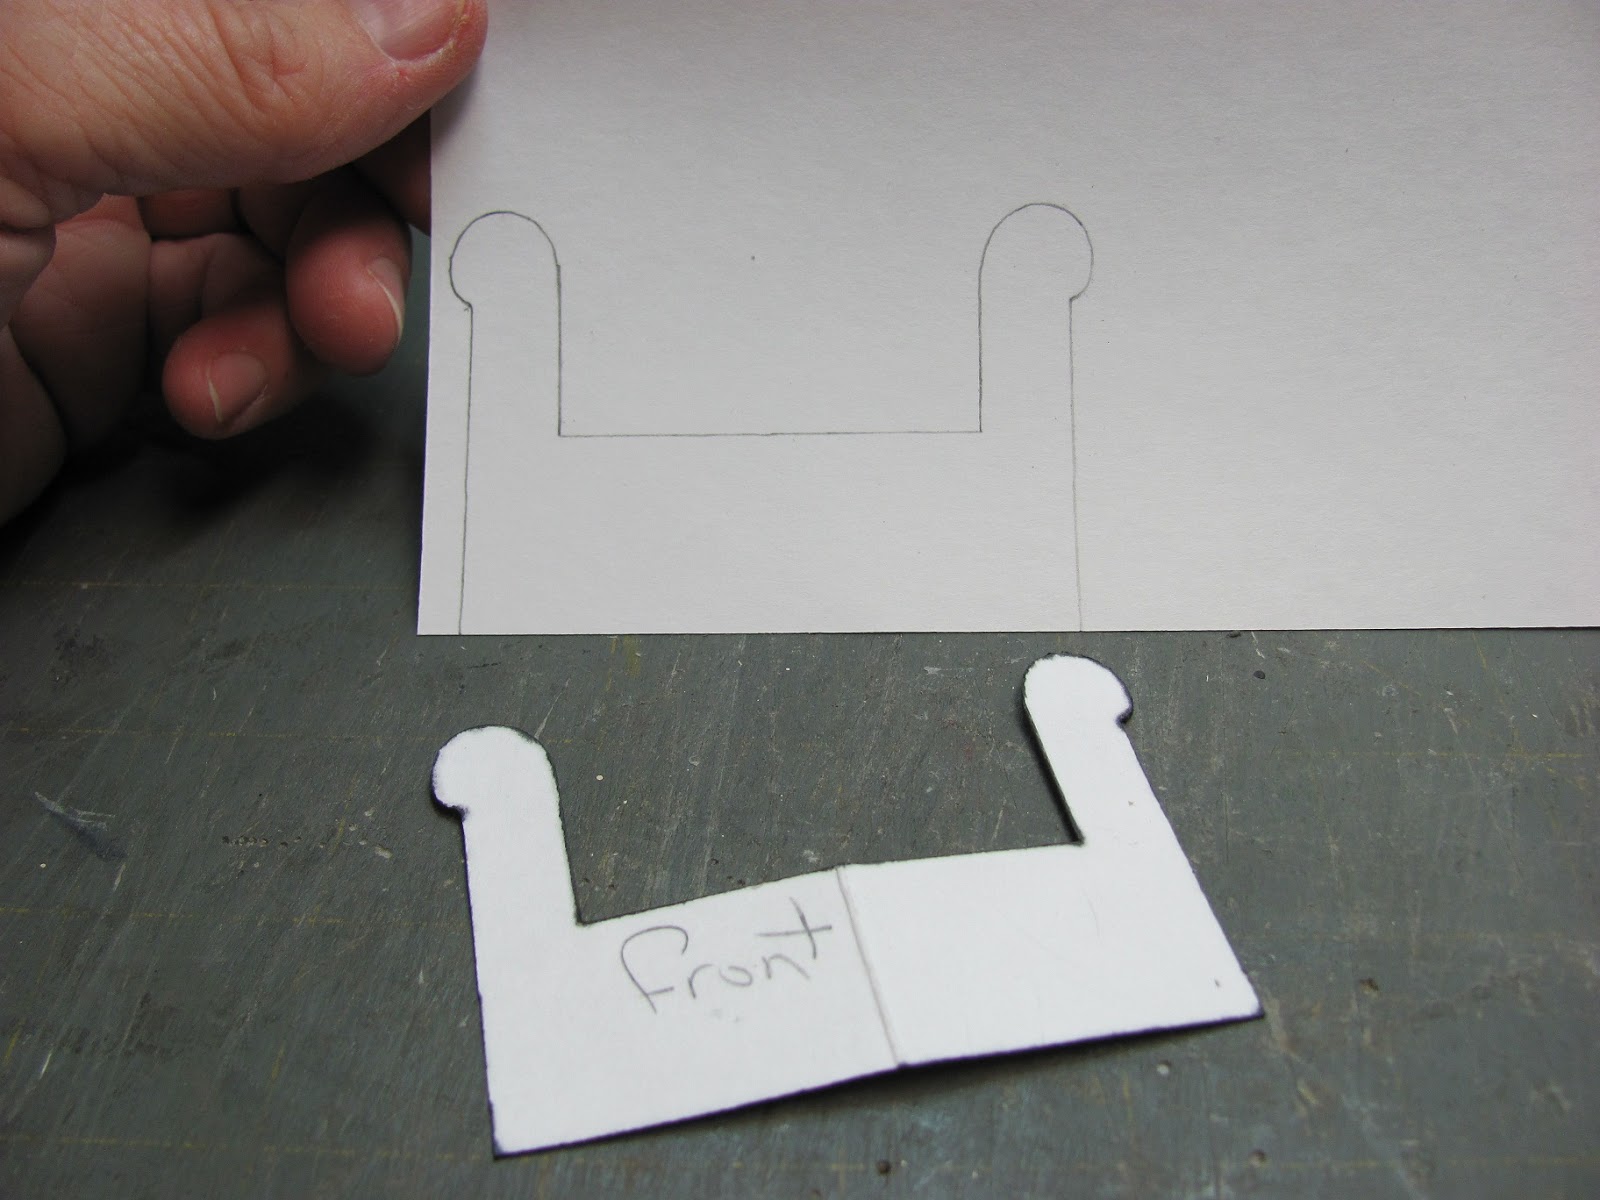
Here are the pattern pieces. I put a lot of the information on the pieces for you. I print the pattern on card stock and keep the pattern pieces in zip lock bags with the name of the pattern on the bag. Load the pattern into Paint, I have a 1 inch square in the upper right corner.
I have instructions for transferring the patterns at the left of the post, Things to do, Things to see, HOW TO RE-SIZE THE PATTERNS.
I will attempt to write instructions for transferring these patterns to Paint.
There are four pictures.
Left click on the top picture of the front and back. The picture will come up in a new screen. Right click on the picture. This will open a window. Left click on "Copy Image". Move the cursor down to the left corner of your computer screen, to your Windows start button and left click. This opens a window of your programs, left click on Paint. The Paint program should open up. In the tool bar left click on the "paste" icon. The picture of the front and back should appear. I did not have to re-size this pattern, the reason, I know not. I did have to re-size the others. I am going to go through the instructions to re-size.
In the tool bar left click on the "select" icon. Draw a box around the patterns. In the tool bar left click on the "re-size" option. A window will open up. This can be a trial and error for a few times. Use percentage, not pixels. As an experiment type 50 in both of the boxes and left click on O.K. Print out your result. If it is not what you want, there are 2 arrows in the tool bar. These arrows point right and left, if you left click on the arrow that points left it will restore what you began with. Left click on the arrow that points left and restore your front and back pattern.
I have printed out the patterns and these are the percentages I used: the front and back printed out the right size; for the seat cushion and inside arm cover I typed 45 in both of the boxes; for the back cushion I typed 48 in both of the boxes.
I don't know if you will use the same percentages. I hope this helps. If you can not do this print out the patterns and go to a photo copy store and do a trial and error there to get your sizes correct.
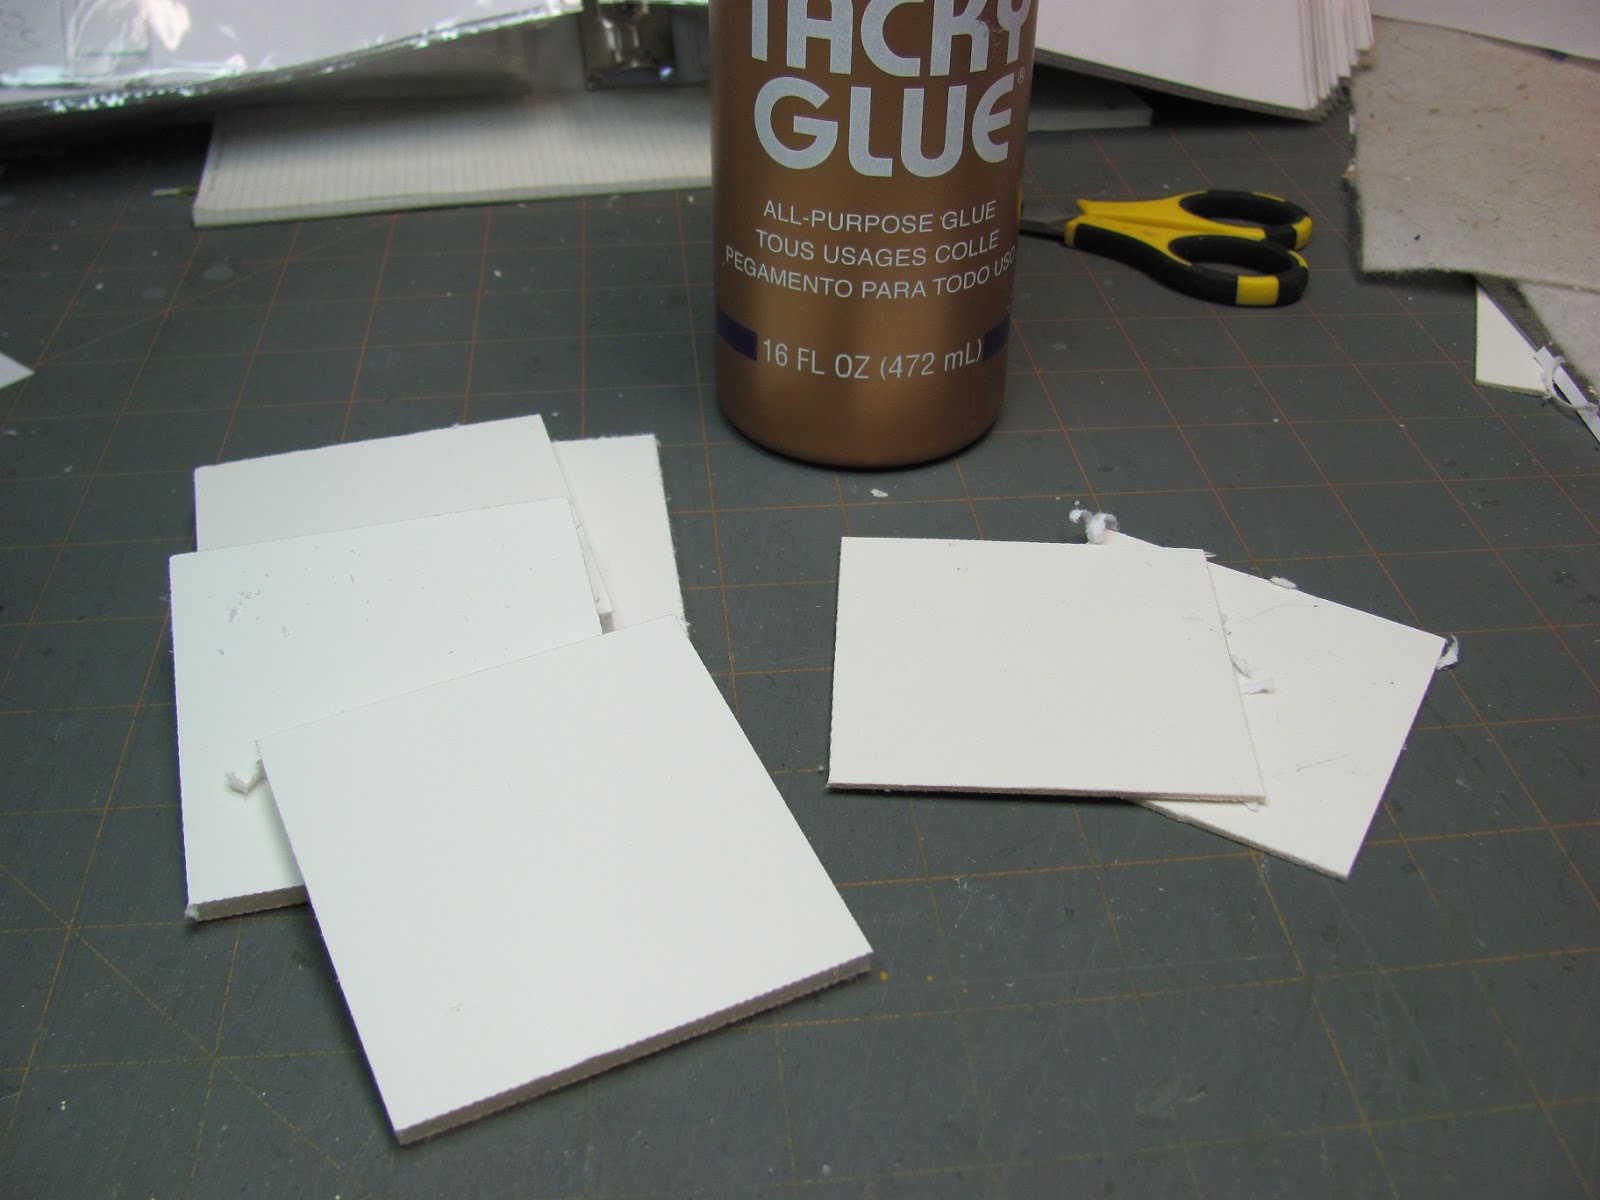
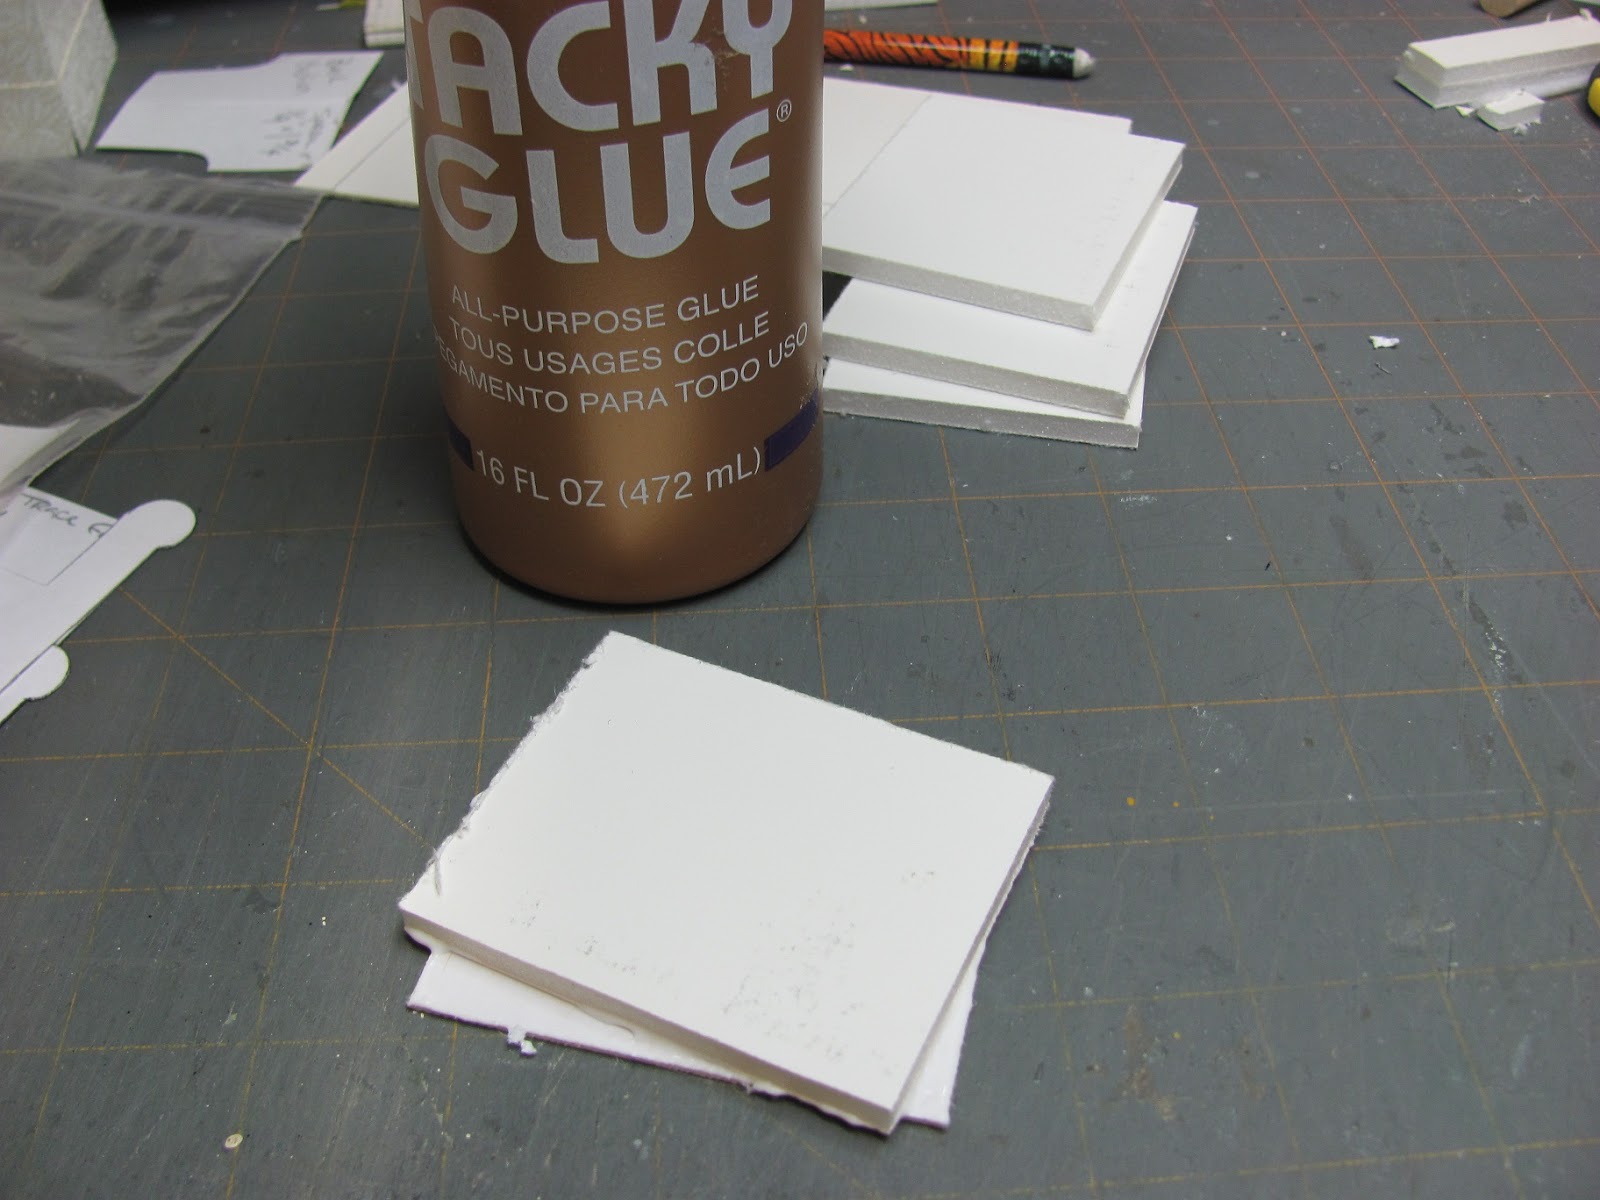
We are going to make the seat base first. For gluing the chair together I use Tacky glue.
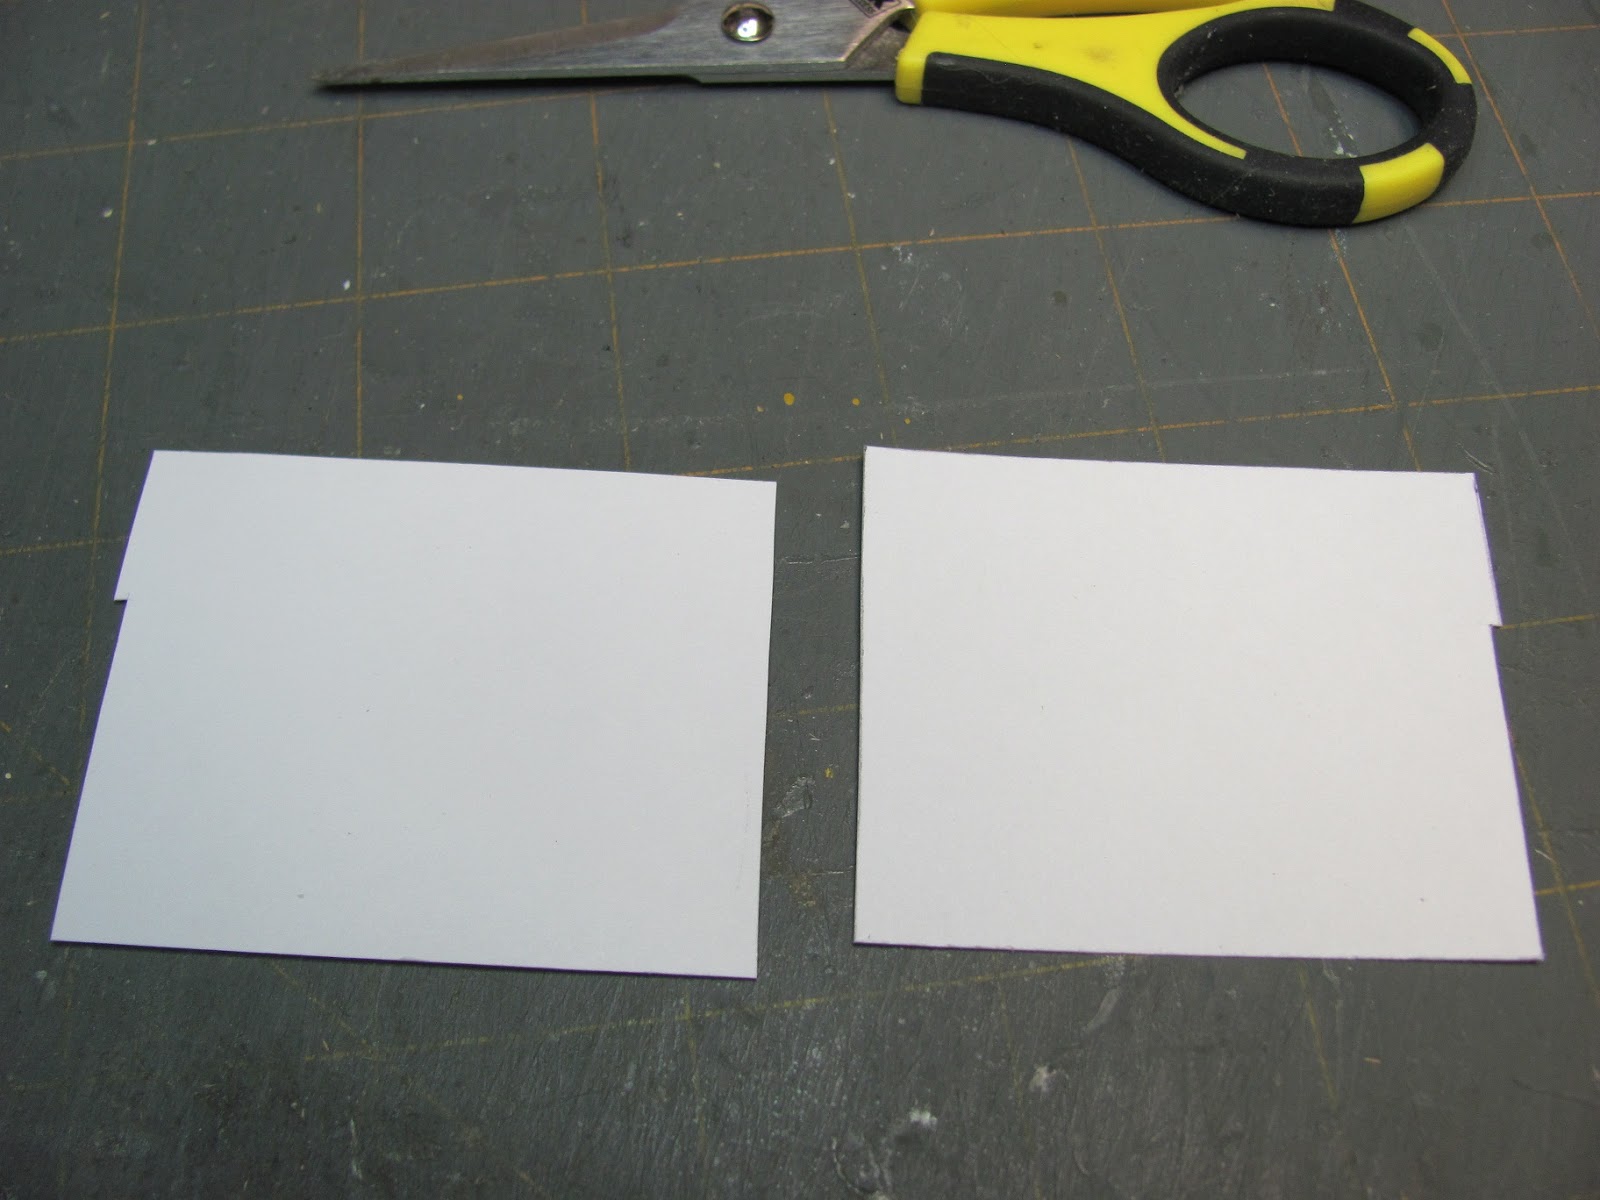
Cut from 3/16 inch foam core 4 pieces 2 11/16" x 2 1/4". This foam core is available from Michael's. ALSO,Cut from mat board 2 pieces the same size. Michael's sell mat board back in the framing department.
Apply the glue and I smear the glue by moving the pieces around on each other. Be sure you get the glue out to the edges.
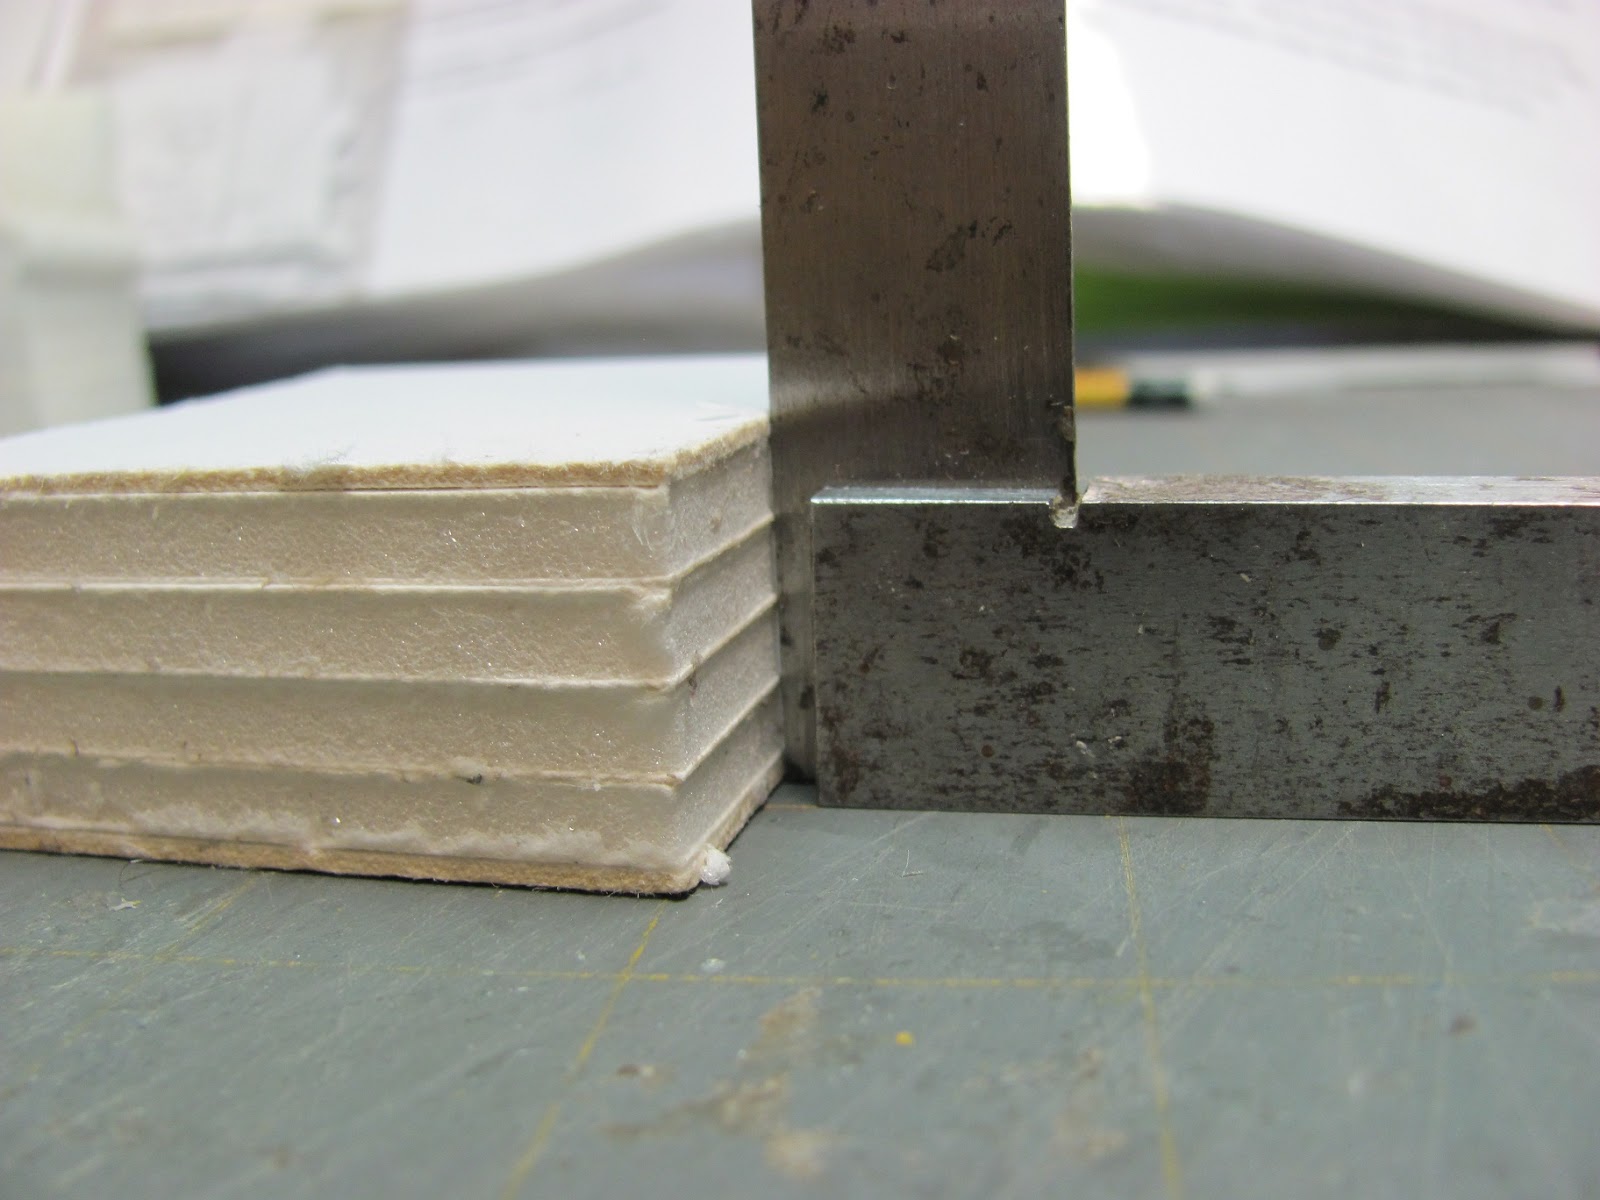
I used my square to make sure all of the pieces are lined up.
Make sure you have good contact and all of the pieces are glued together.
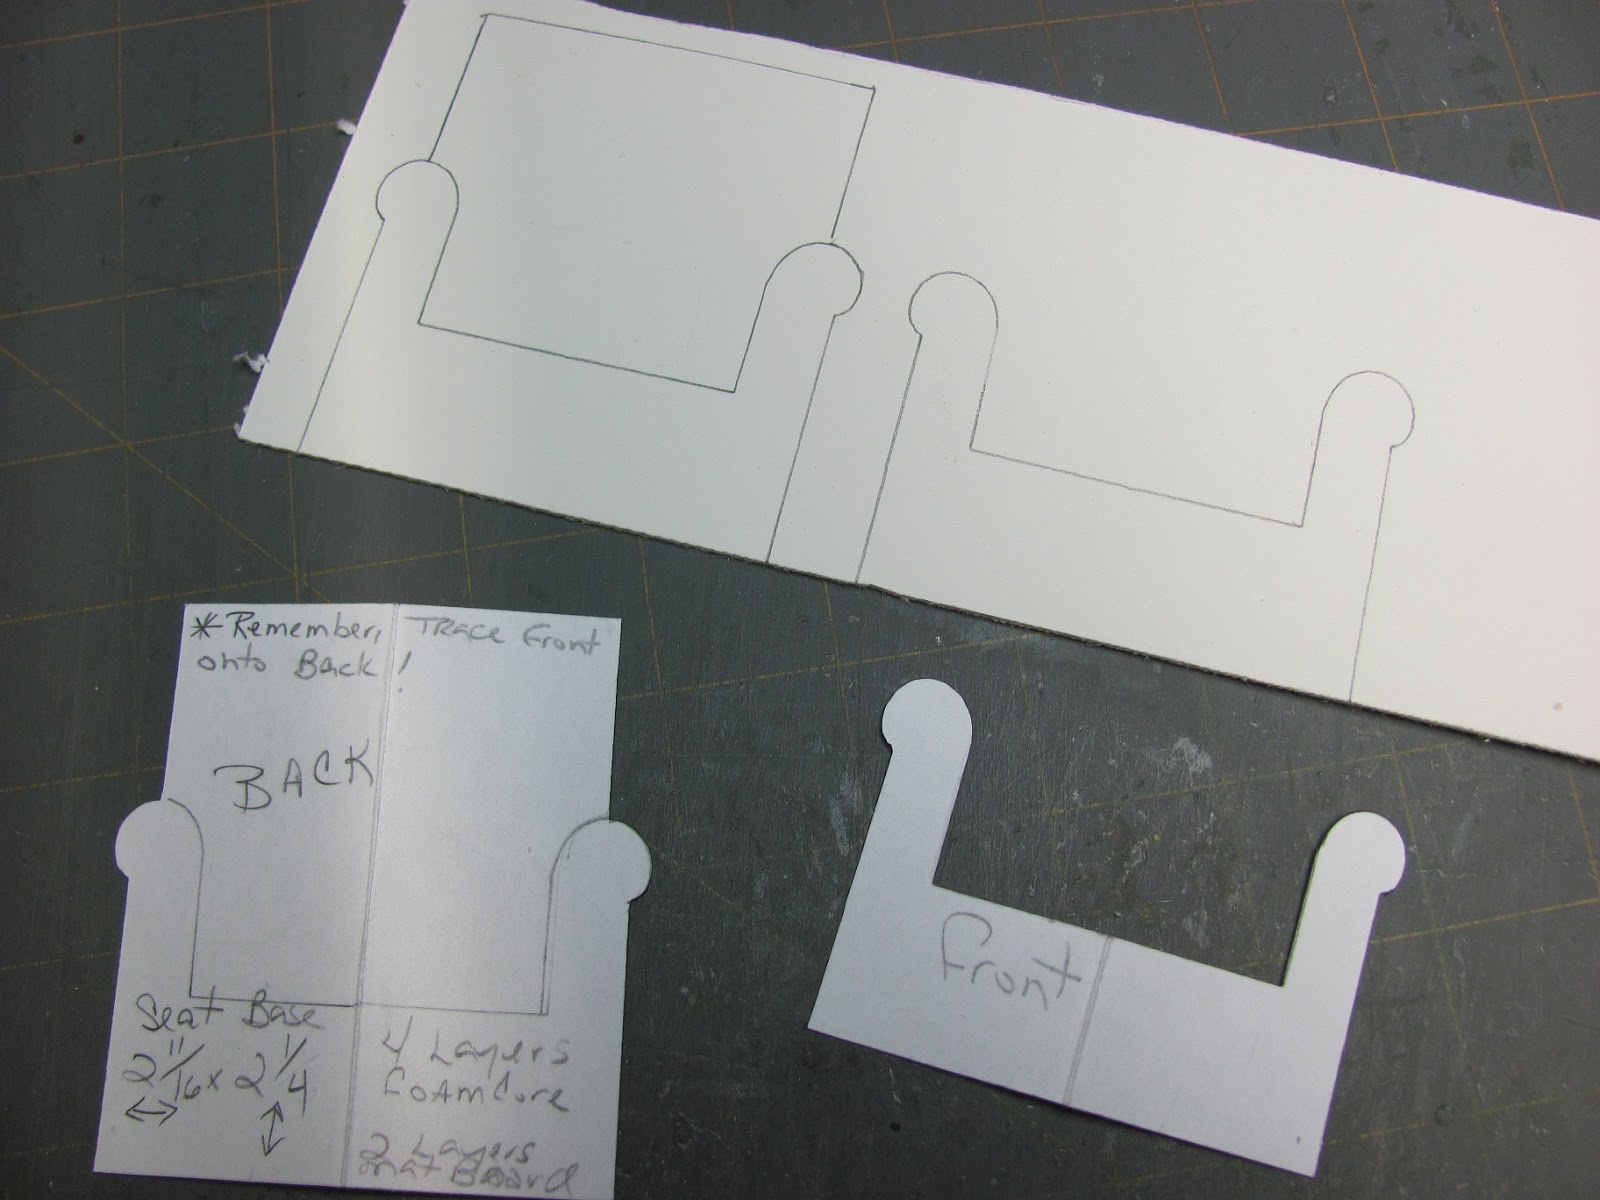
Trace the front and back onto mat board.
Trace the front onto the back. We need to have the lines on the back to glue to that's in another step. This really matters when you have big sweeping arms and you need a line to follow.

Cut your front and back out.

Glue the front and back to the seat base. Glue them to the 2 11/16" sides. You should have a 1/16" of front and back left on each side. This extra is for the mat board sides to fit into.
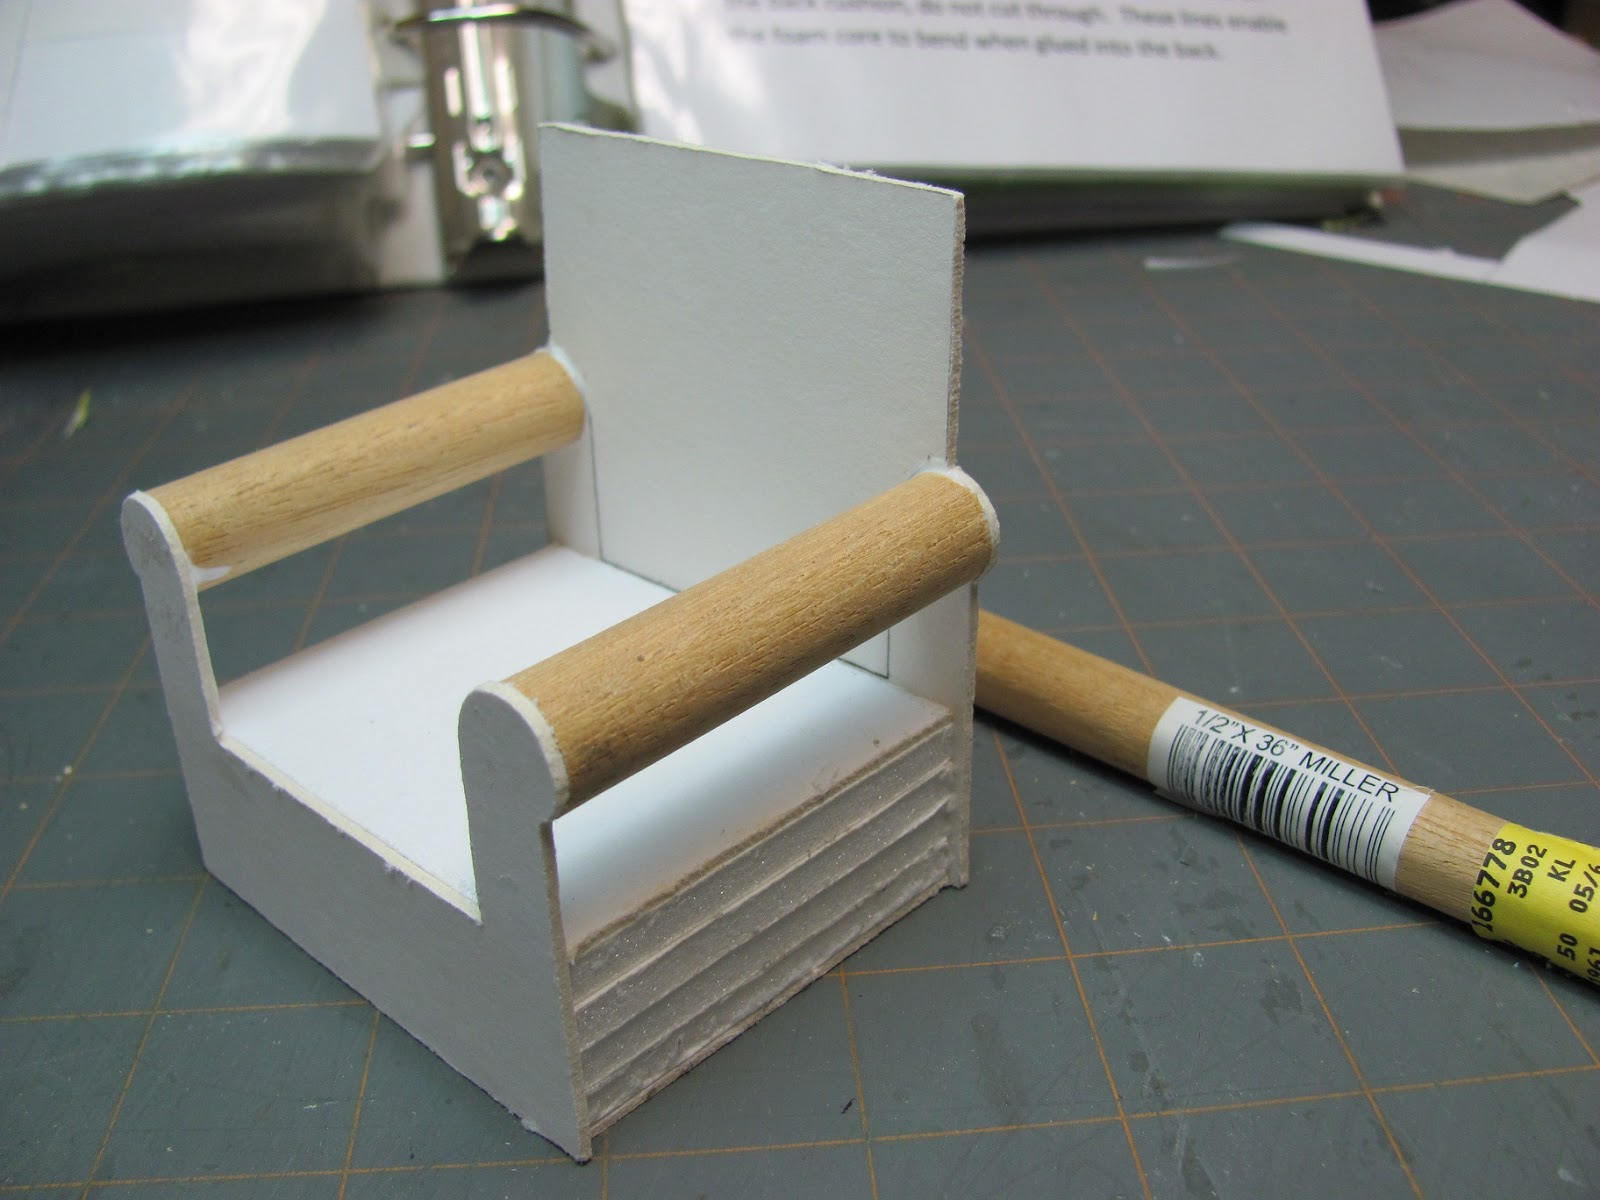
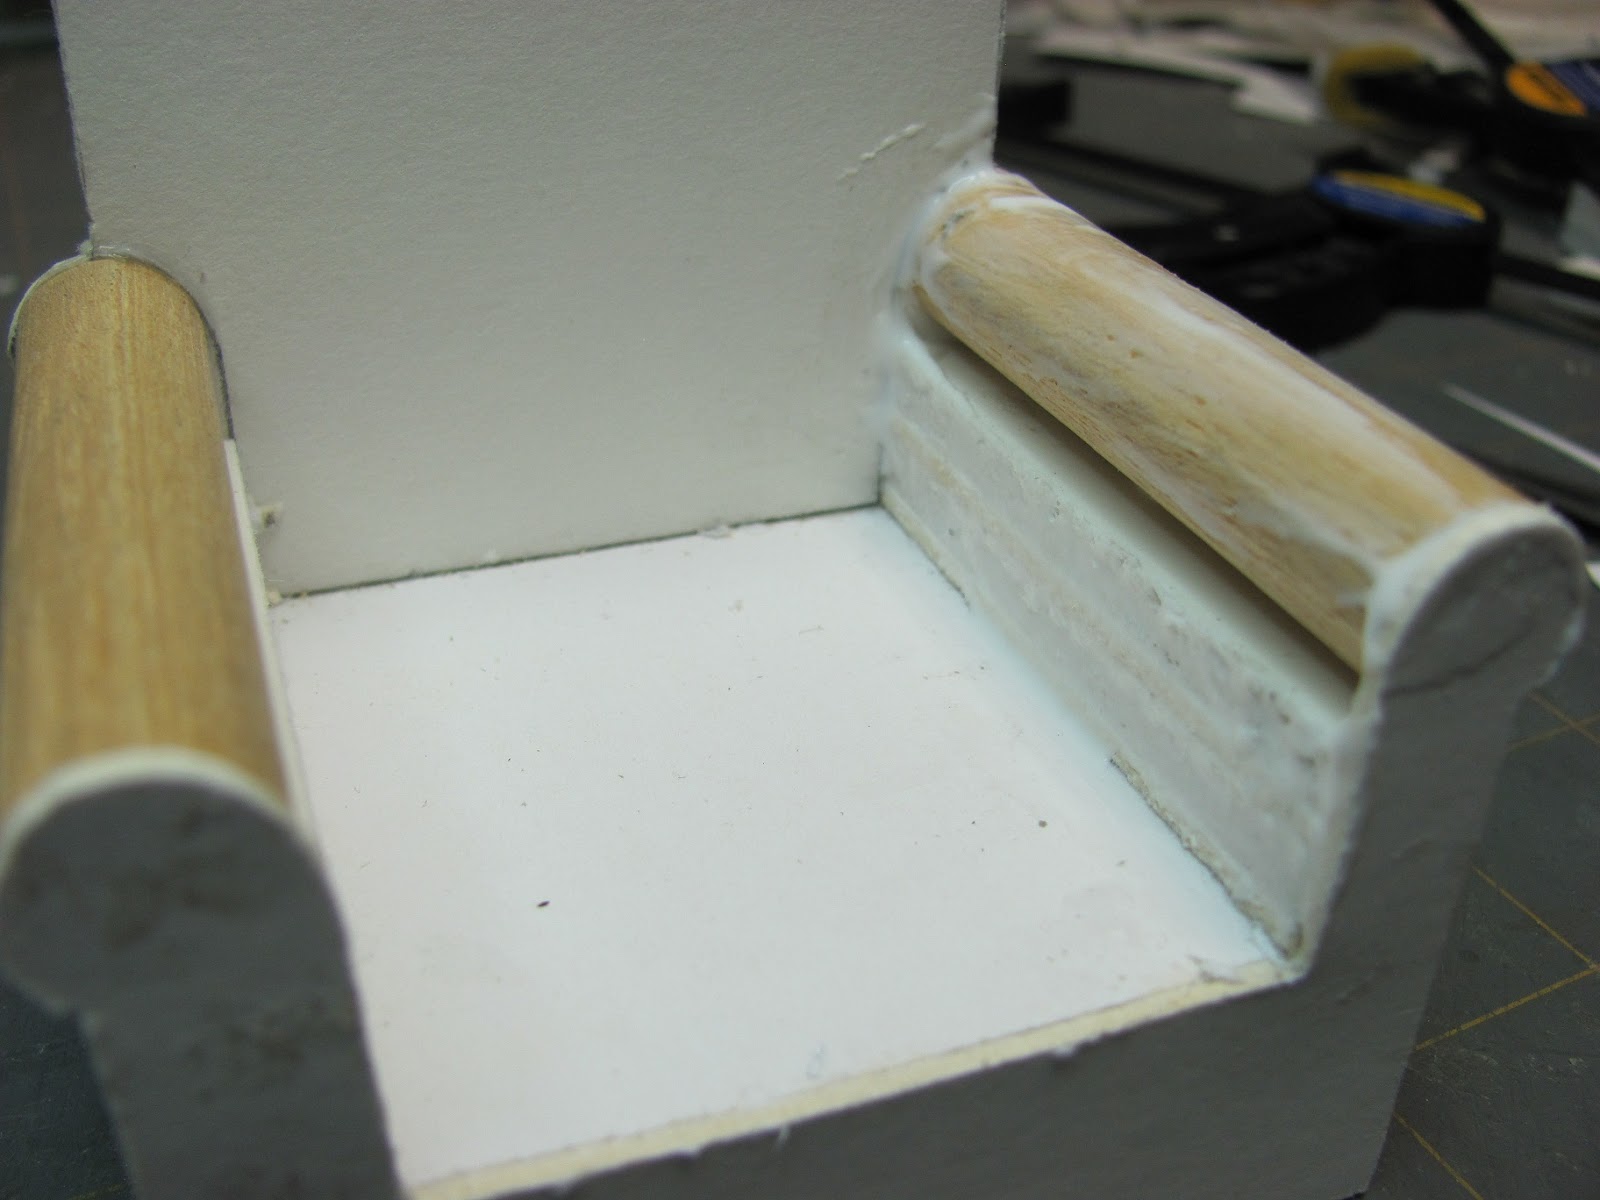
From 1/2" dowel cut 2 pieces to fit between the arms. Use tacky glue to glue the dowels into place. Use clamps to secure until dry.
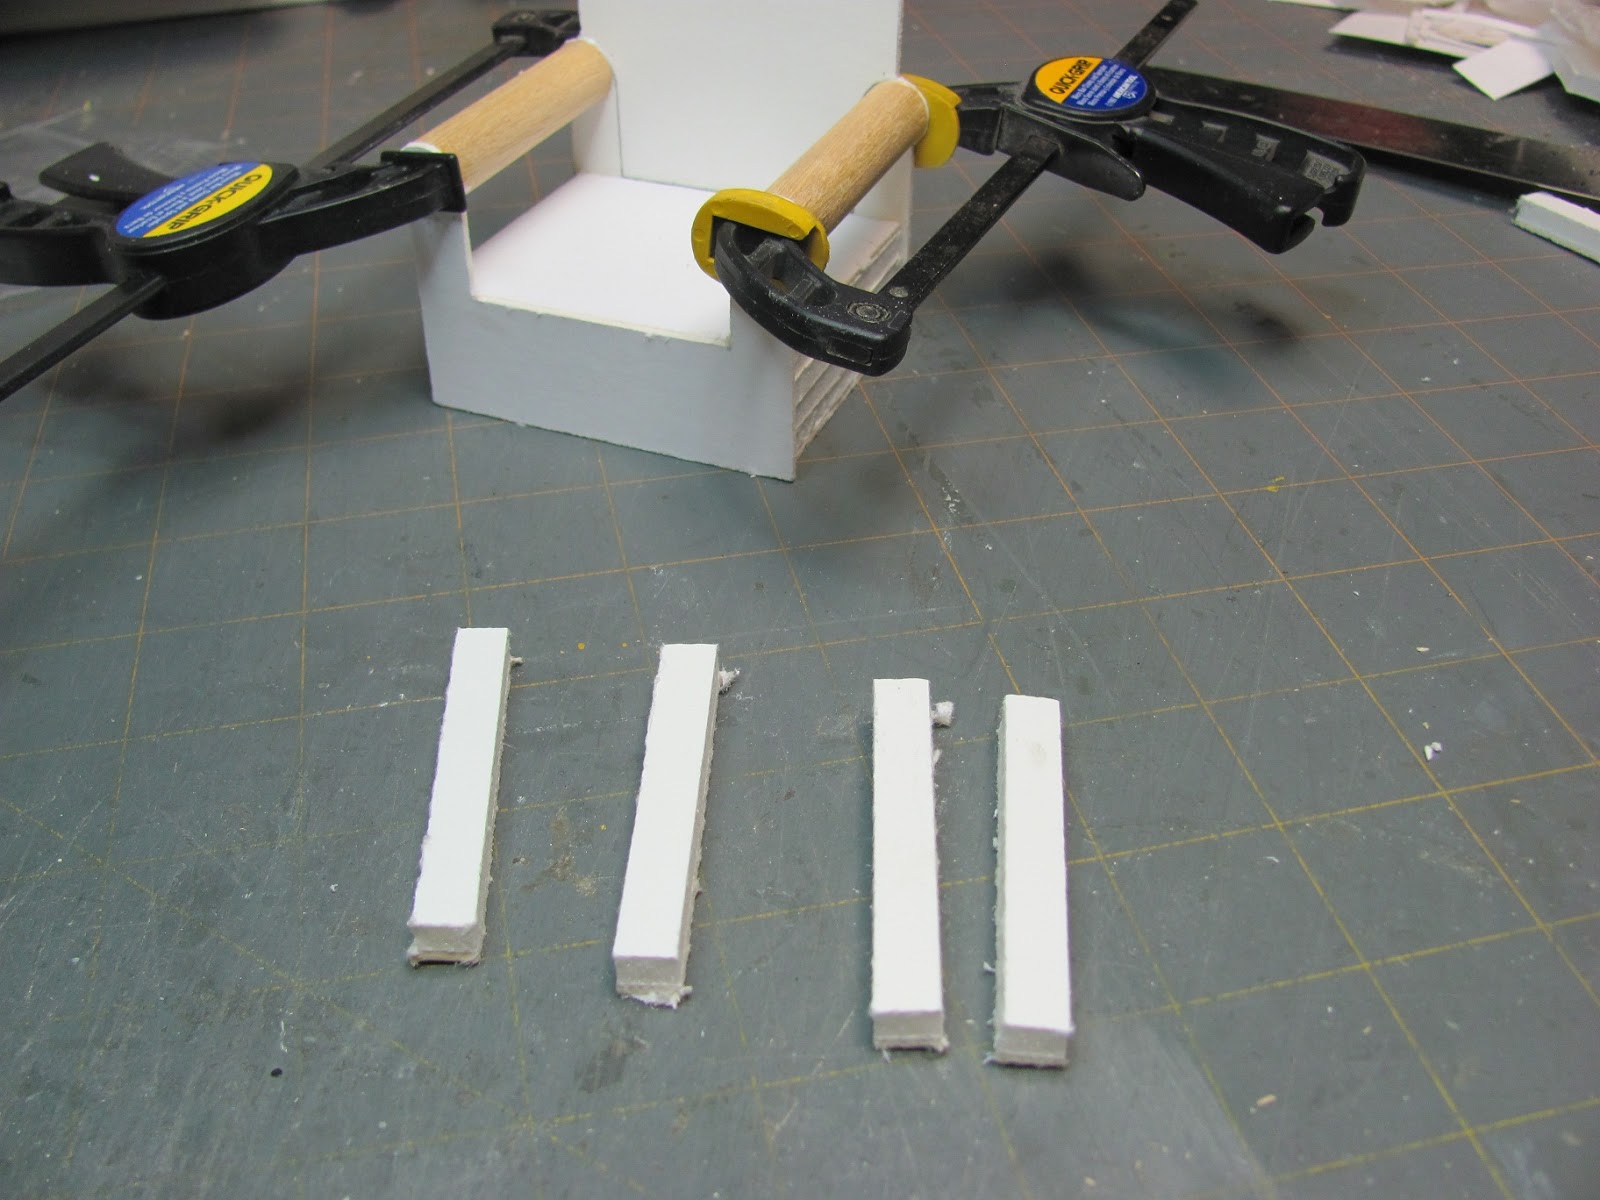
Supports for the arms are cut from foam core. Cut 4 pieces to fit between the arms and 5/16" wide.
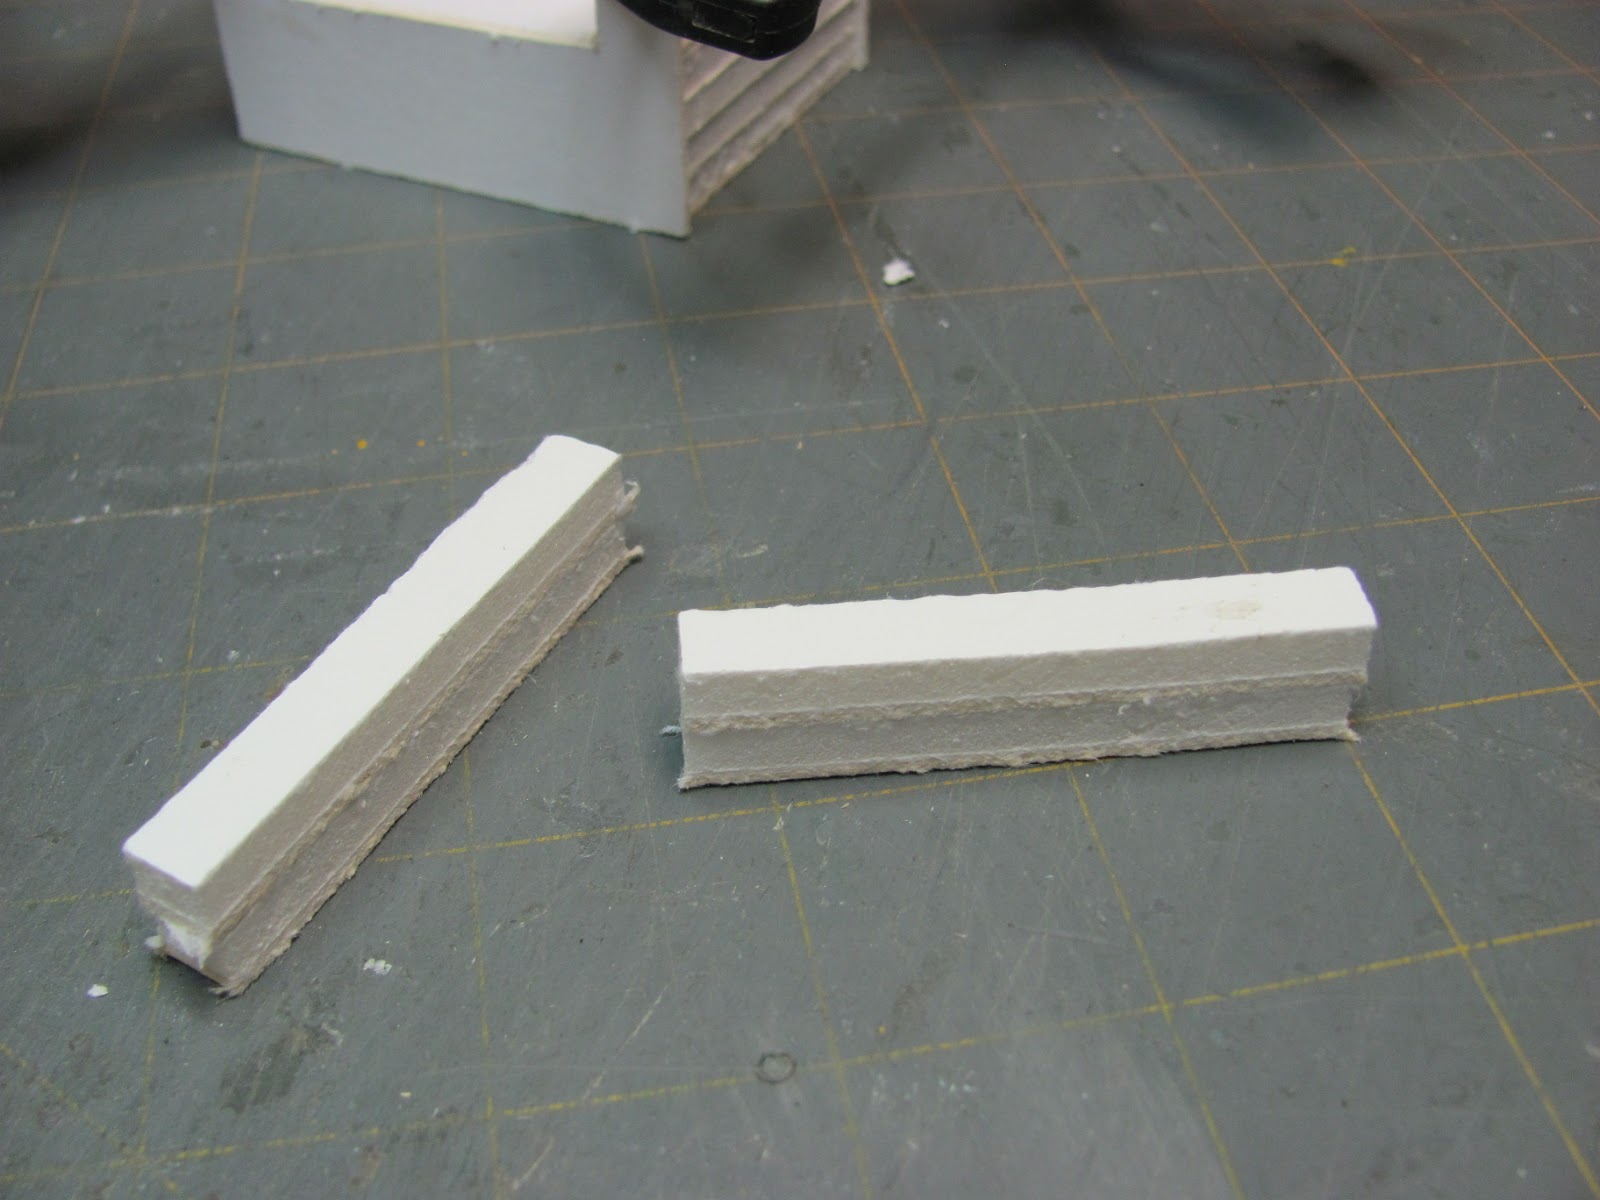
Glue the foam core together one on top of the other, from 4 pieces you now have 2.
Glue the supports onto the seat base under the dowels.
This supports the card stock cover we are going to glue on next.
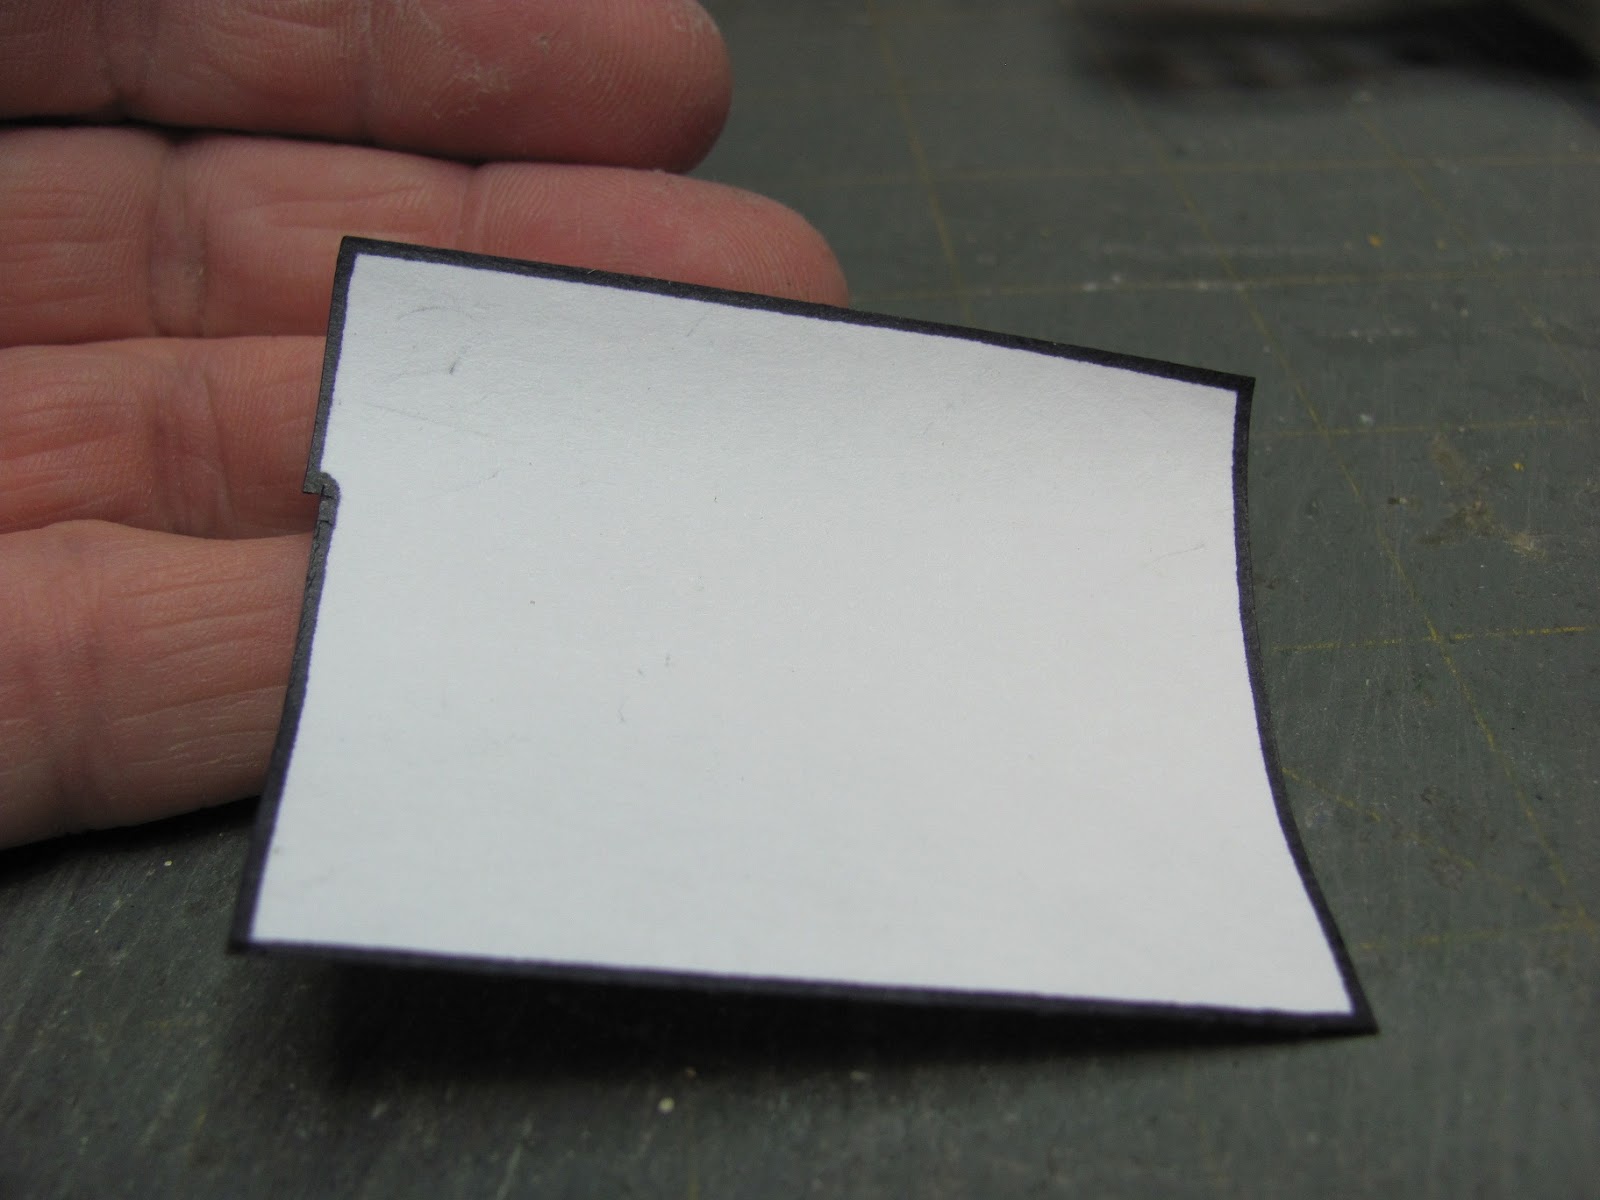
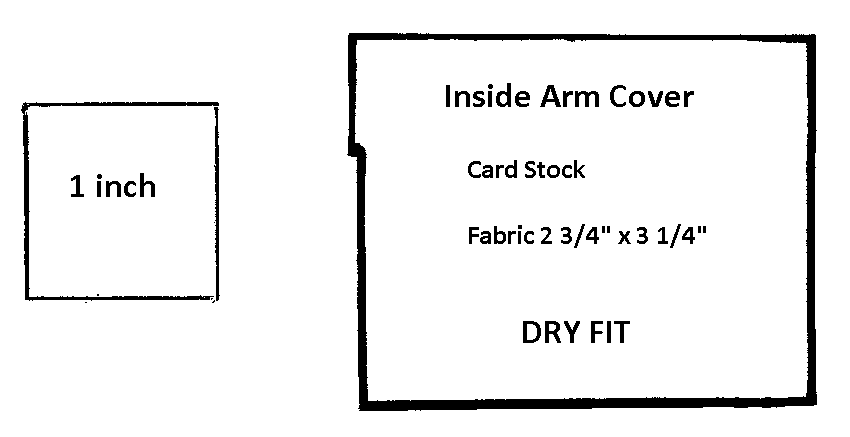
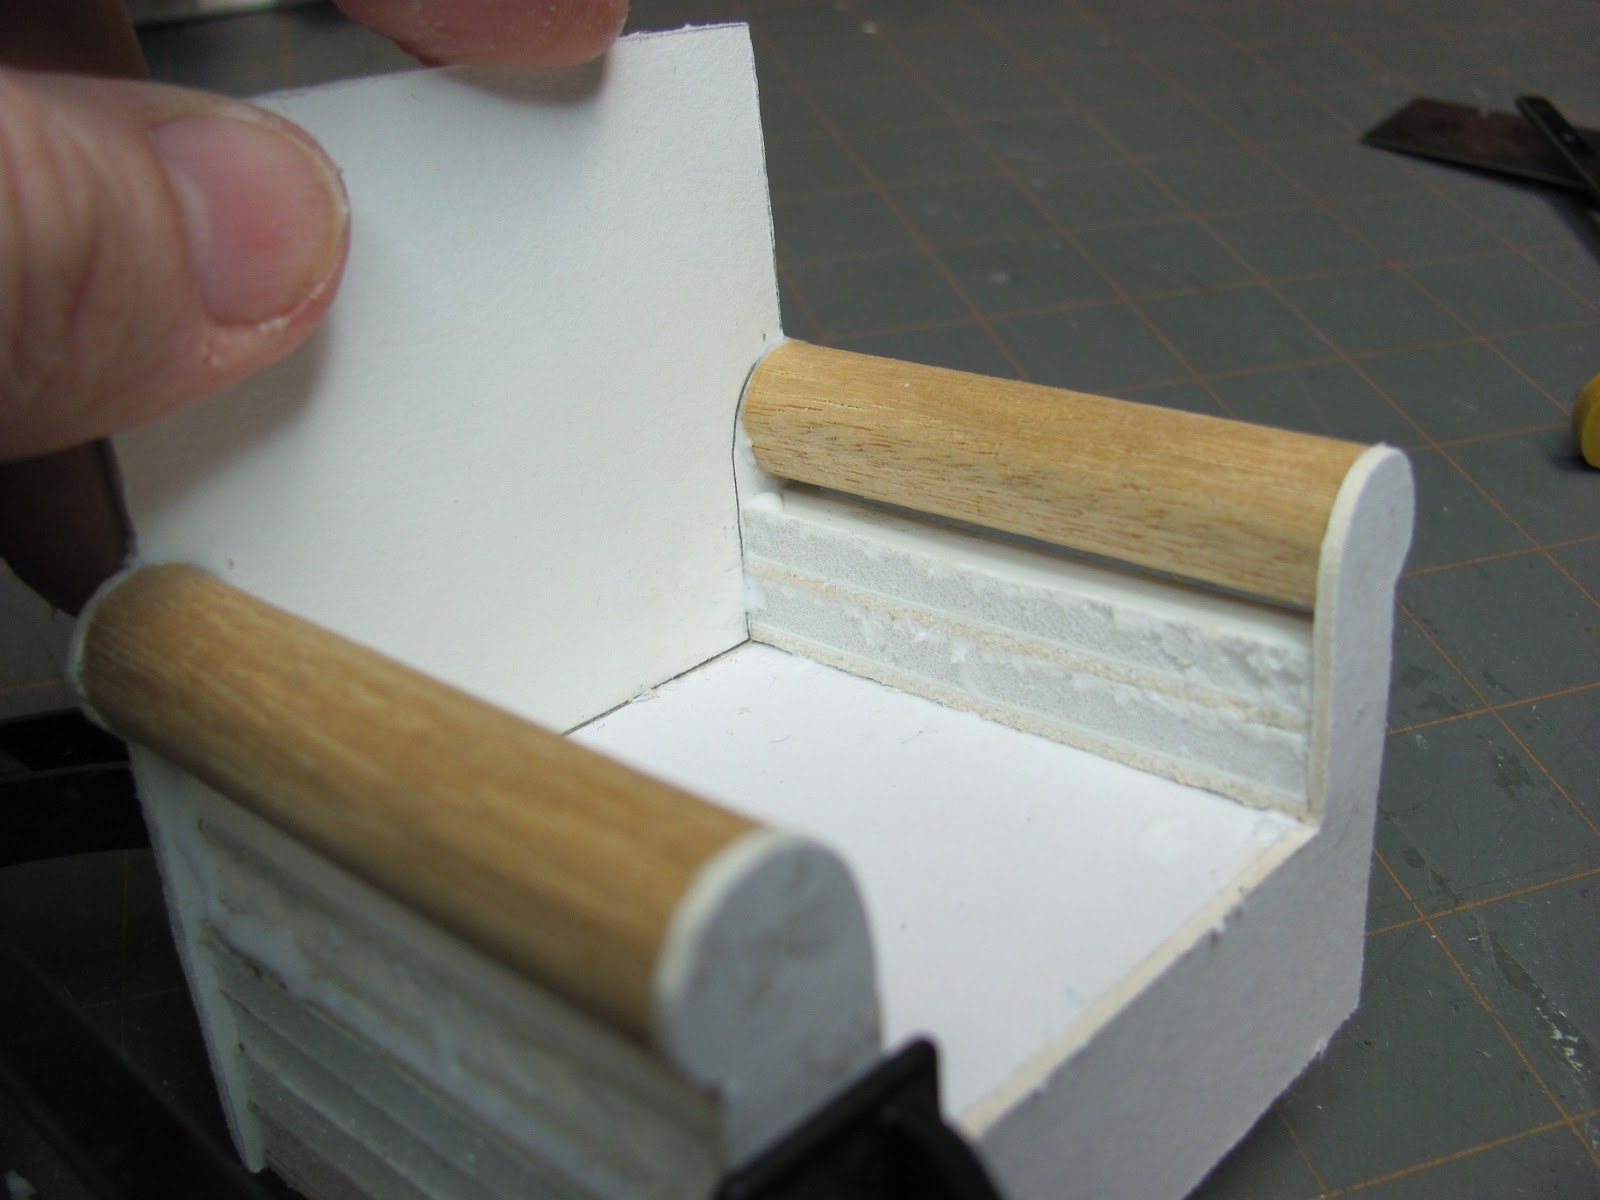
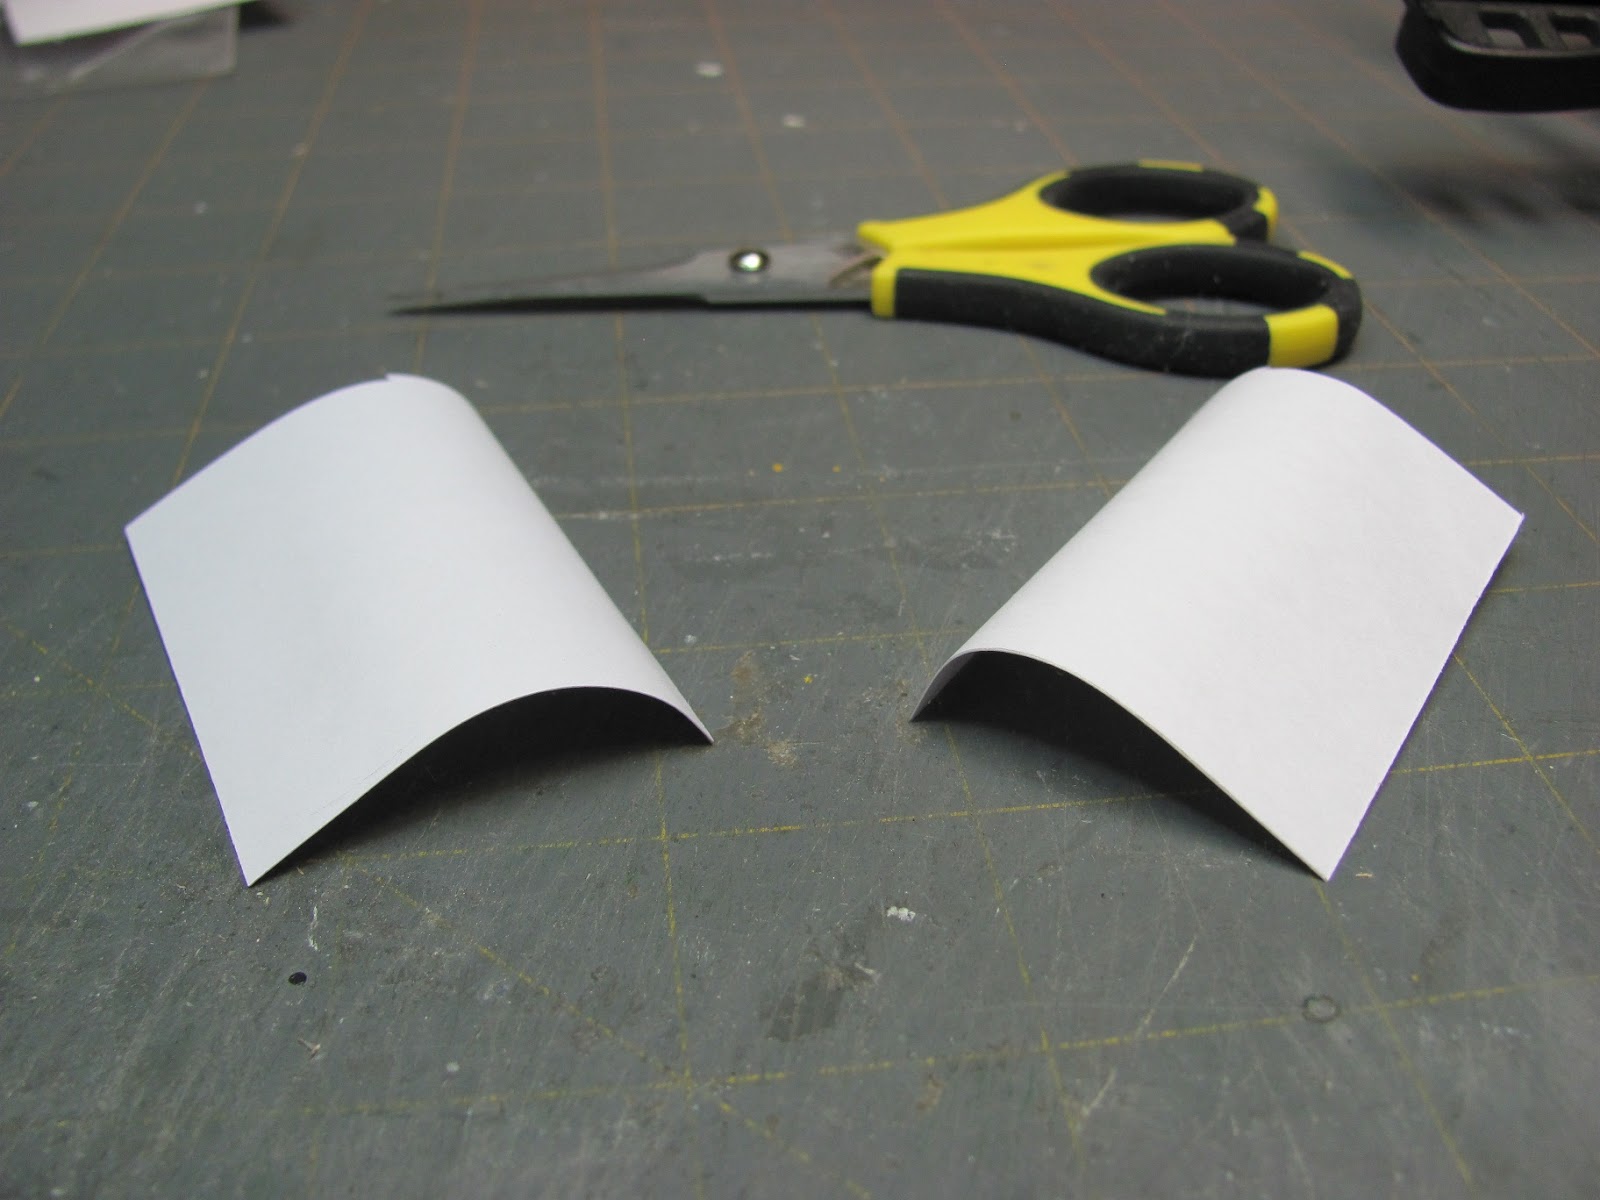
This is your arm cover pattern.
I've put "Dry Fit" on this. You need to always dry fit the pattern first, see if you need to make changes. You are not machines and your chairs will not always be cut out the same, there will be small differences in every chair.
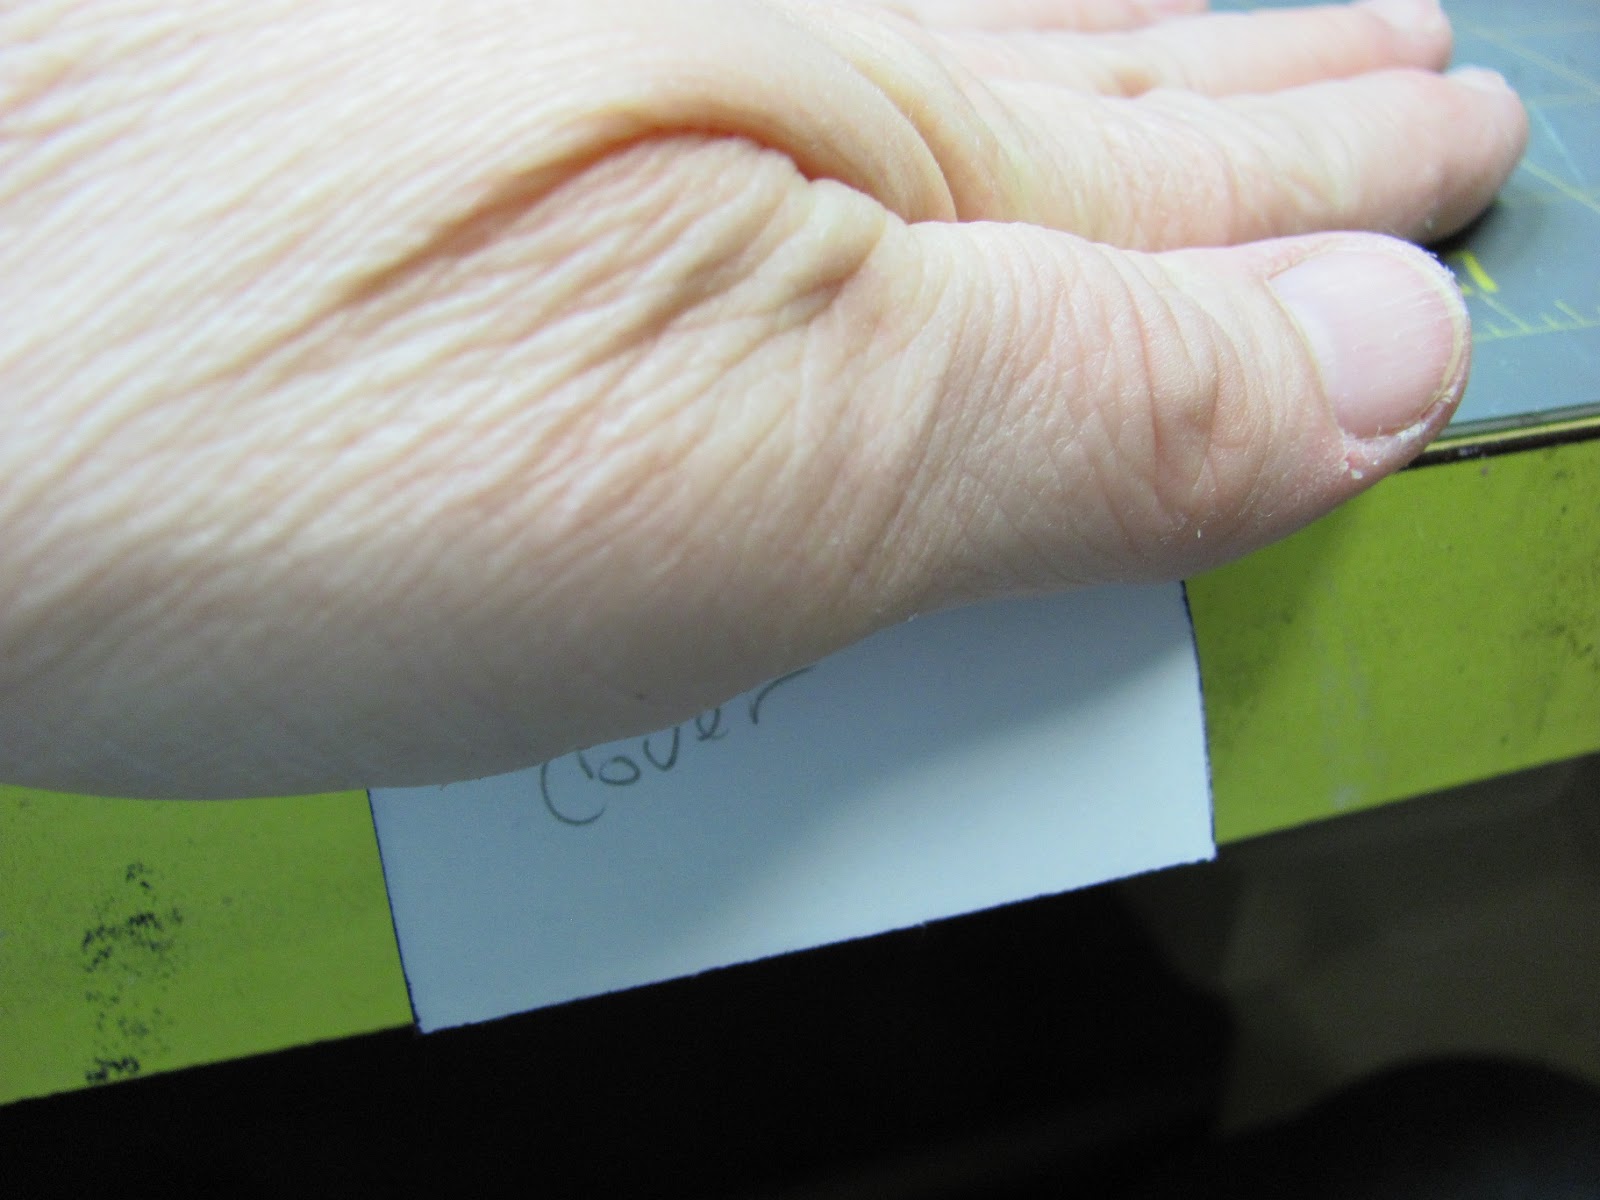
I am trying to show you how to curve the arm cover card stock pattern. If you curve it first by pulling the pattern over the edge of the table with your hand on it, it will curve without creasing.
You can get a good curve.
Dry fit the pattern. Take note of any adjustments you need to make when you draw your actual arm covers, don't change your pattern.
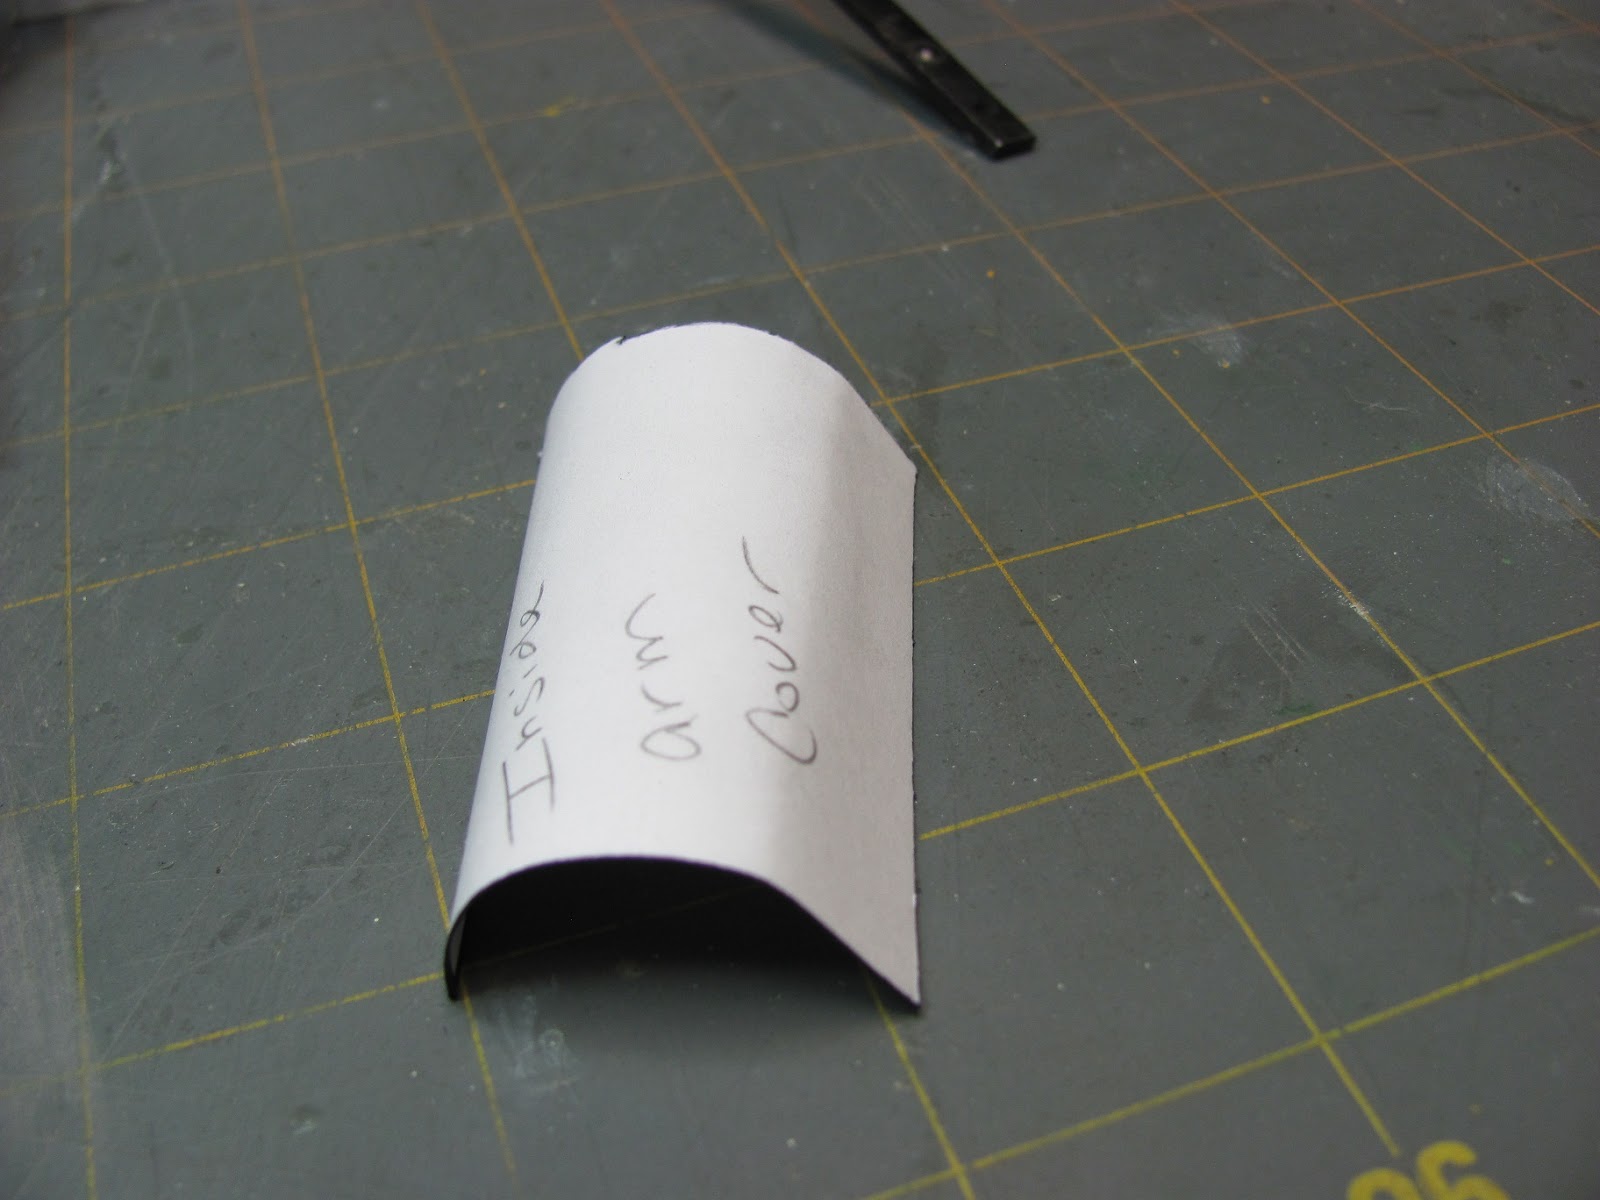
Trace the arm cover pattern onto card stock and cut out.
Here are my arm covers.
Curve them and dry fit again.
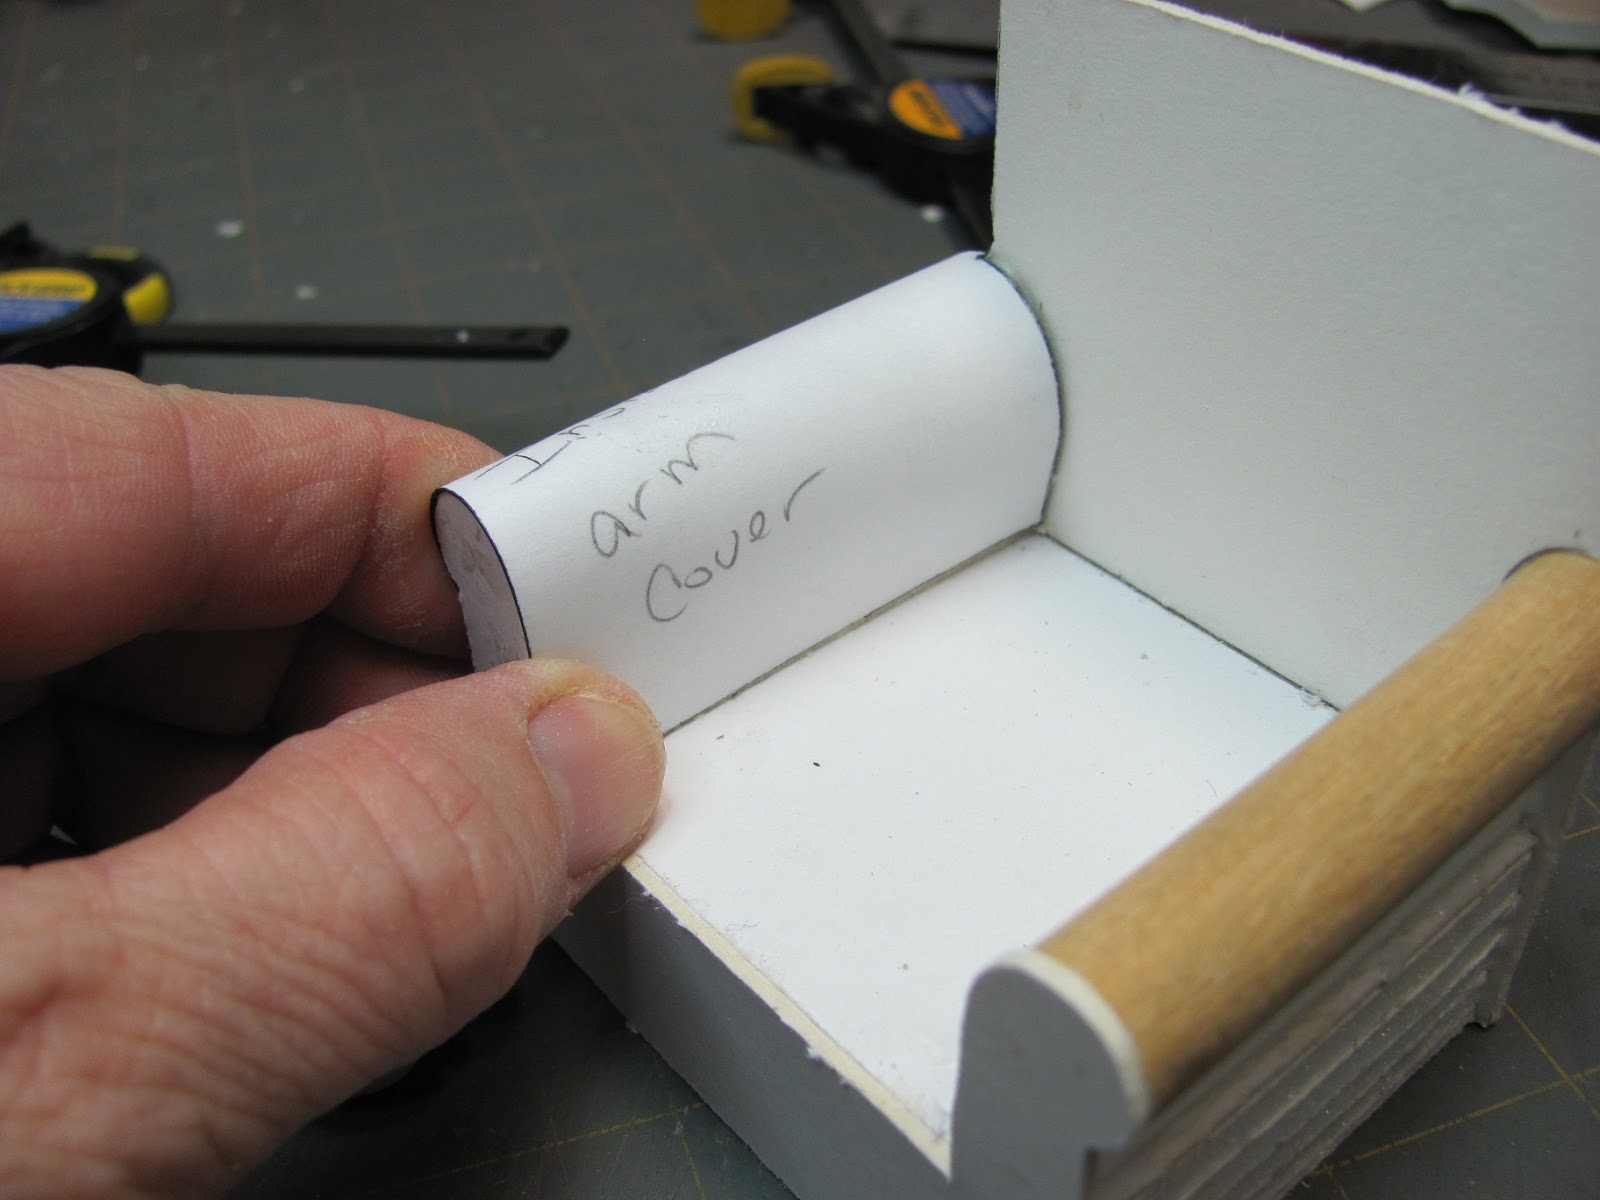
Apply and smear the tacky glue onto the supports, dowel, back (on the line) and on the front edge.
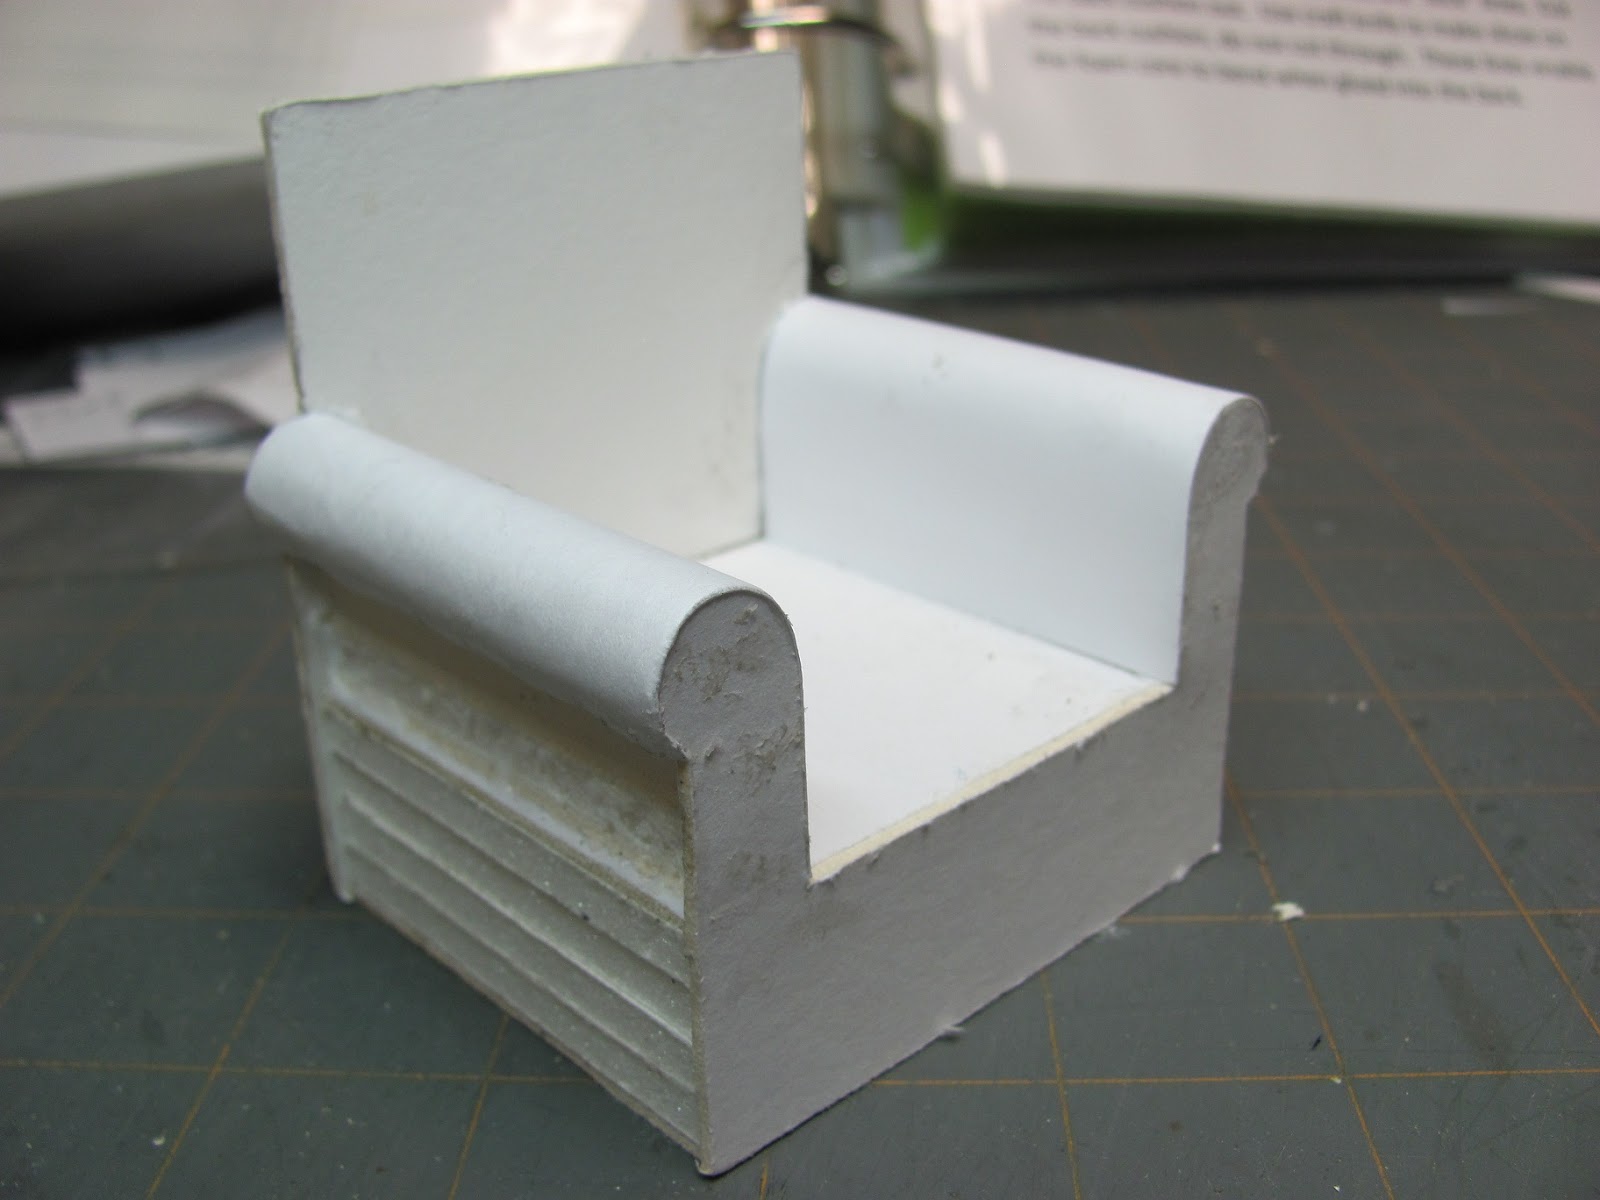
Glue the card stock arm covers onto the chair. If the foam core supports were not under the dowels the arms would be very delicate and easy to mash when we upholster.
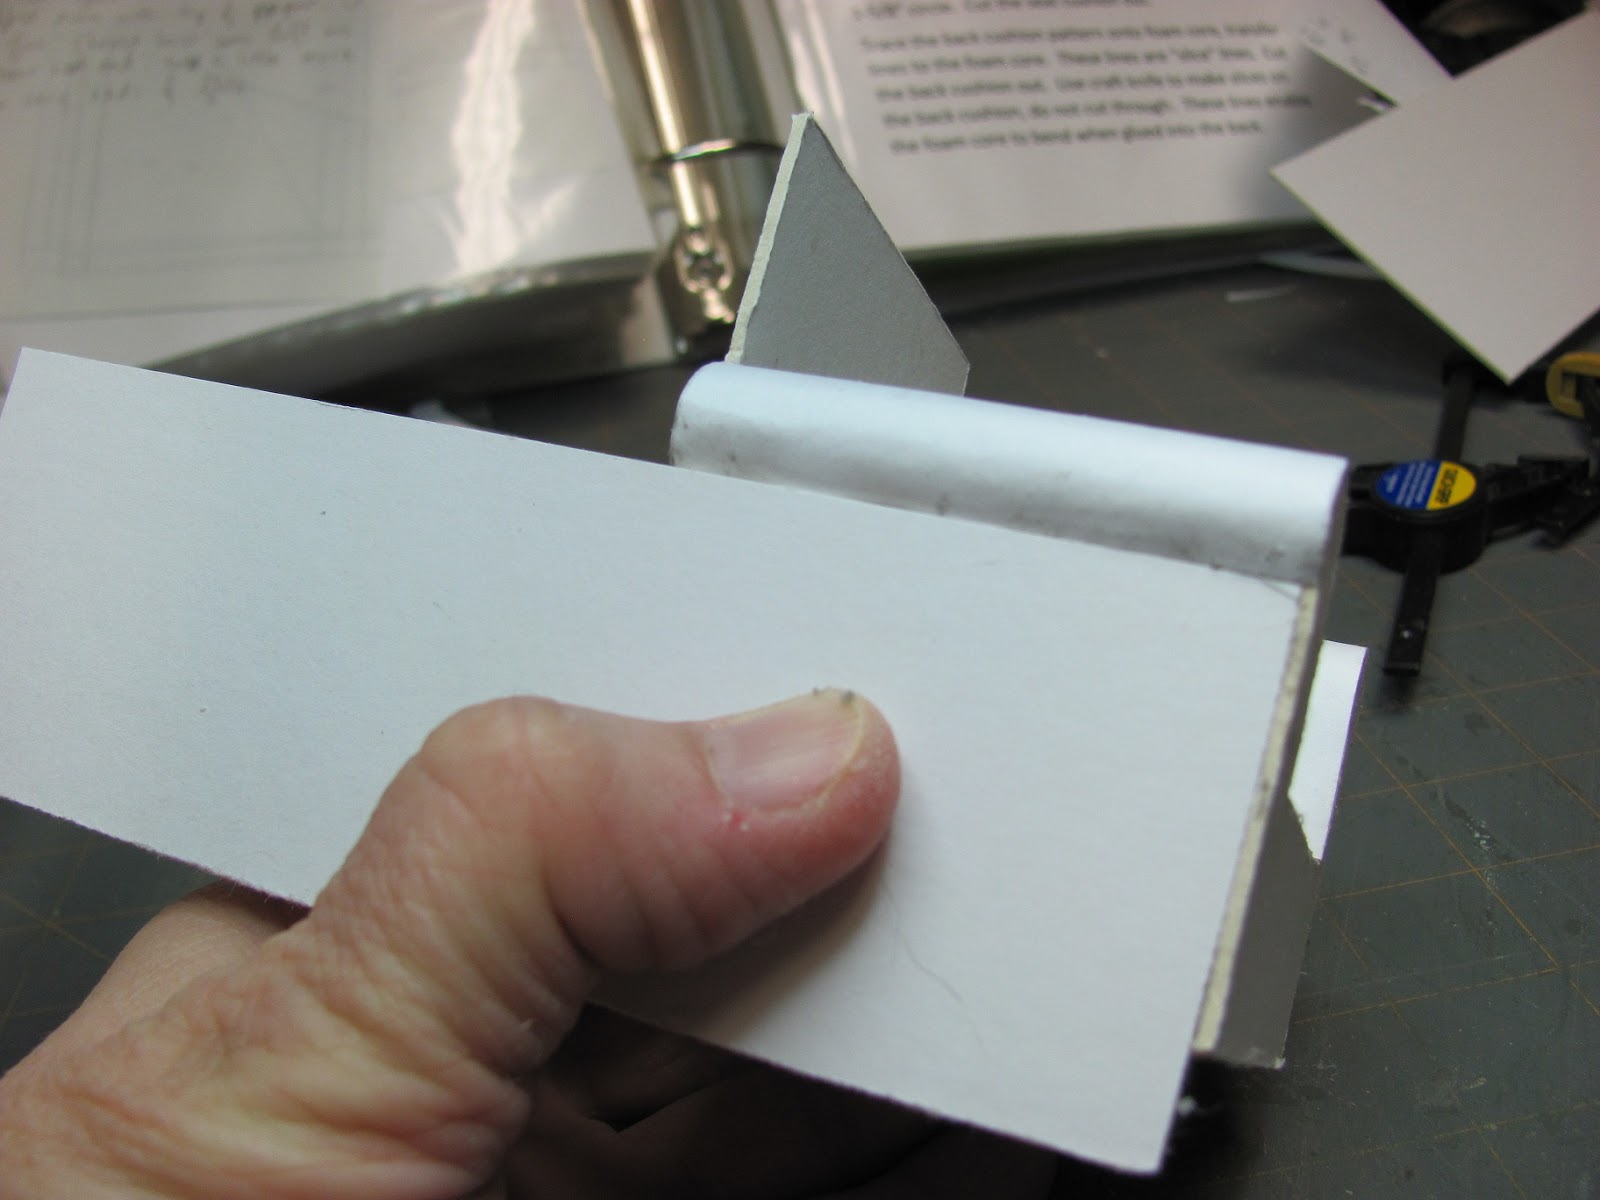
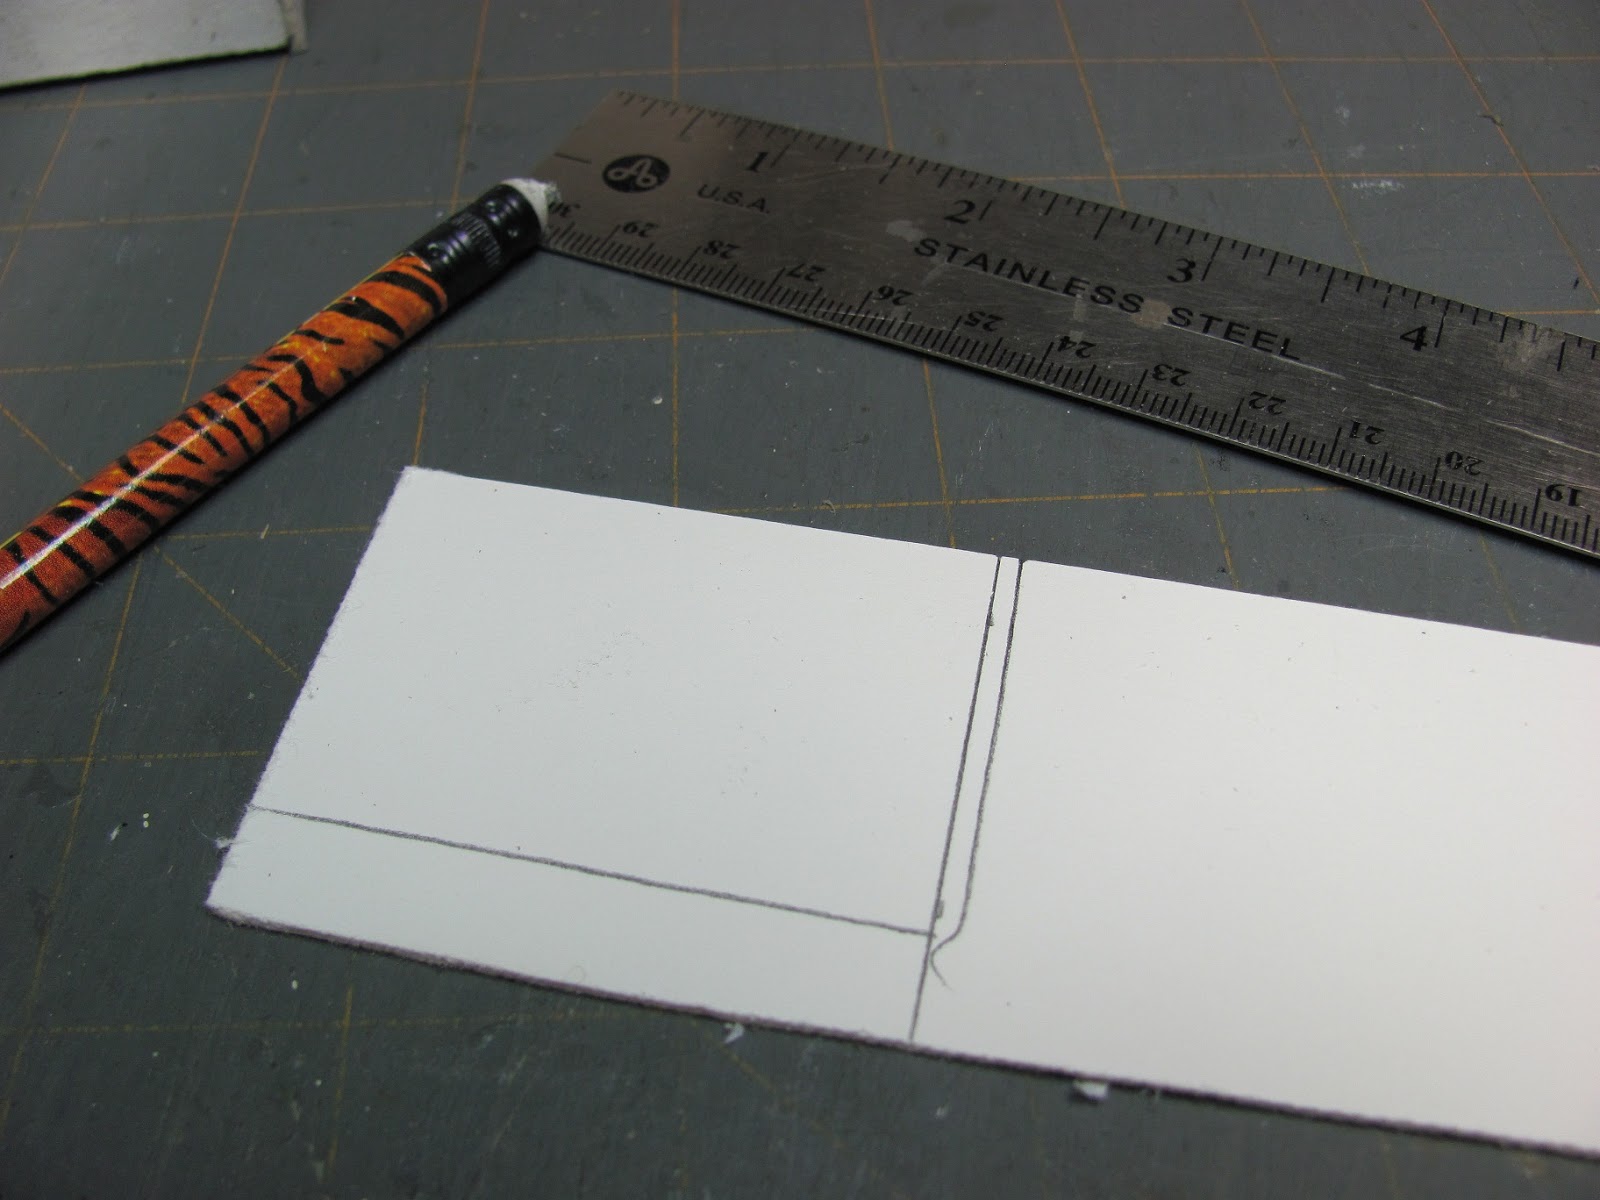
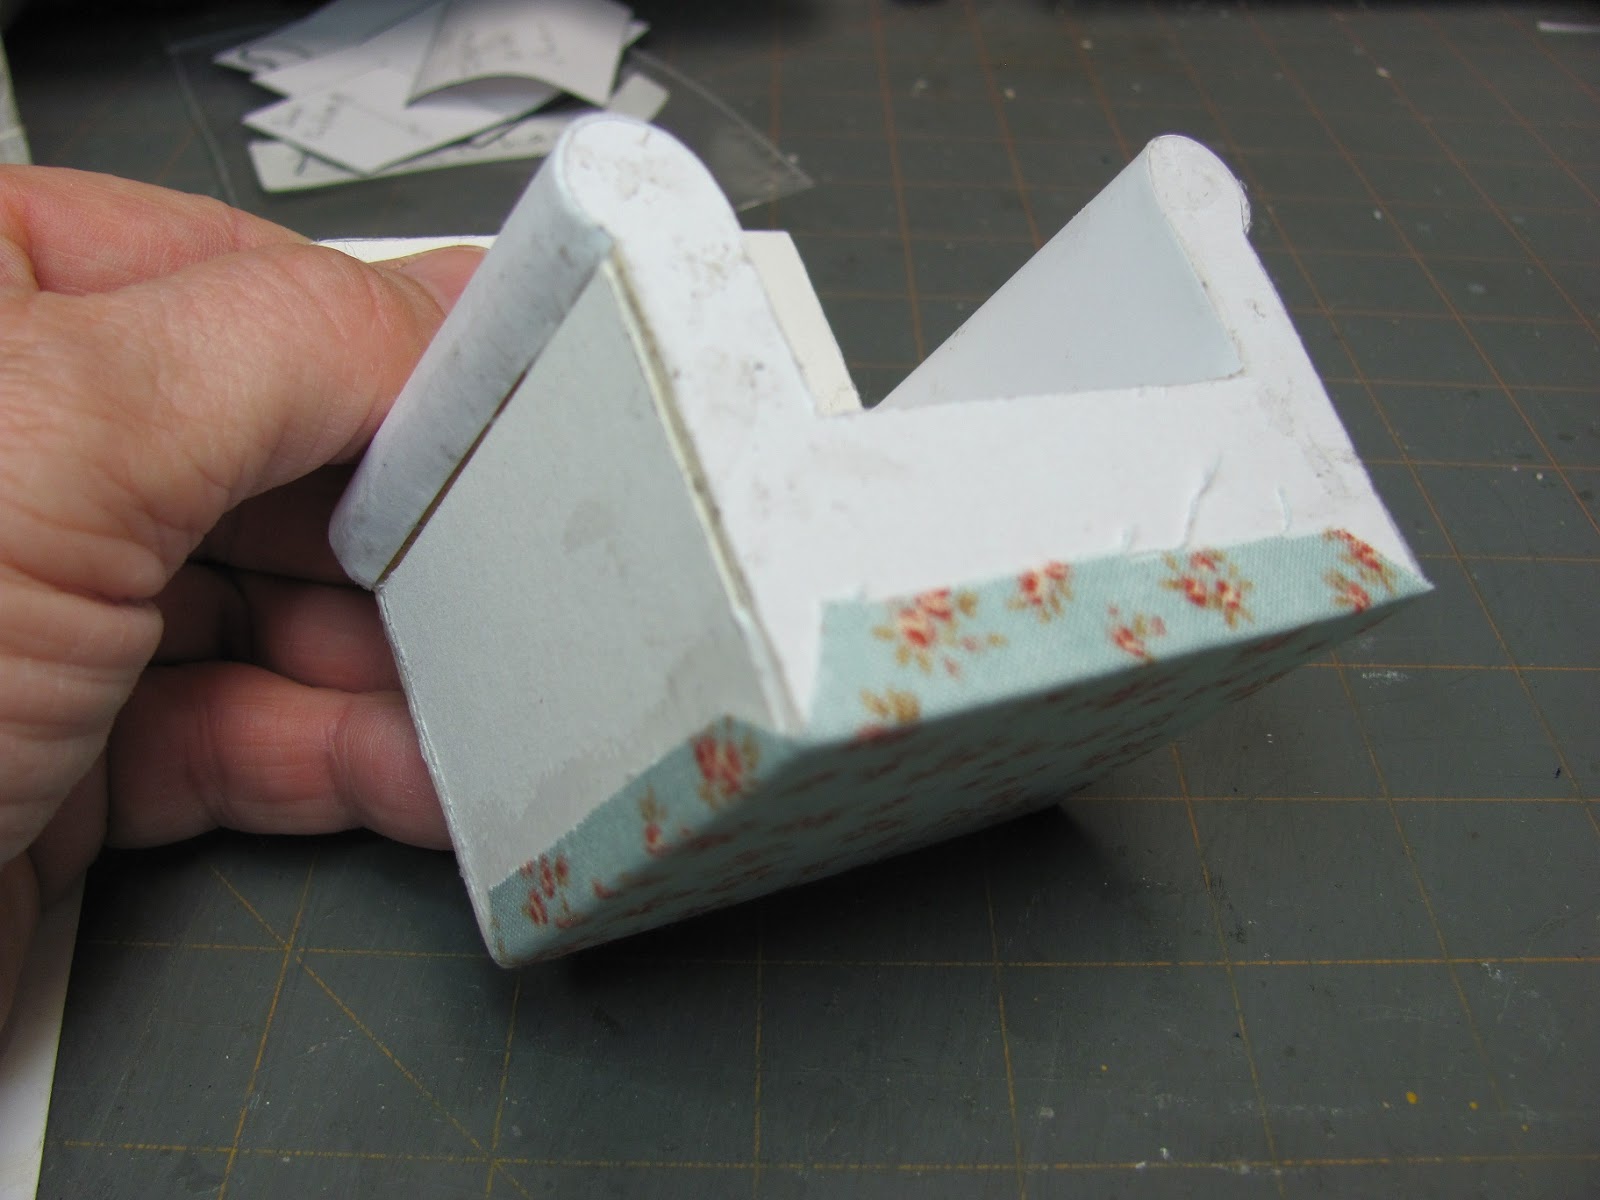
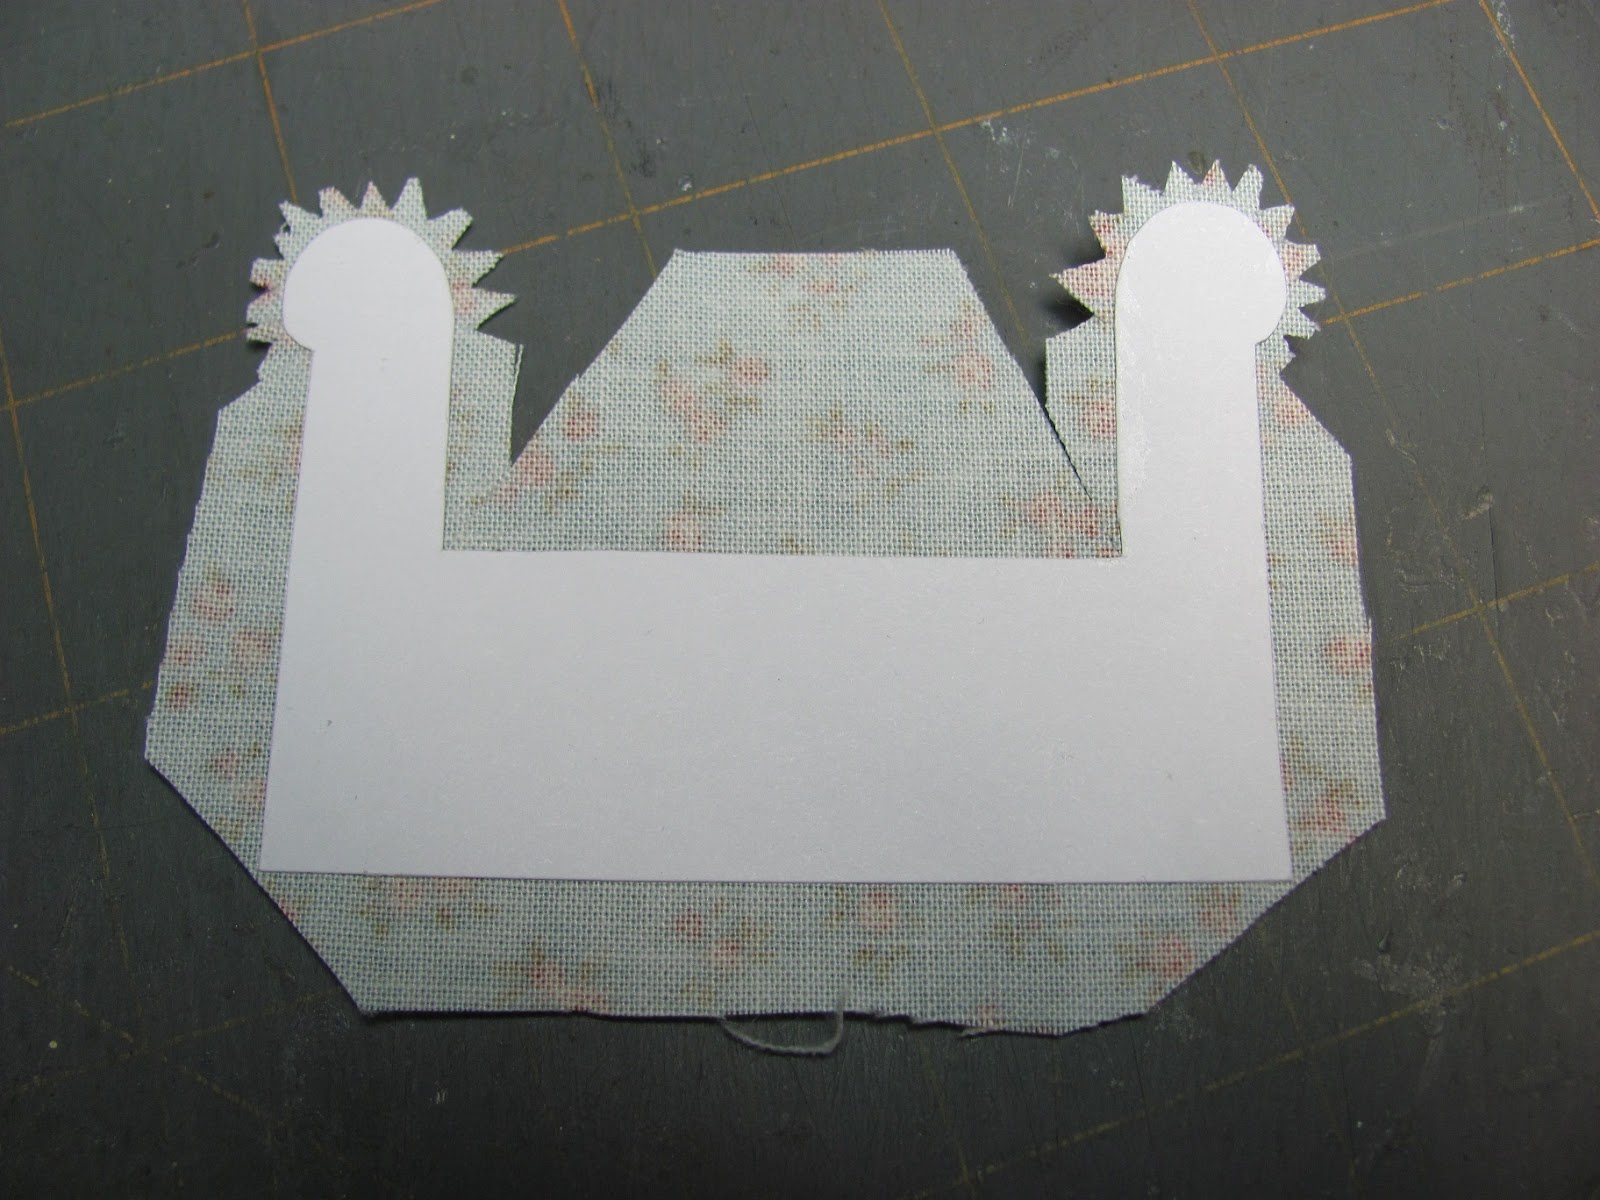
I do not give a pattern for the sides. I use mat board for the sides. Place a strip of mat board up to the side of the chair under the dowel and behind the front.
Trace along the bottom and back of the chair.
I've measured 1/16" in on one side, this is the thickness of the back. The mat board has to fit between the front and back pieces.
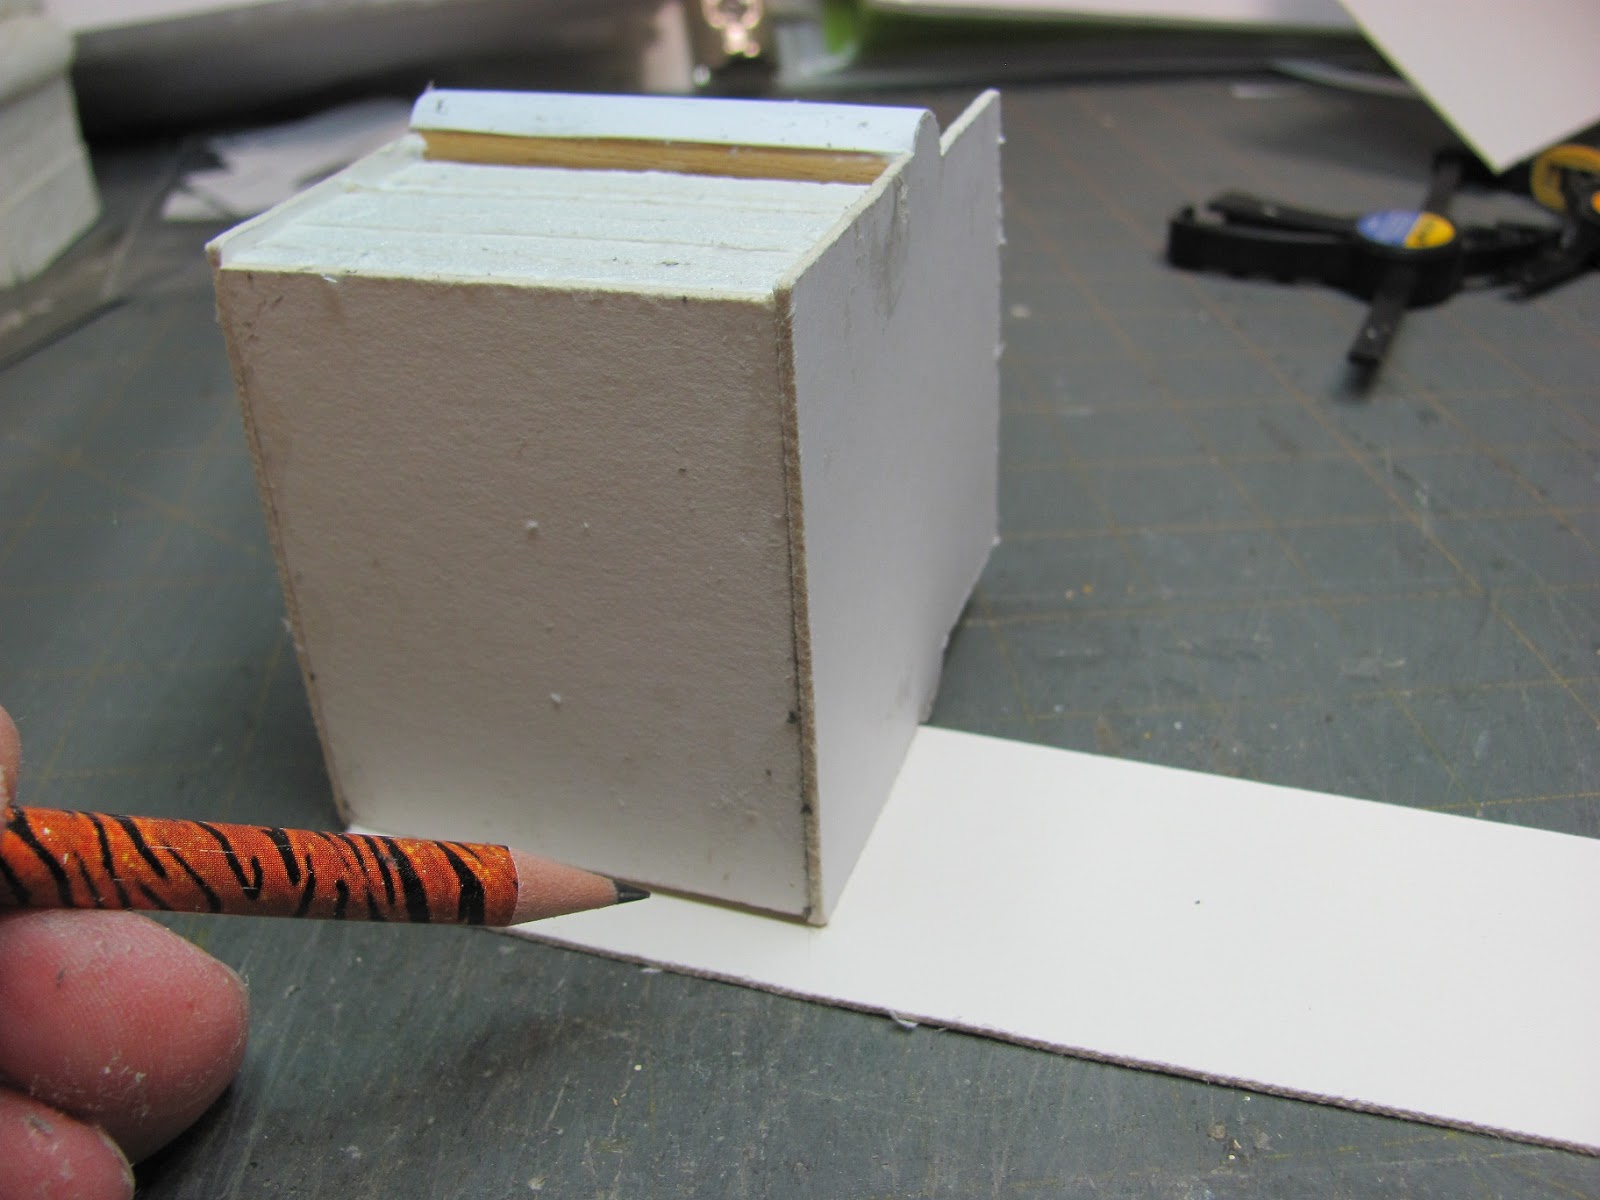
Apply glue to the seat base, front, back and under the dowel and glue the side onto the chair.

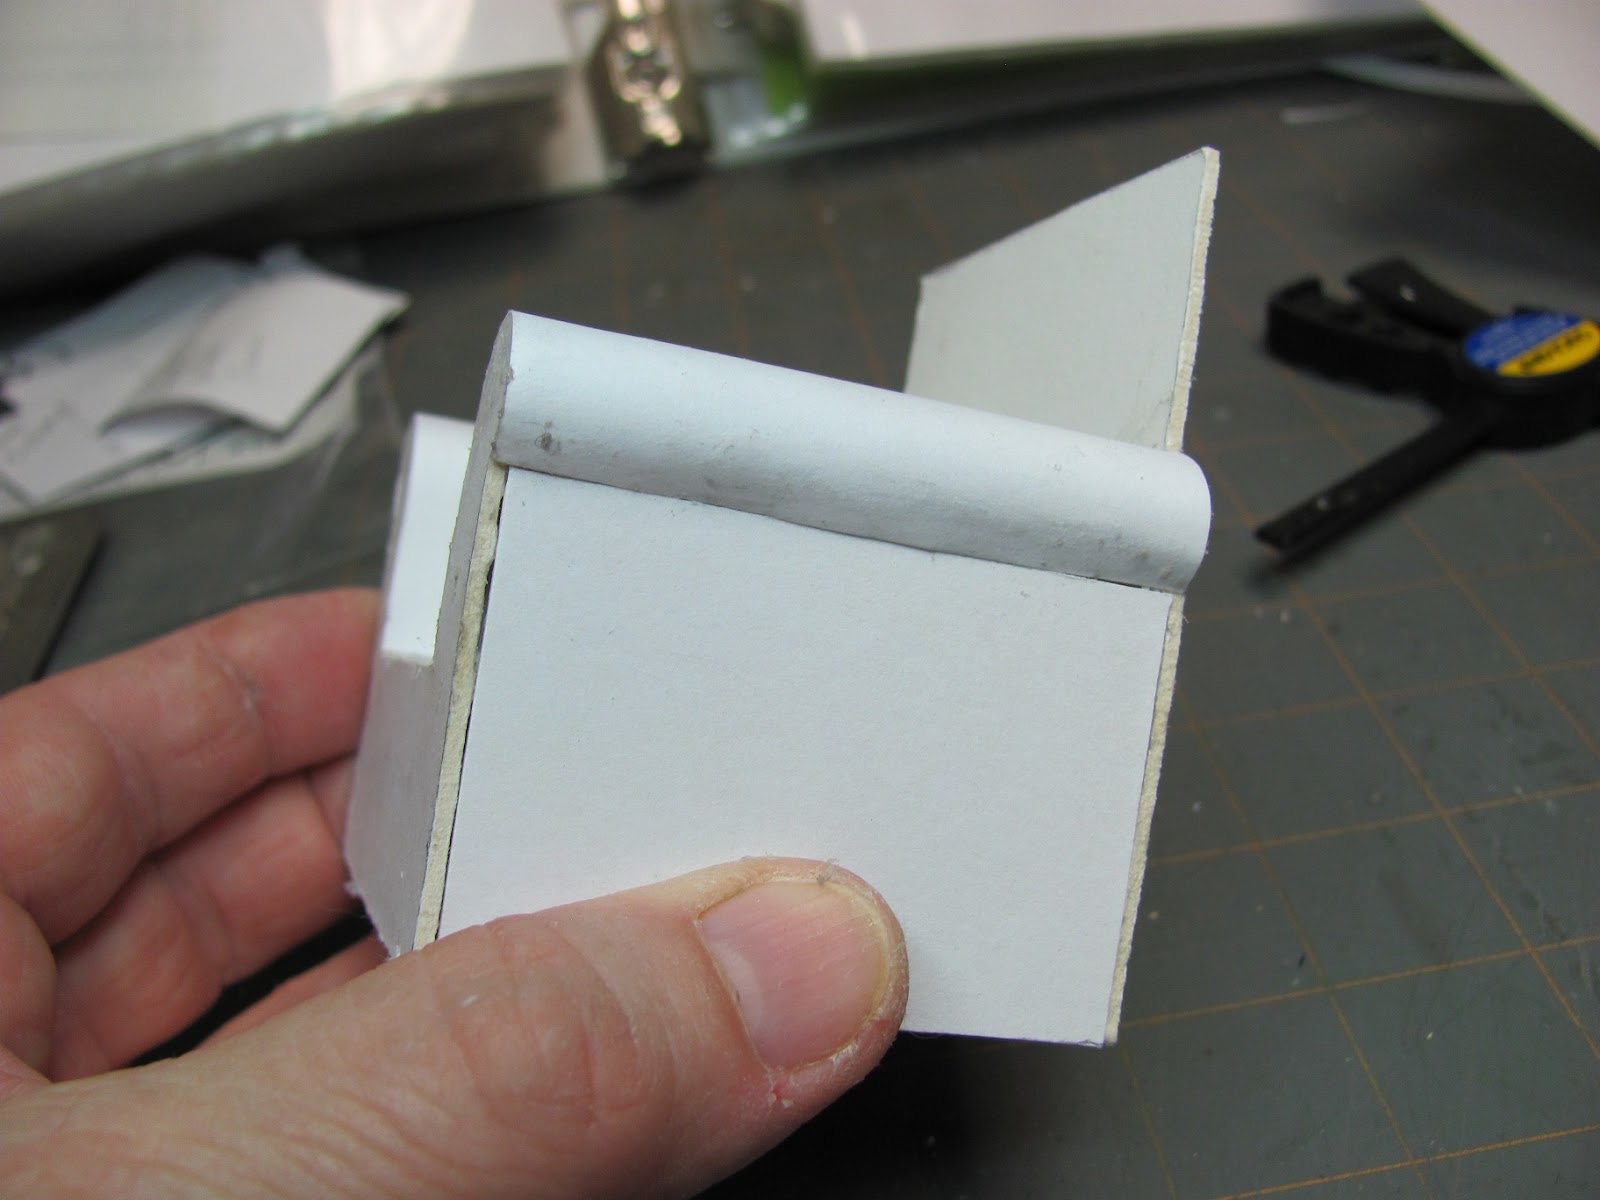
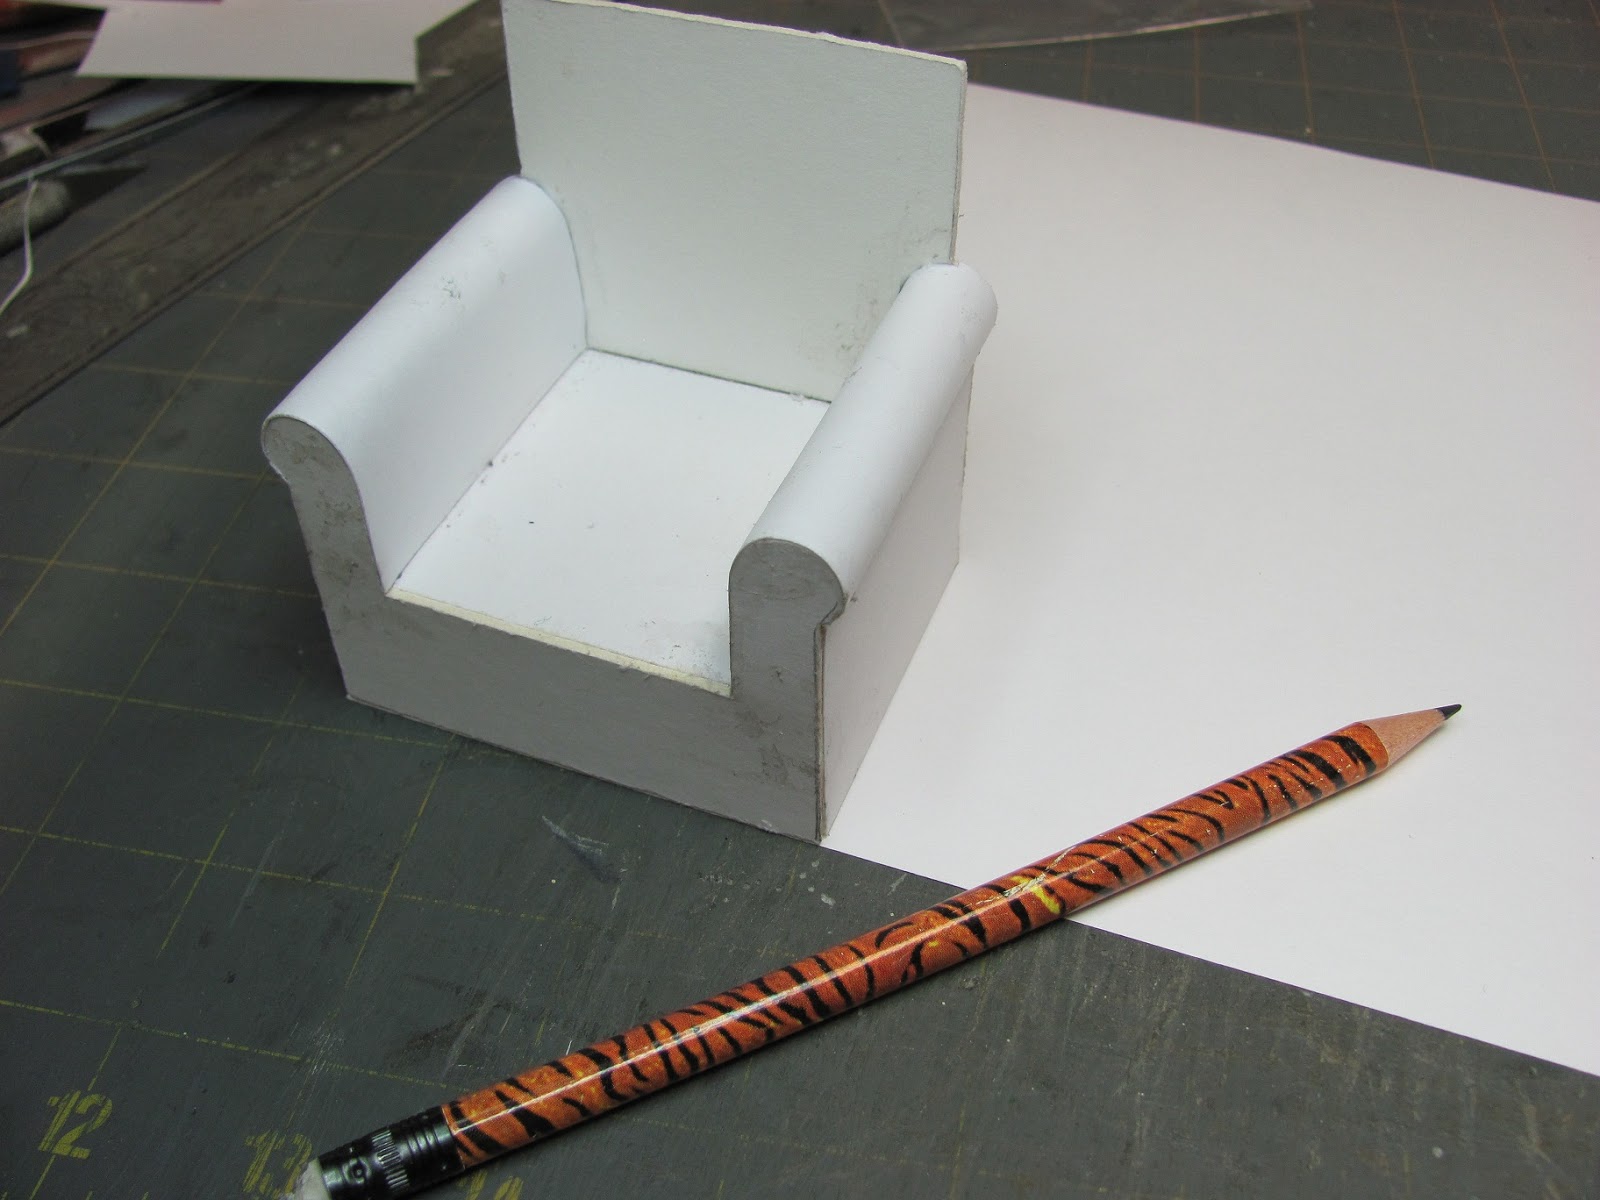
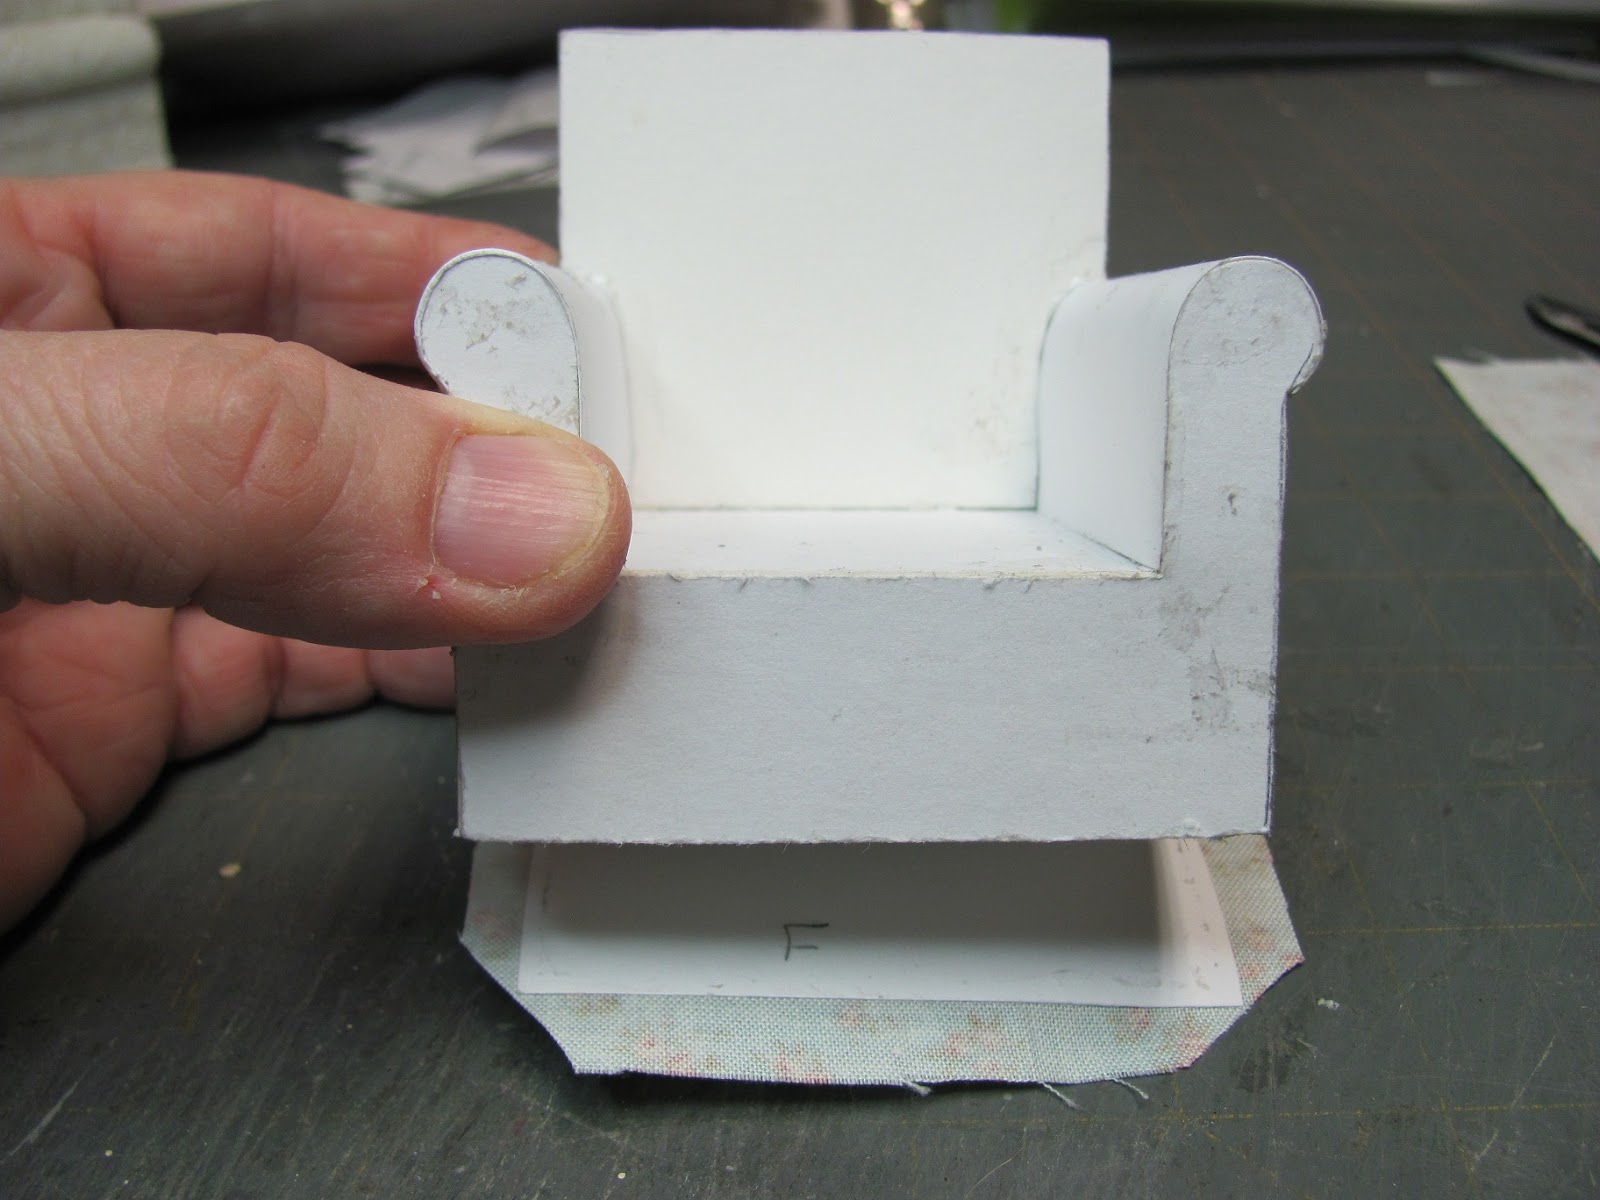
Your chair is built.
This is my sample chair, I used white-on-white fabric to cover it, like muslin it is easy to work with.
I also dye the white-on-whites, you get a very pretty tone-on-tone fabric. I use Rit dye.
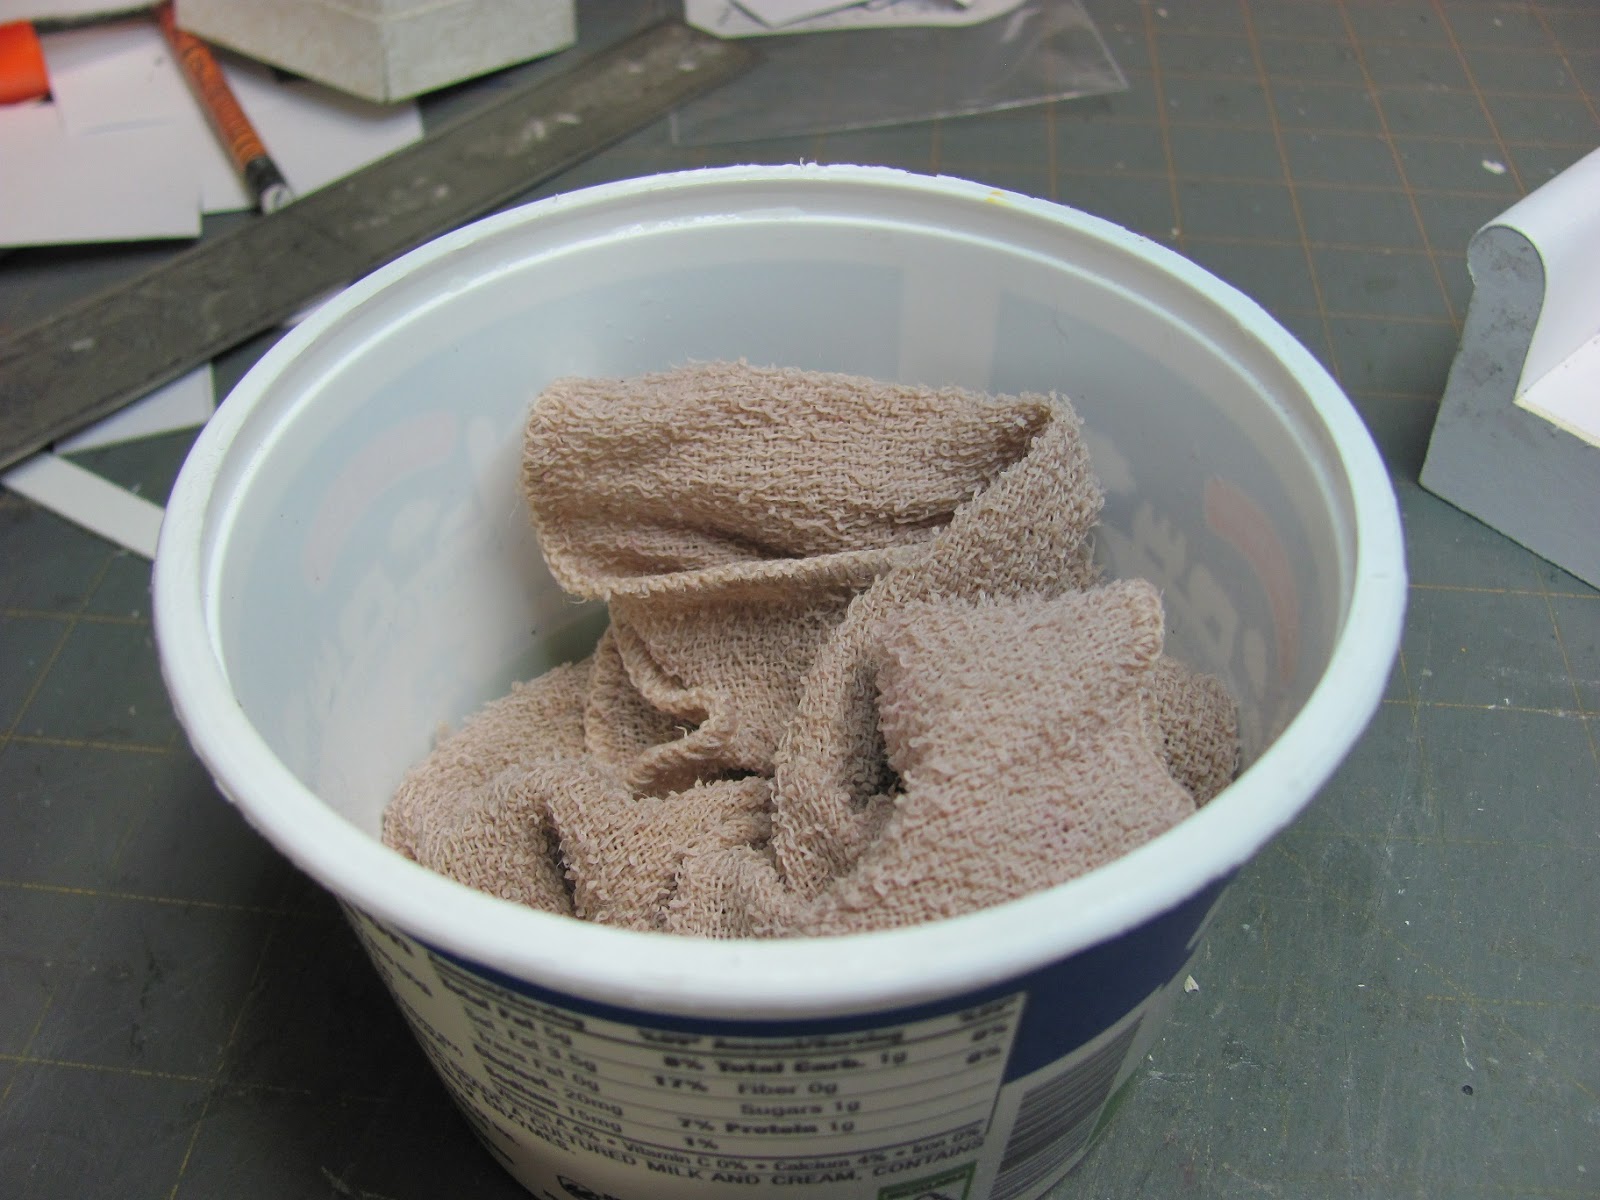
"Why is Kris showing us a rag in a sour cream container?"
This is a wet wash cloth, keep it handy for wiping glue off of the fabric and your hands.
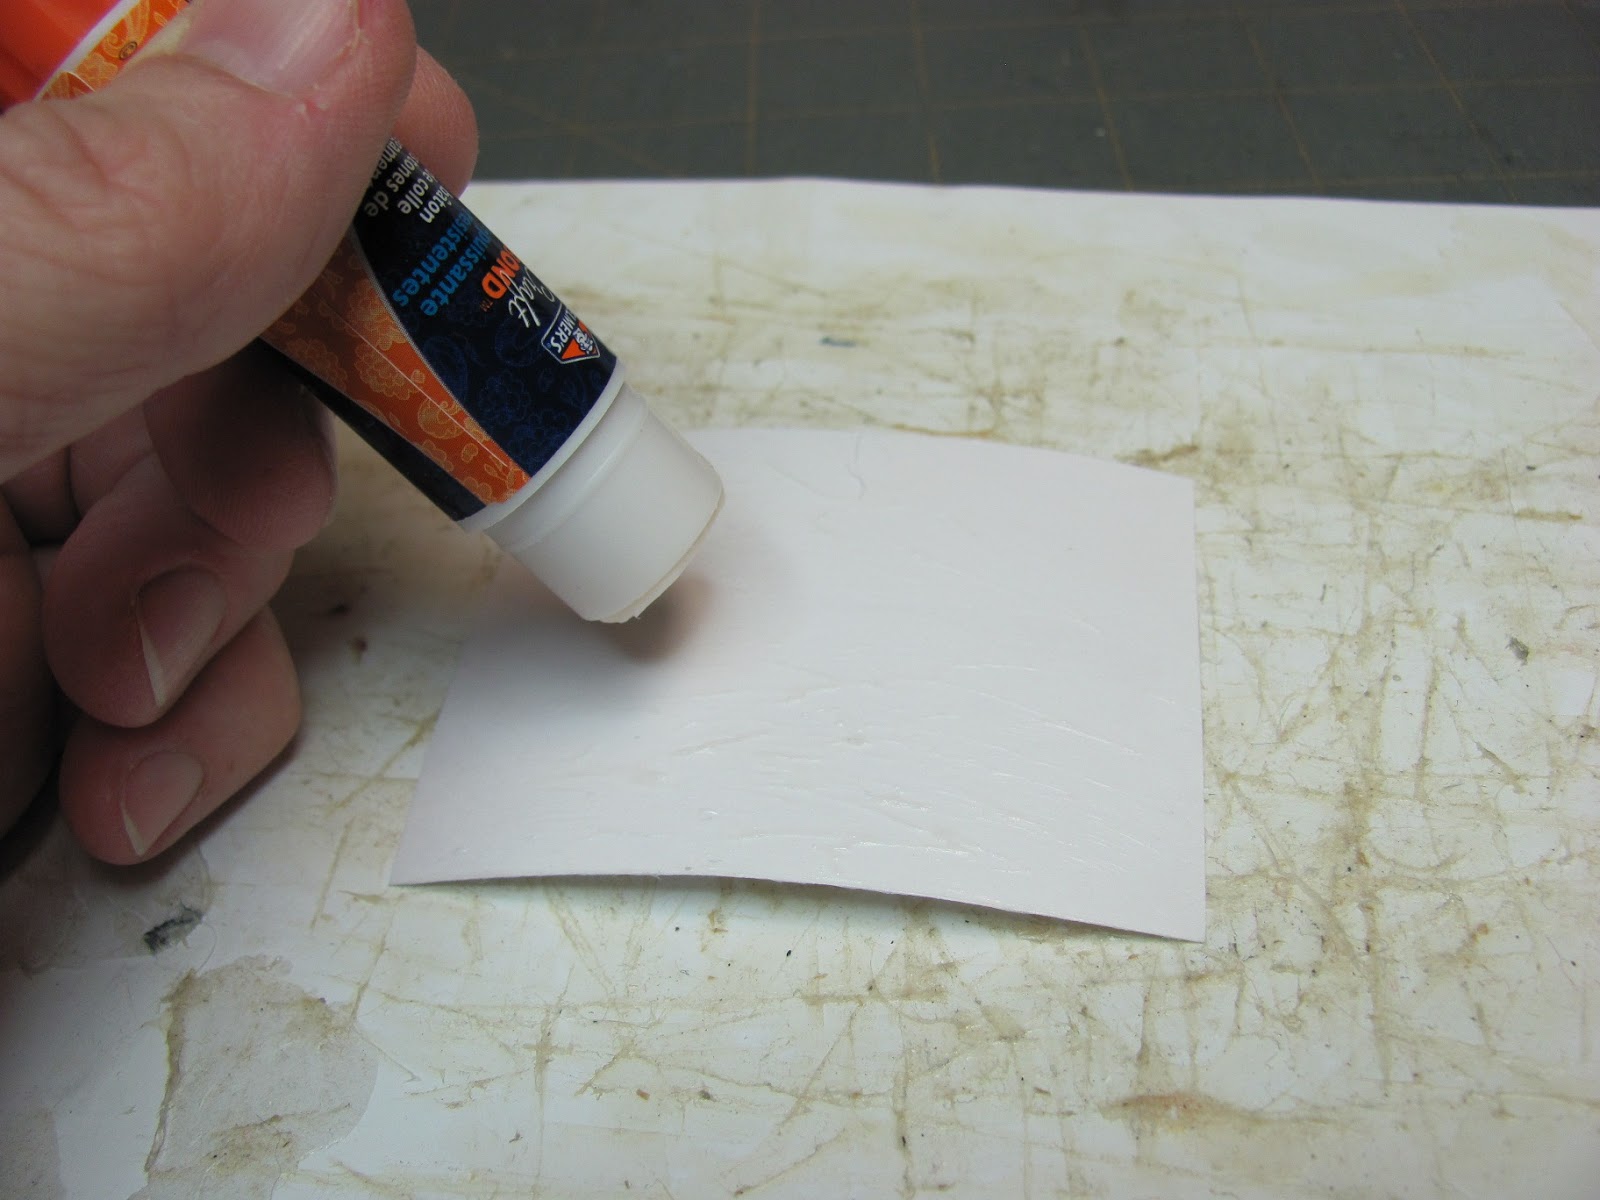
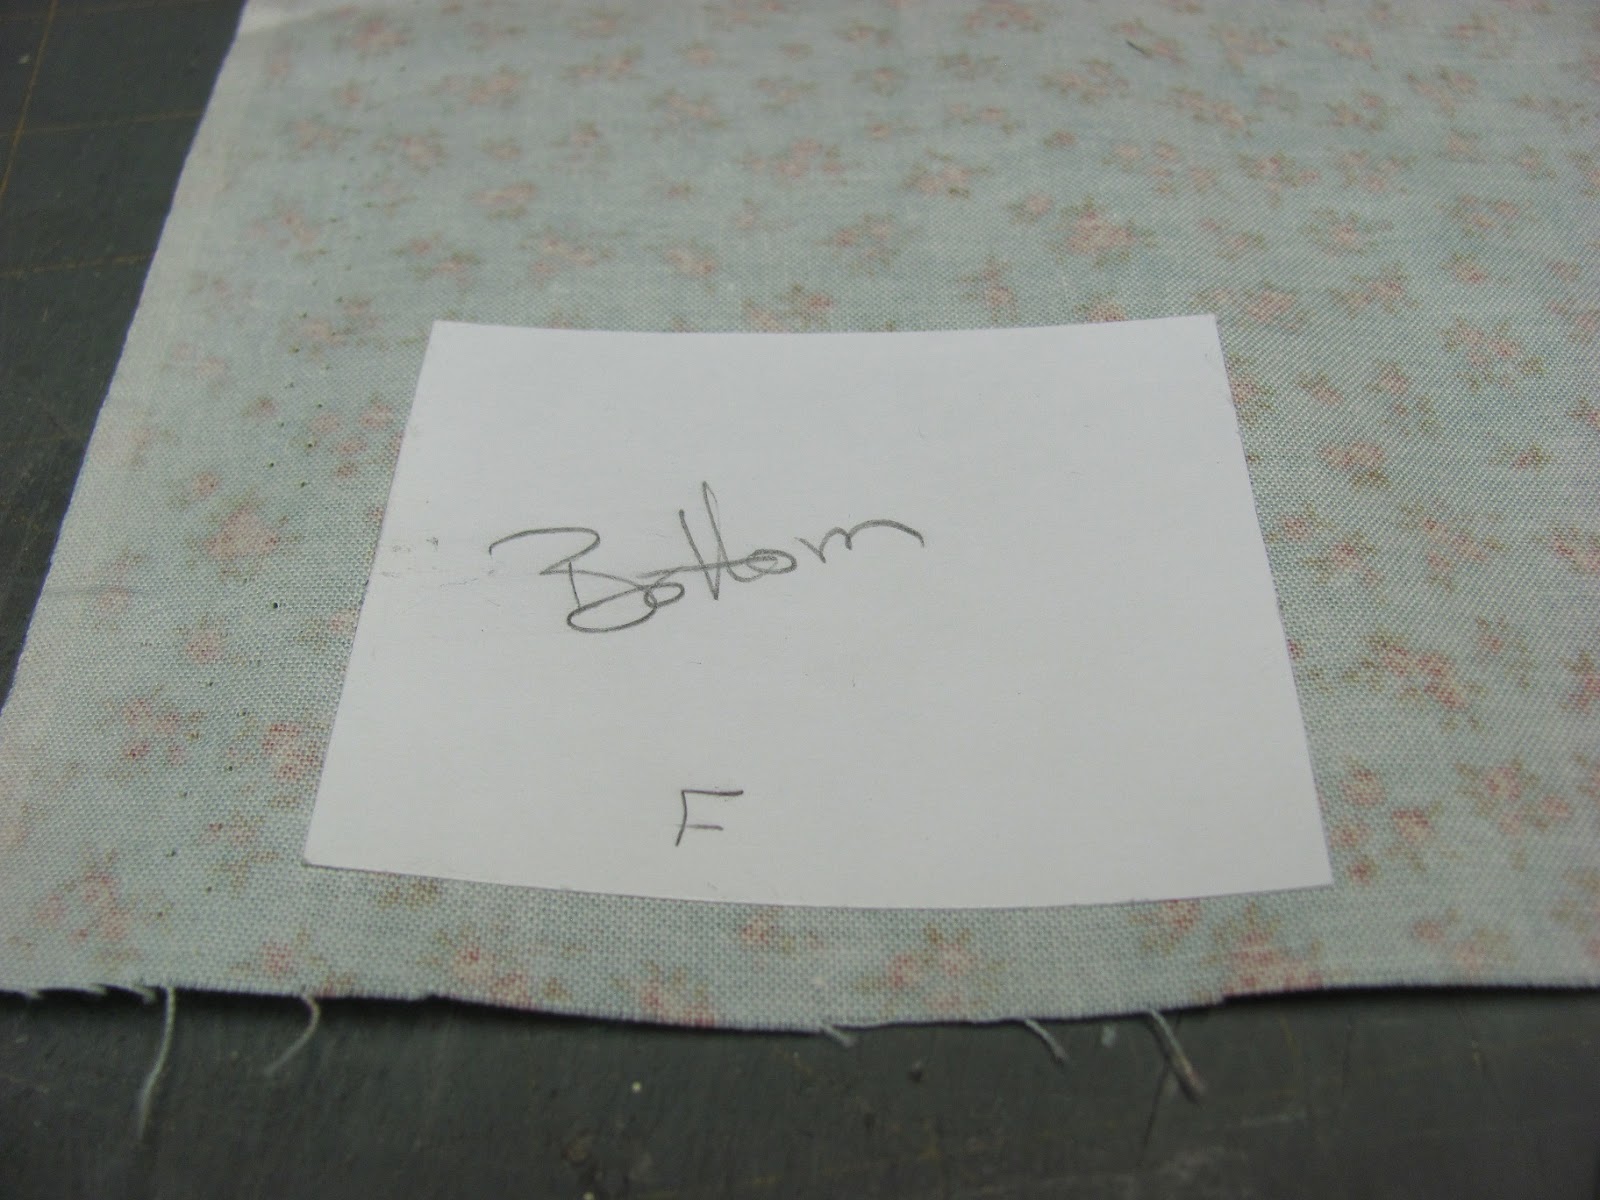
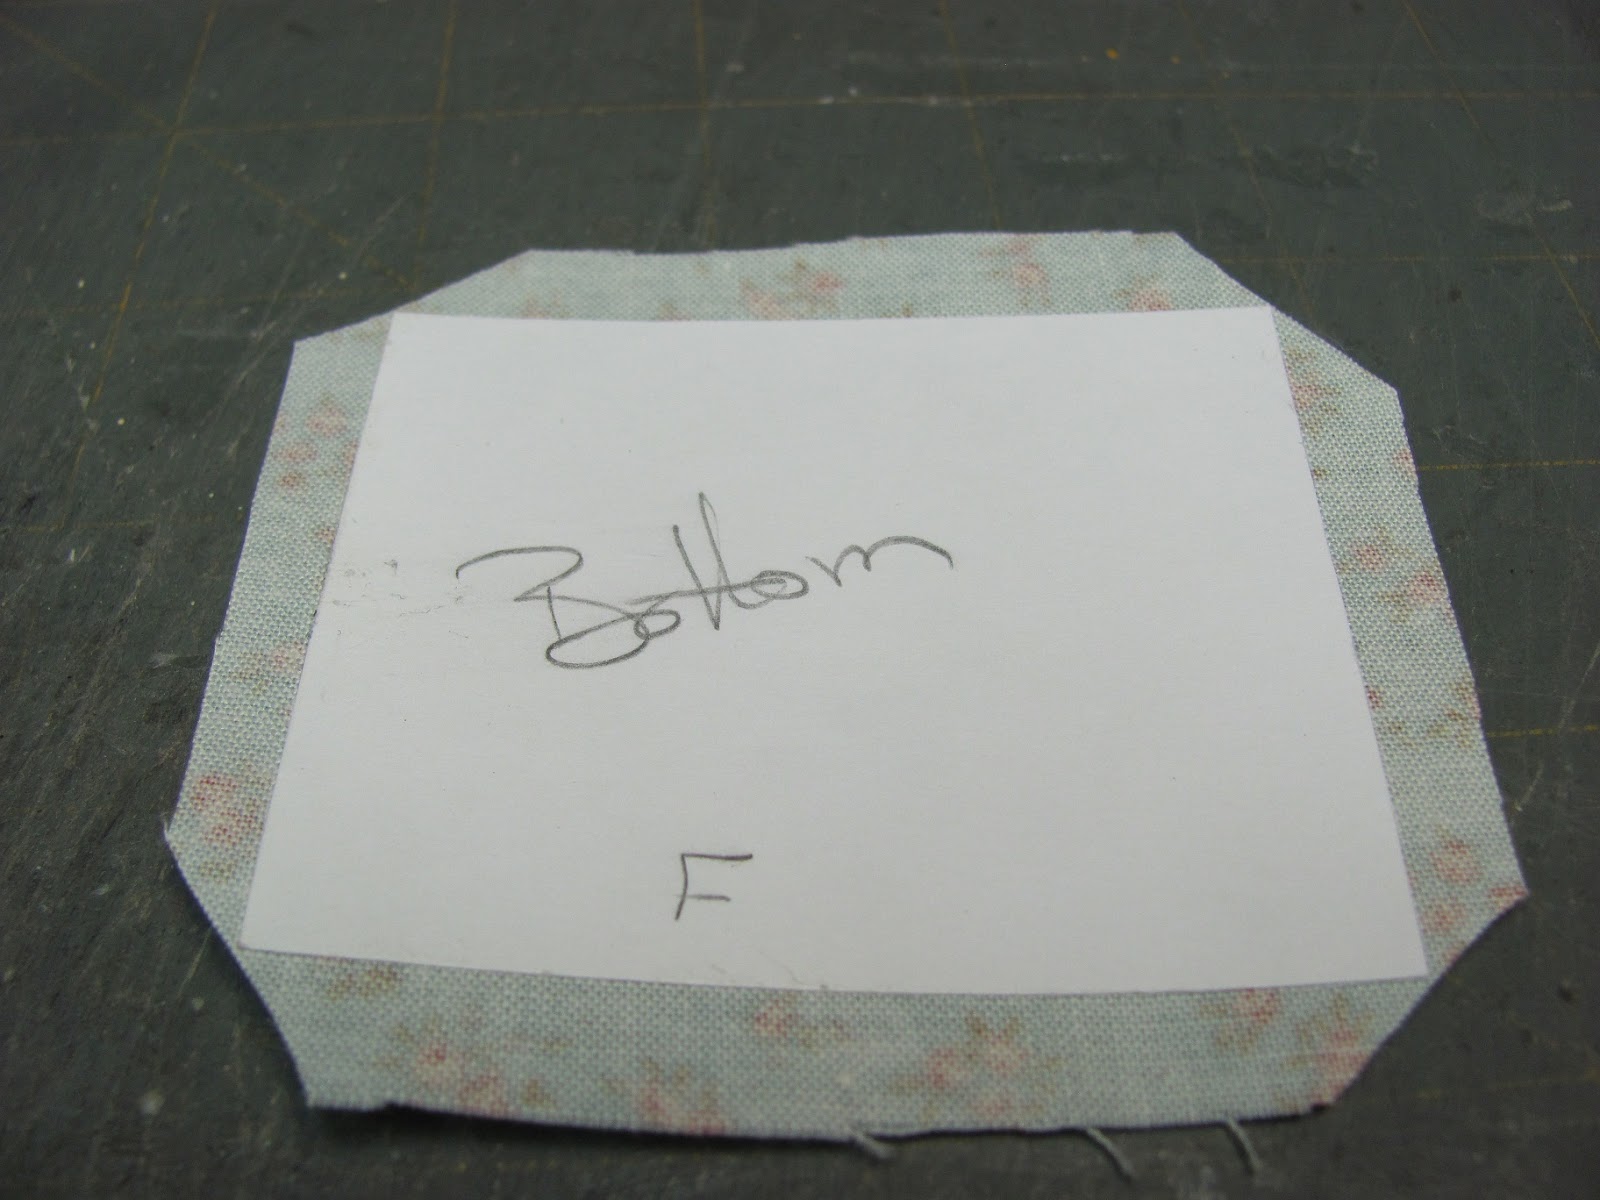
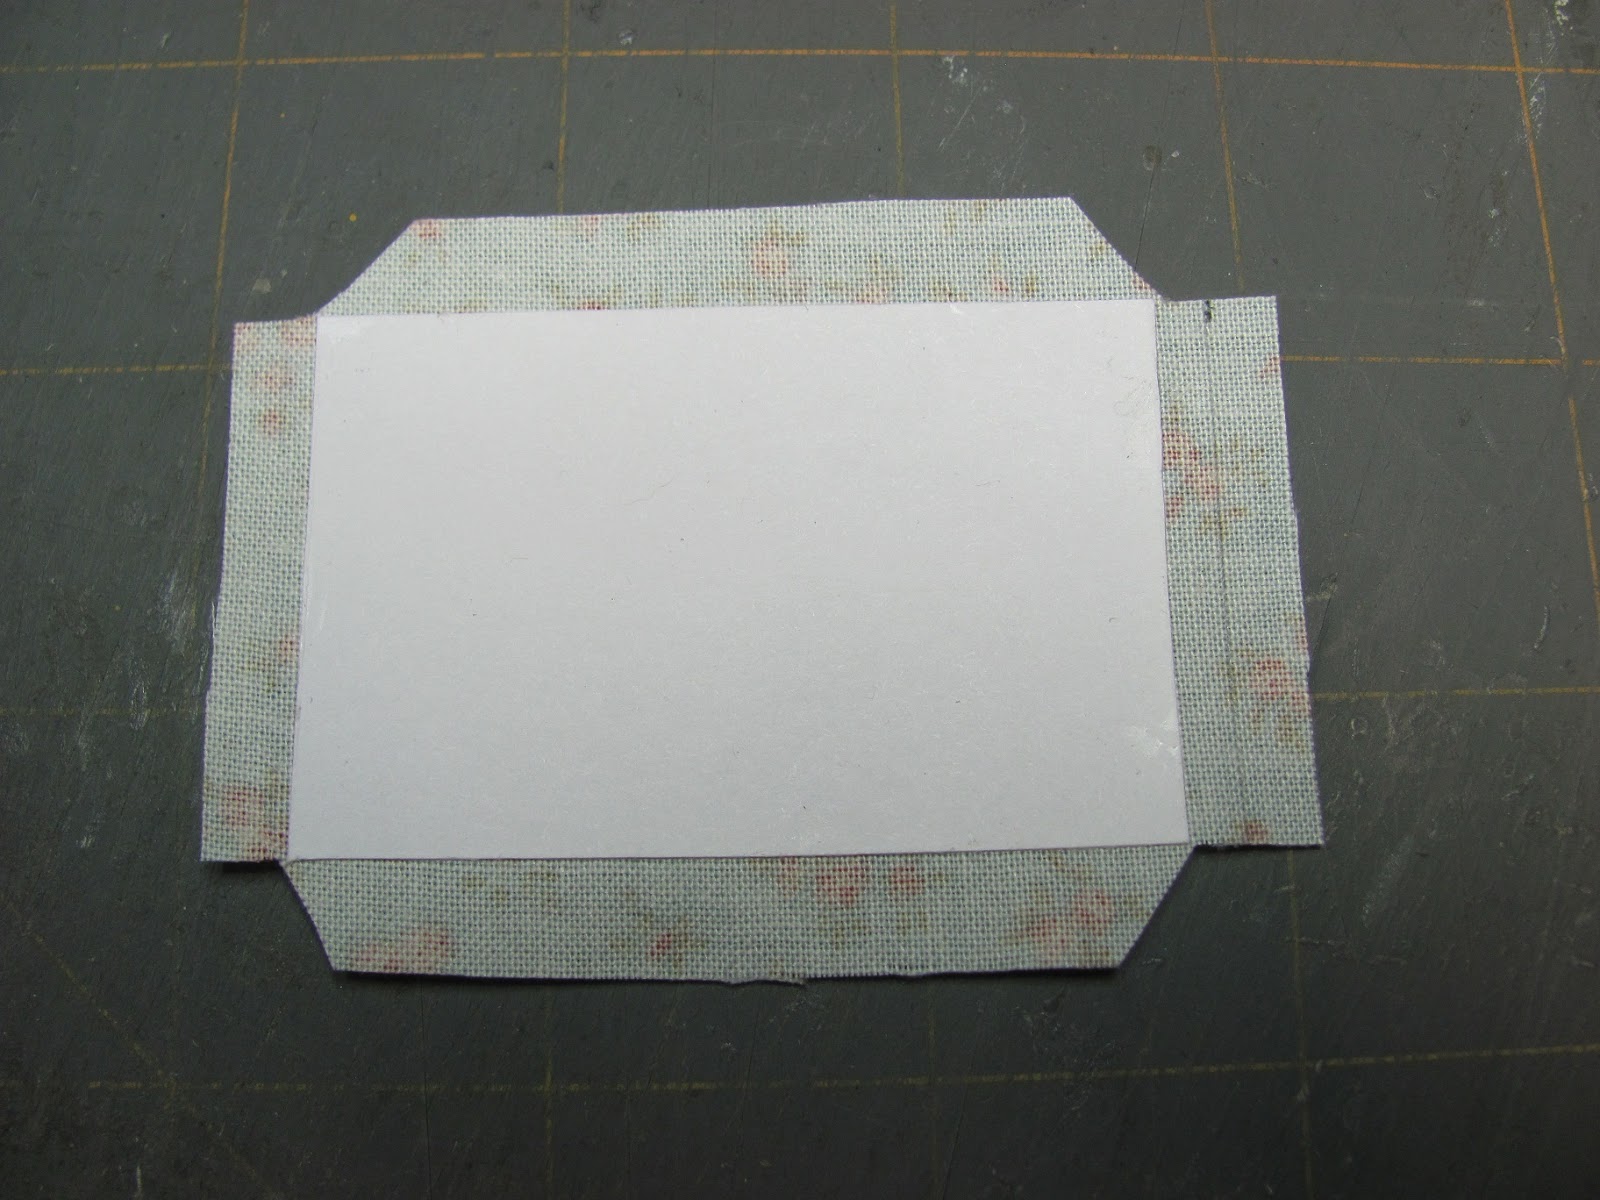
For a bottom cover set the chair on card stock and trace around the bottom.
This is the side that is going to be glued to the bottom of the chair, mark it, mark the front. Cut it out.
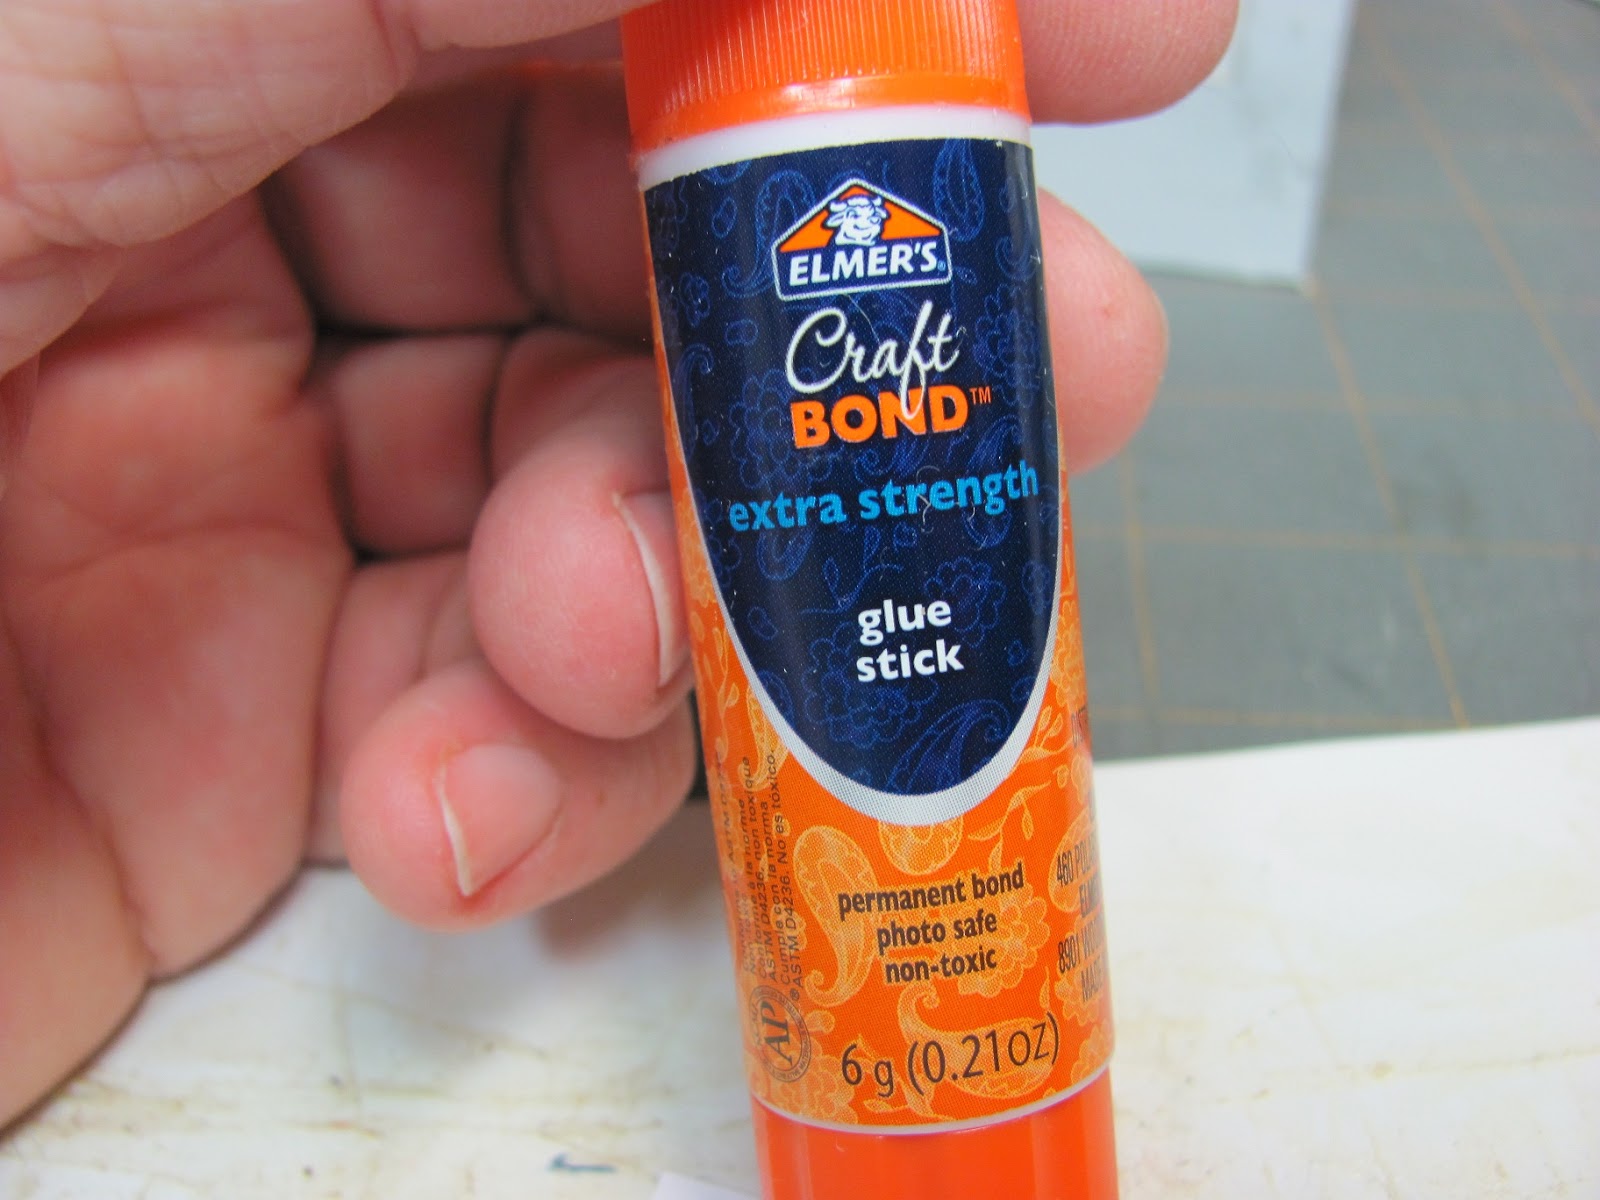
I use this glue stick to glue the fabric to the card stock.
I have found that a sheet of photo paper is great for using as a mat when I apply the glue to the card stock. I can go over the edge and get glue onto the photo paper and the glue dries and I can use the photo paper over and over again, as you can see. The glue doesn't dry fast enough if you use regular paper, it stays sticky.
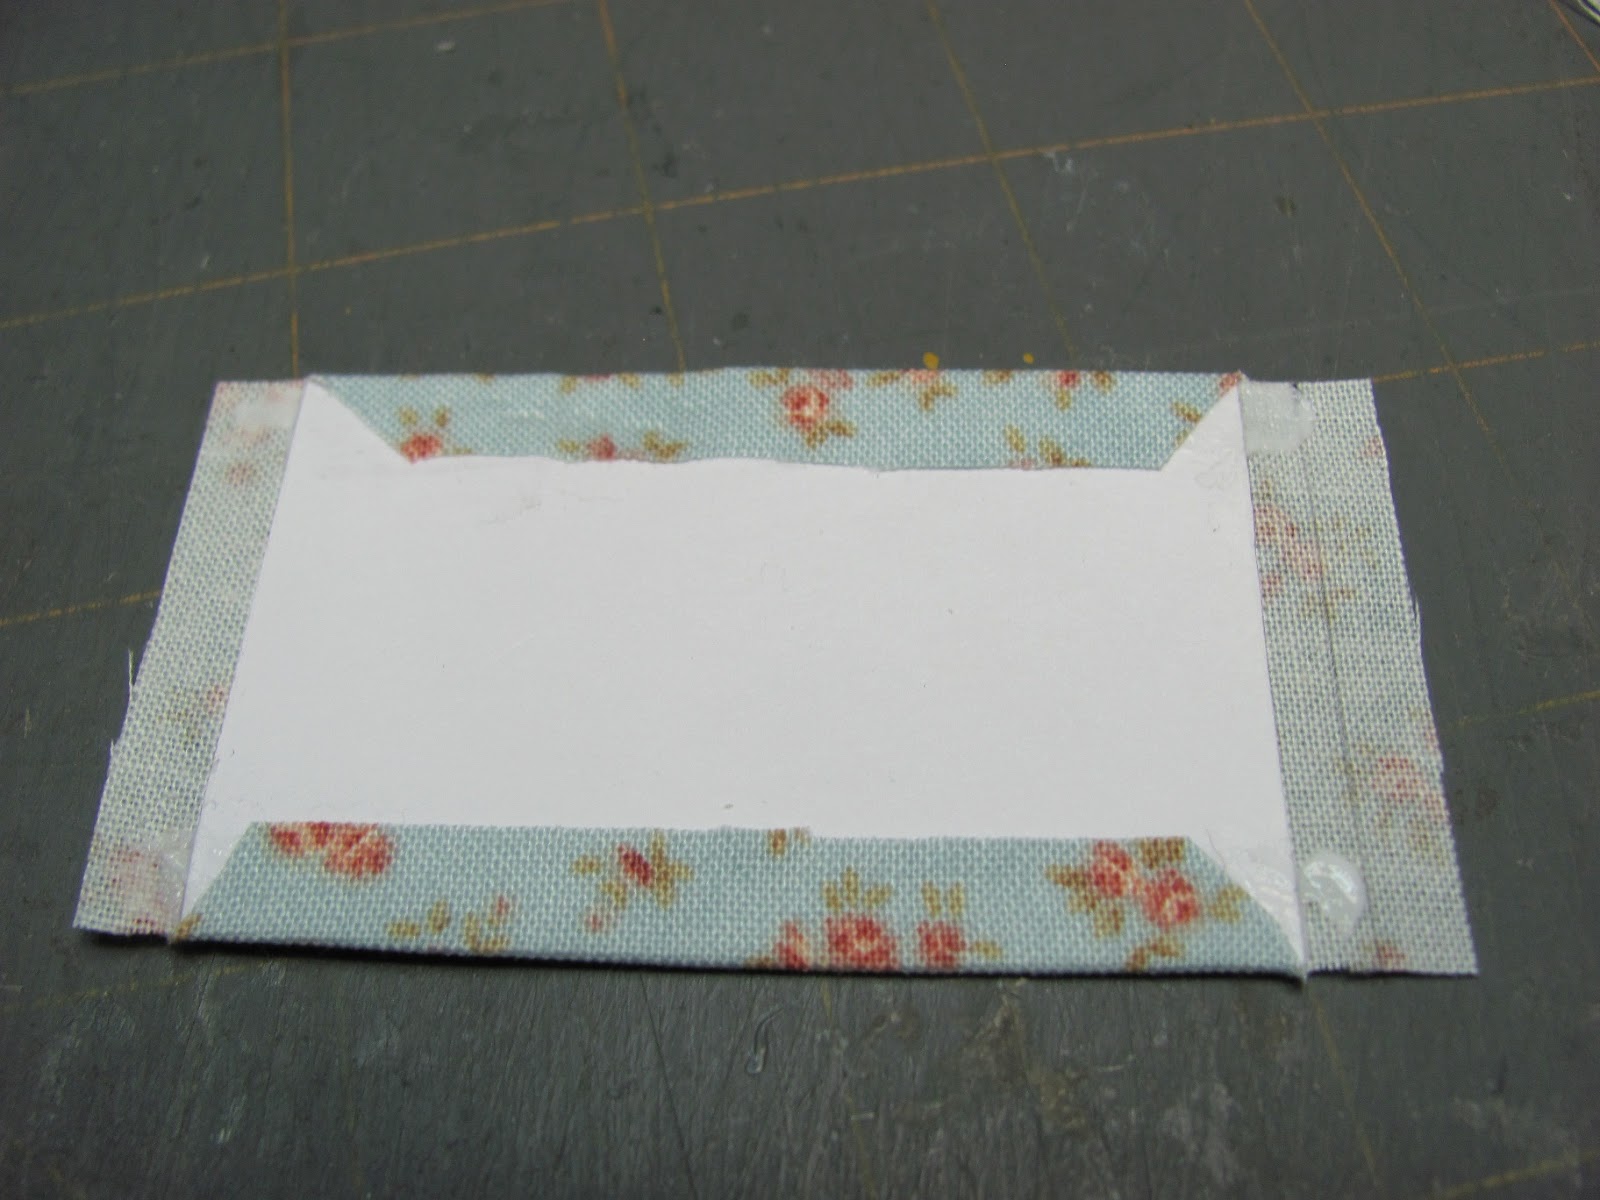
Turn your bottom cover over and apply glue stick.
Press your card stock bottom cover onto the wrong side of the fabric.
Trim around the card stock.
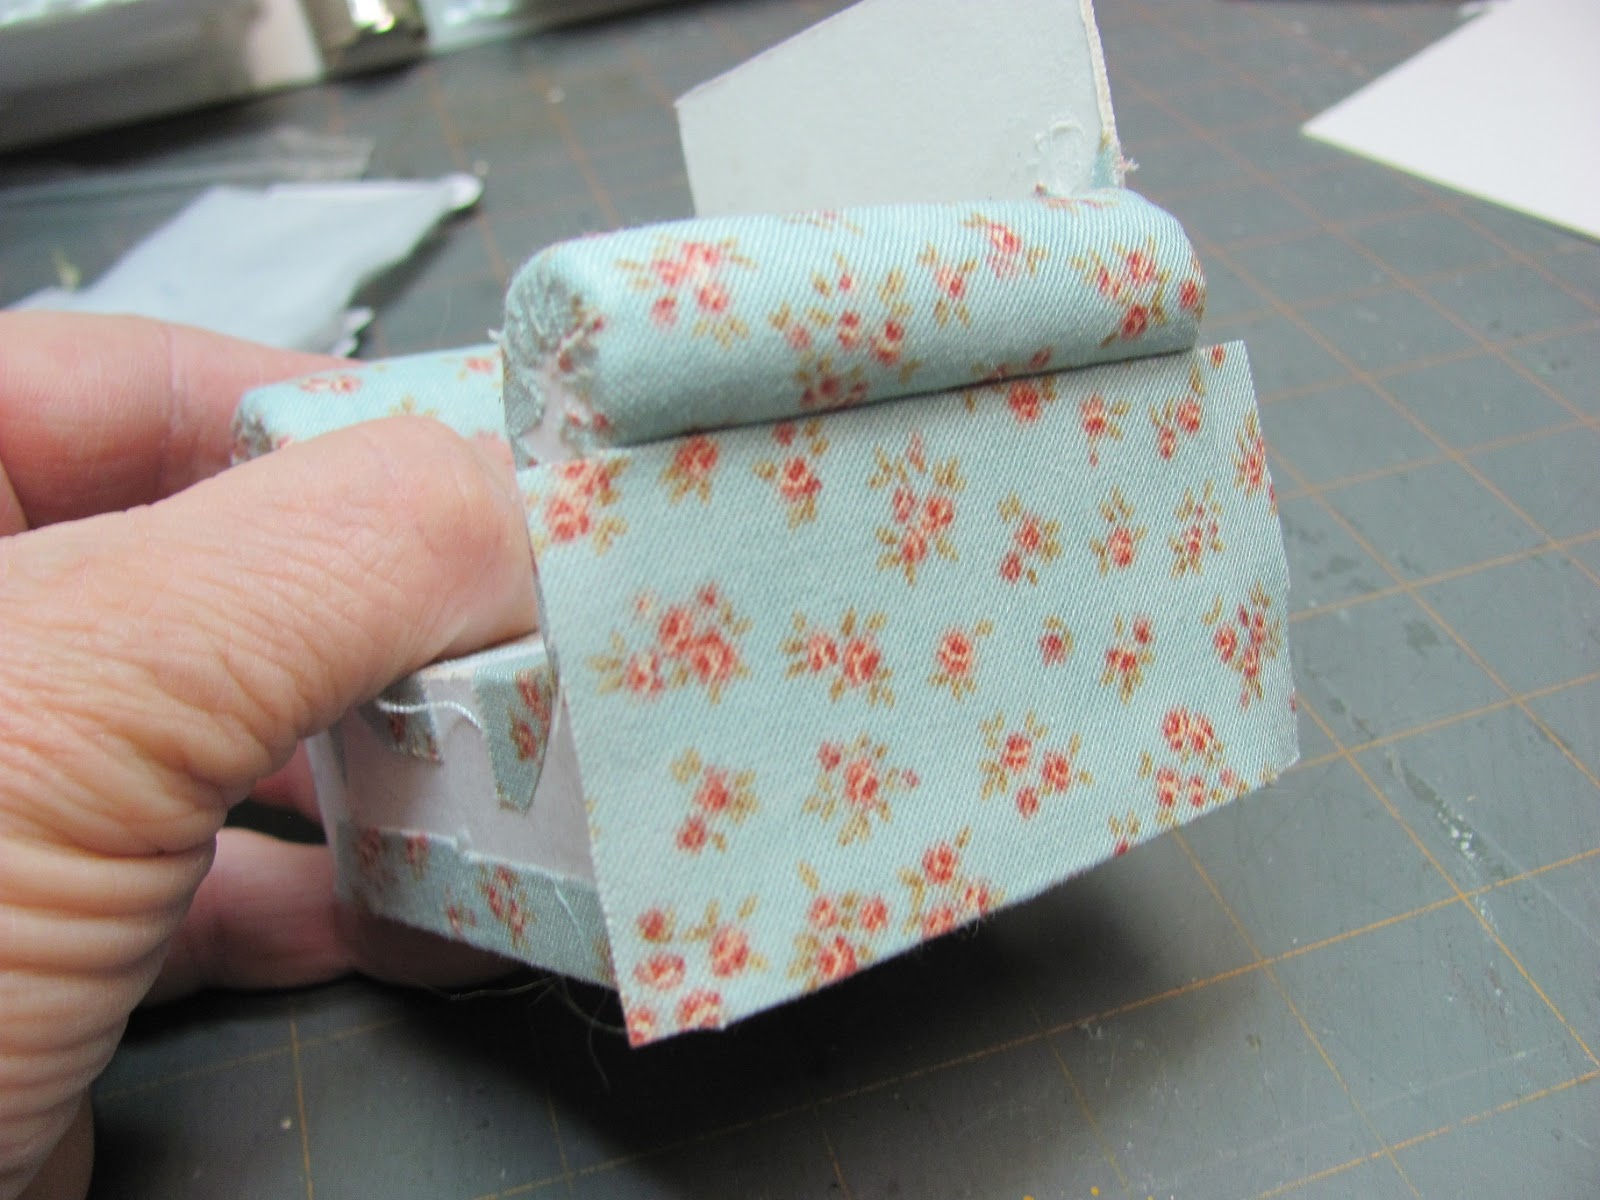
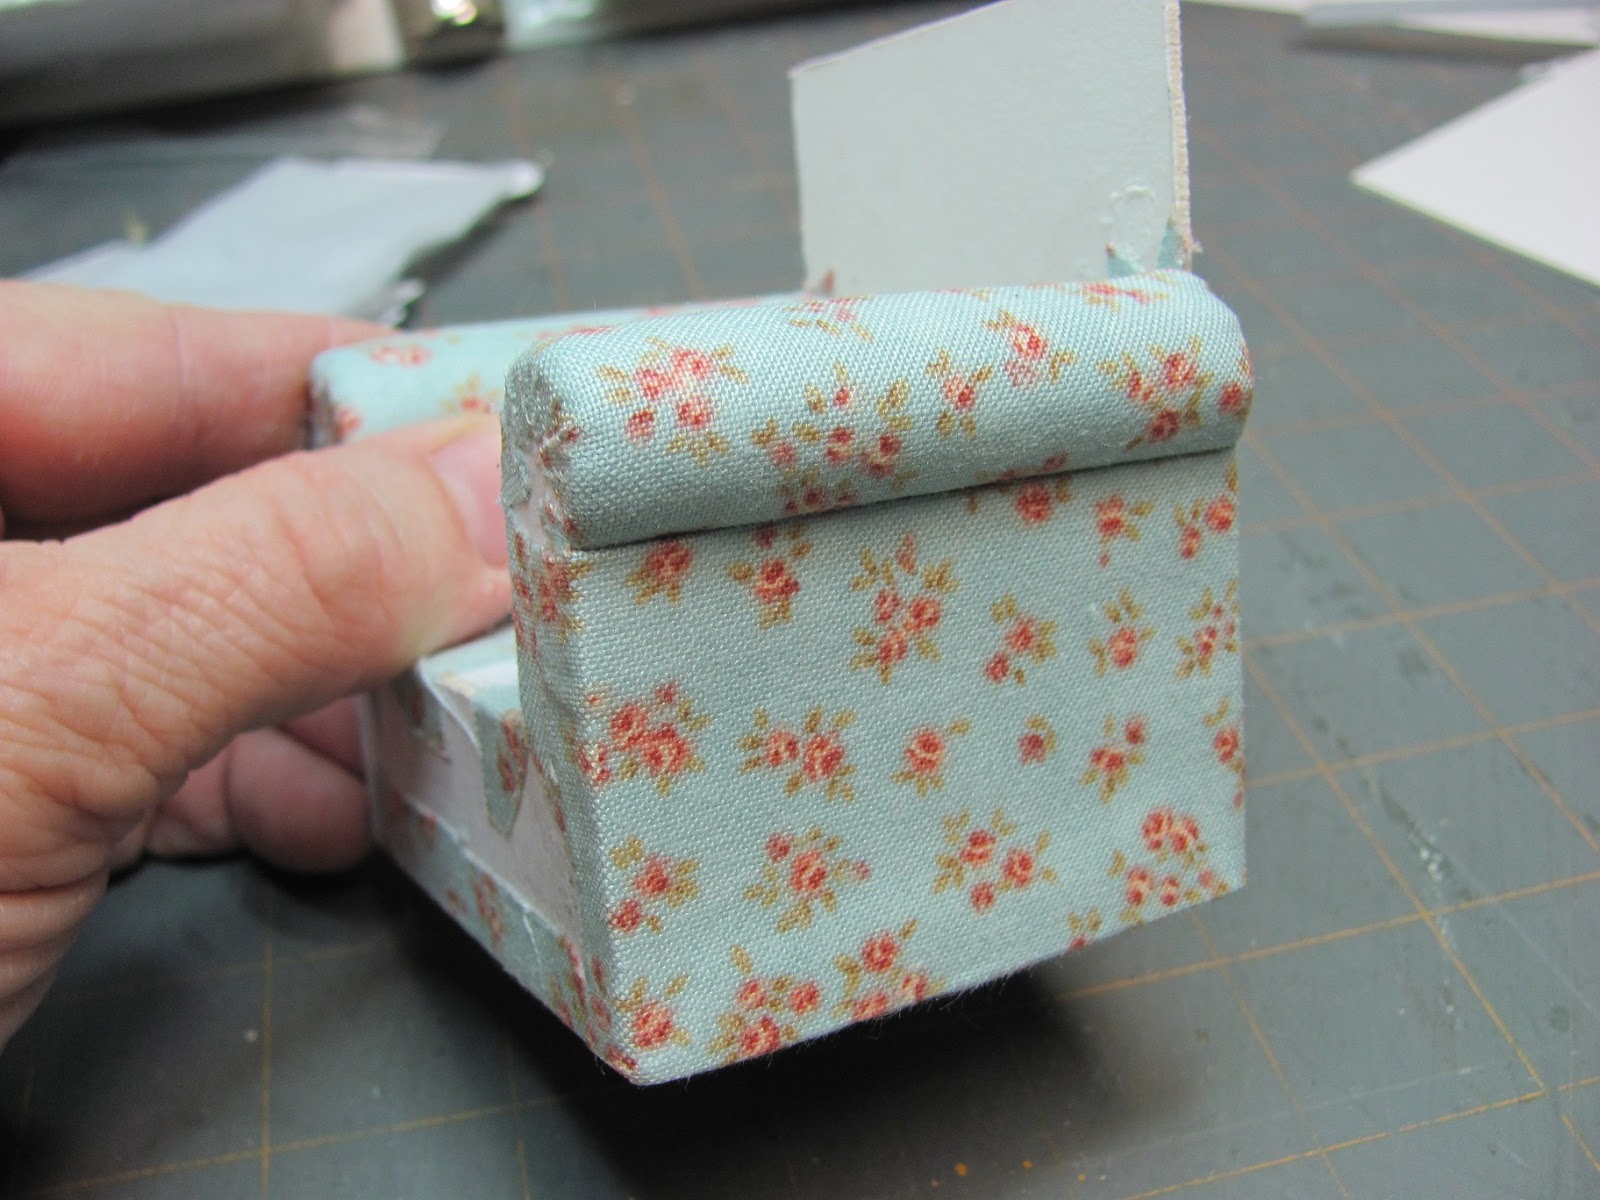
Apply tacky glue to the bottom of the chair, smear it around to cover the whole bottom. Line up your edges and glue the bottom cover onto the bottom of the chair.
Smooth the bottom on with your hand.
Apply tacky glue to the chair and fold up the extra fabric.

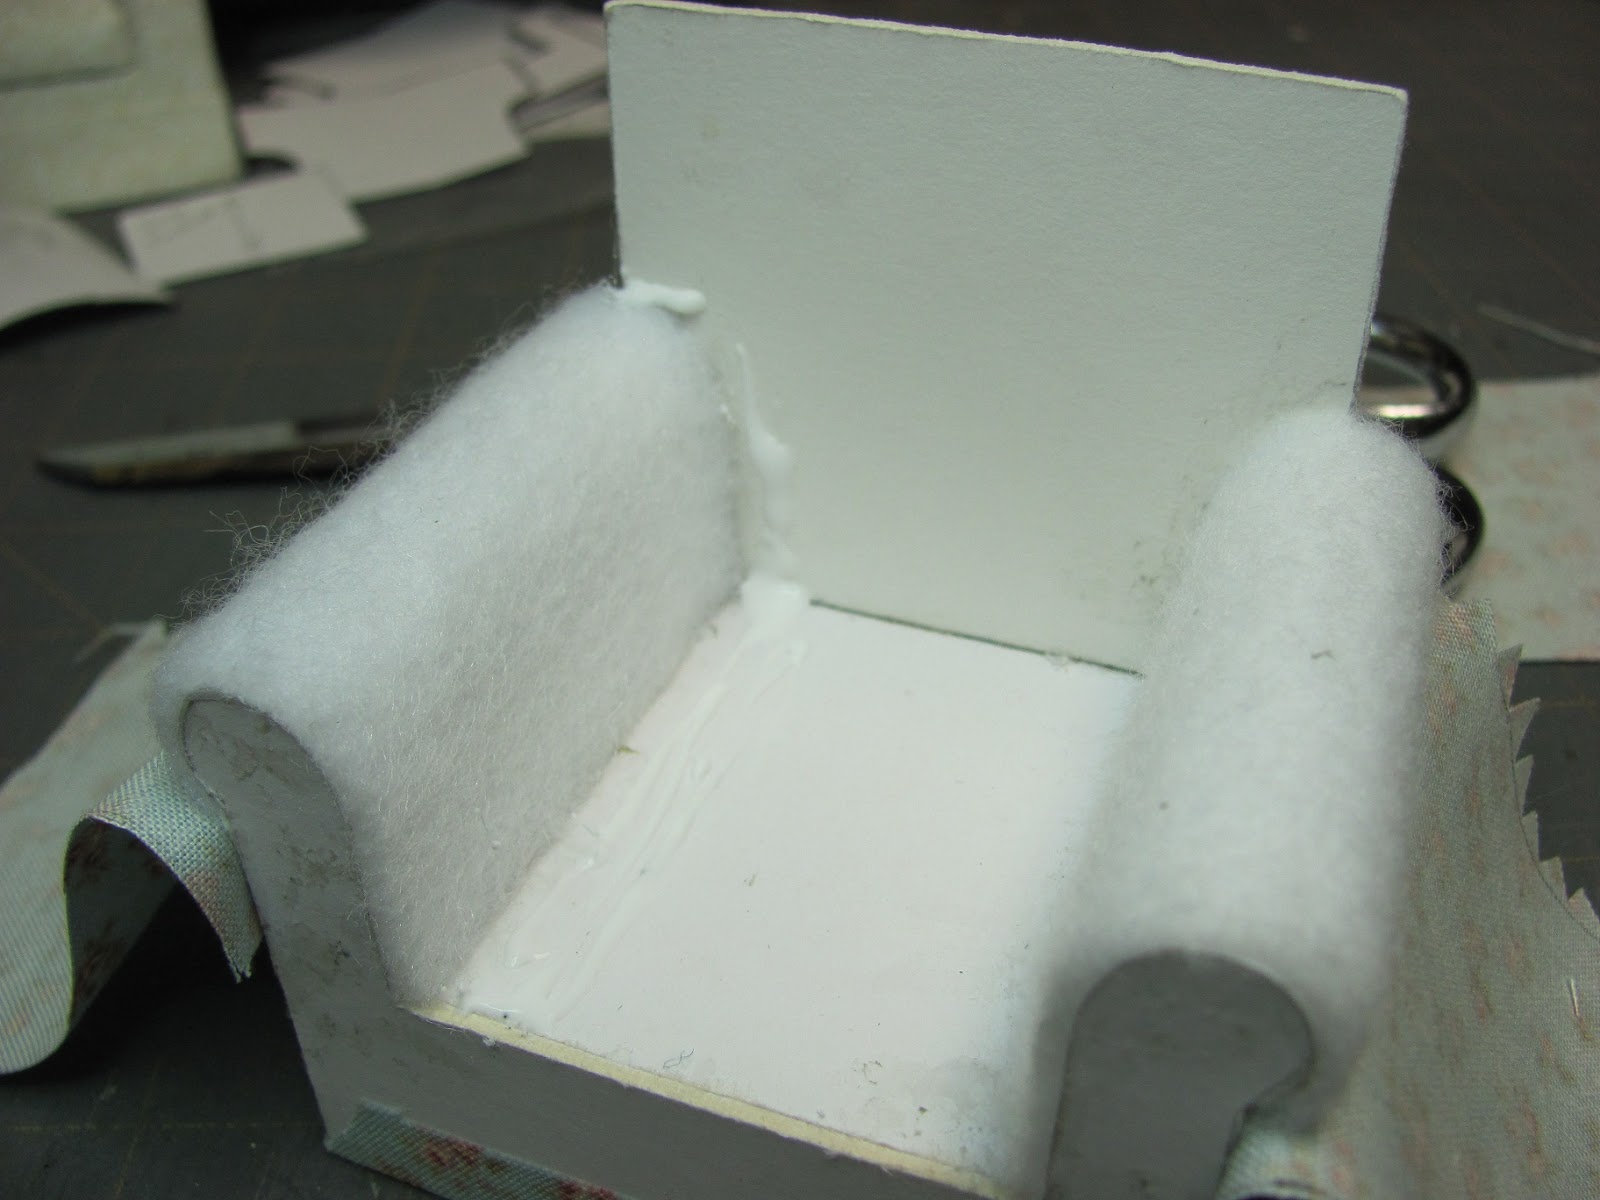
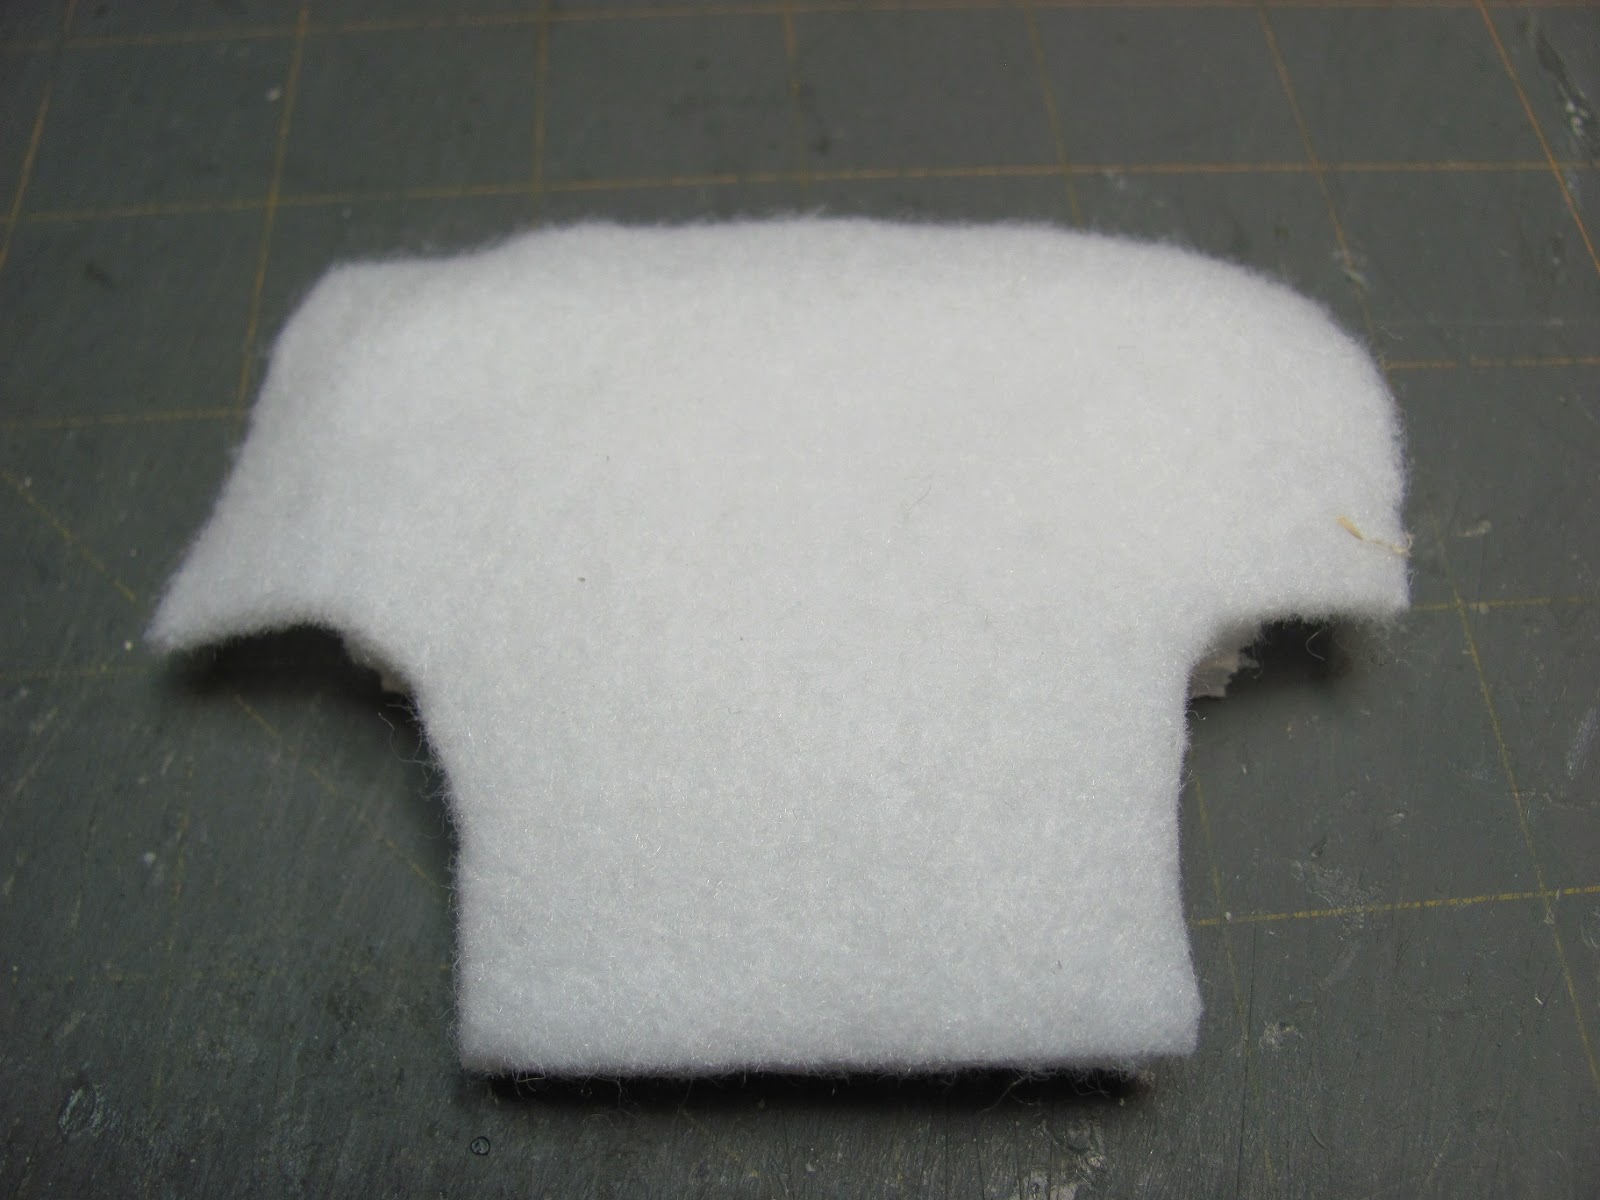
I use Thermolam Plus for the batting or padding in my furniture. I buy this from Joann's Fabrics.
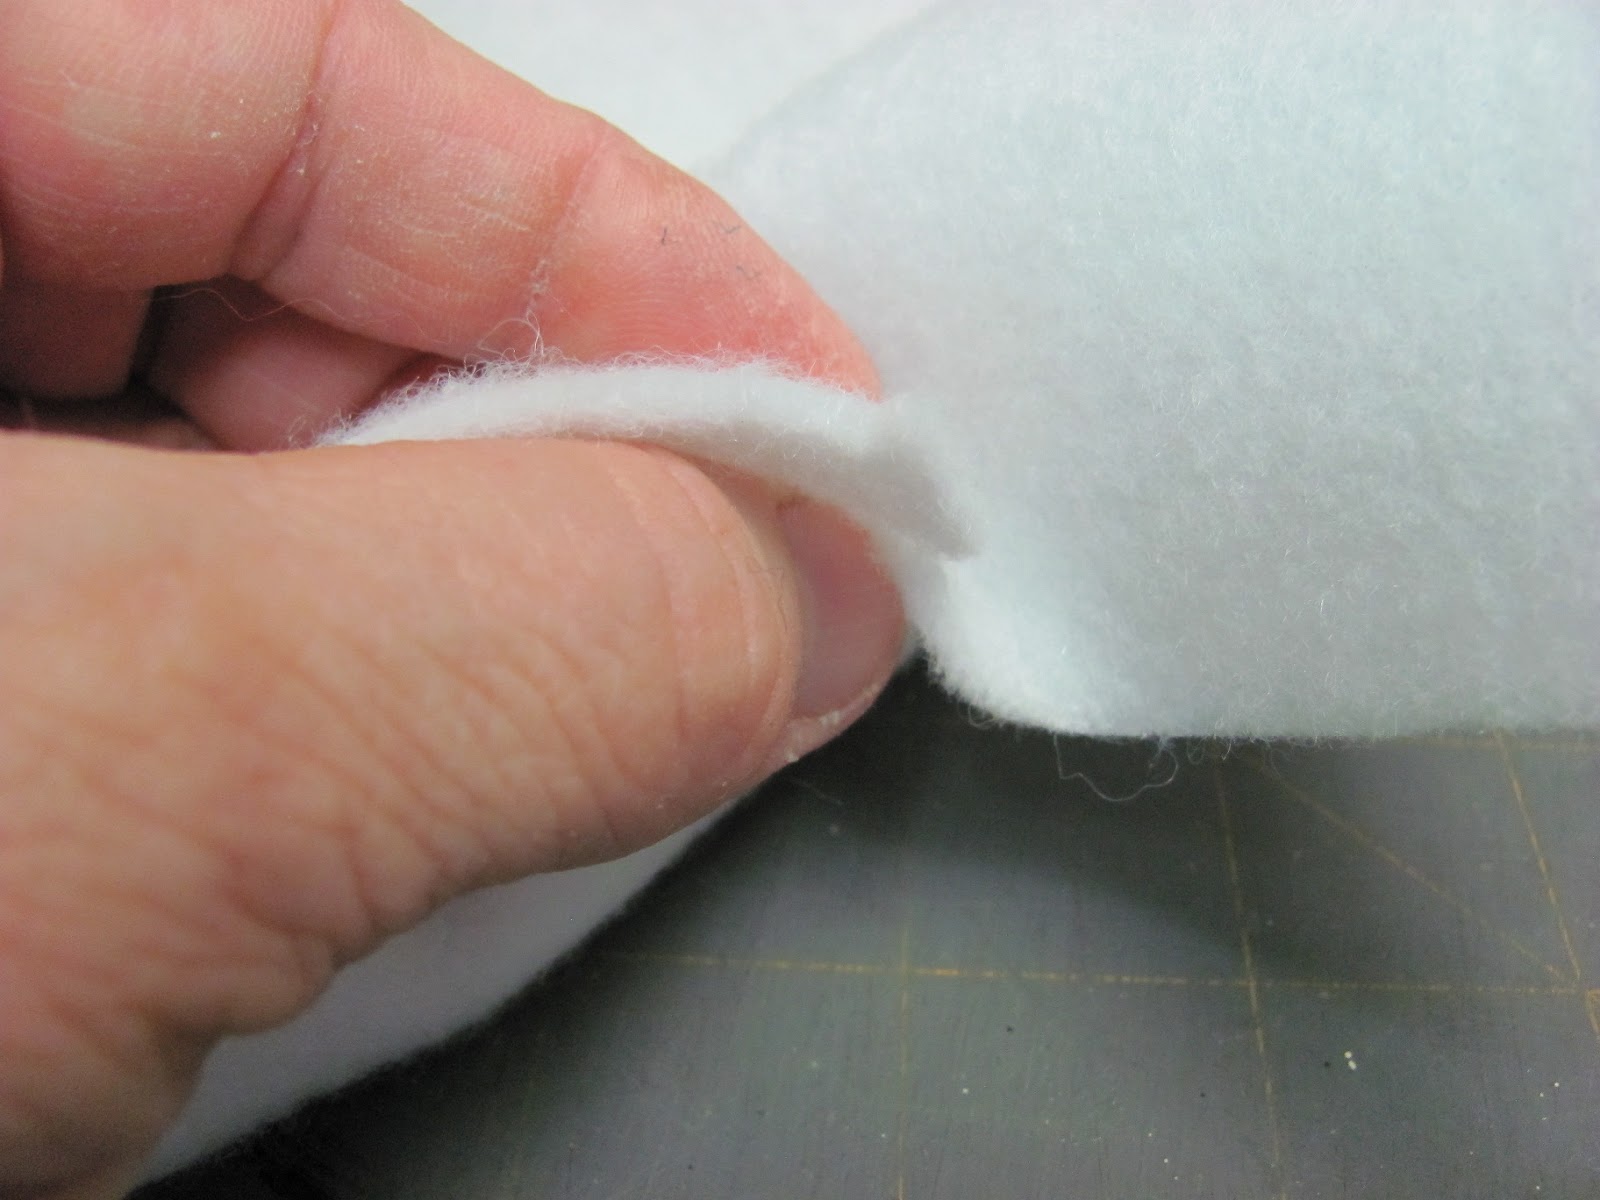
Joann's usually keeps it by the cutting tables in a rack with the quilt batting.
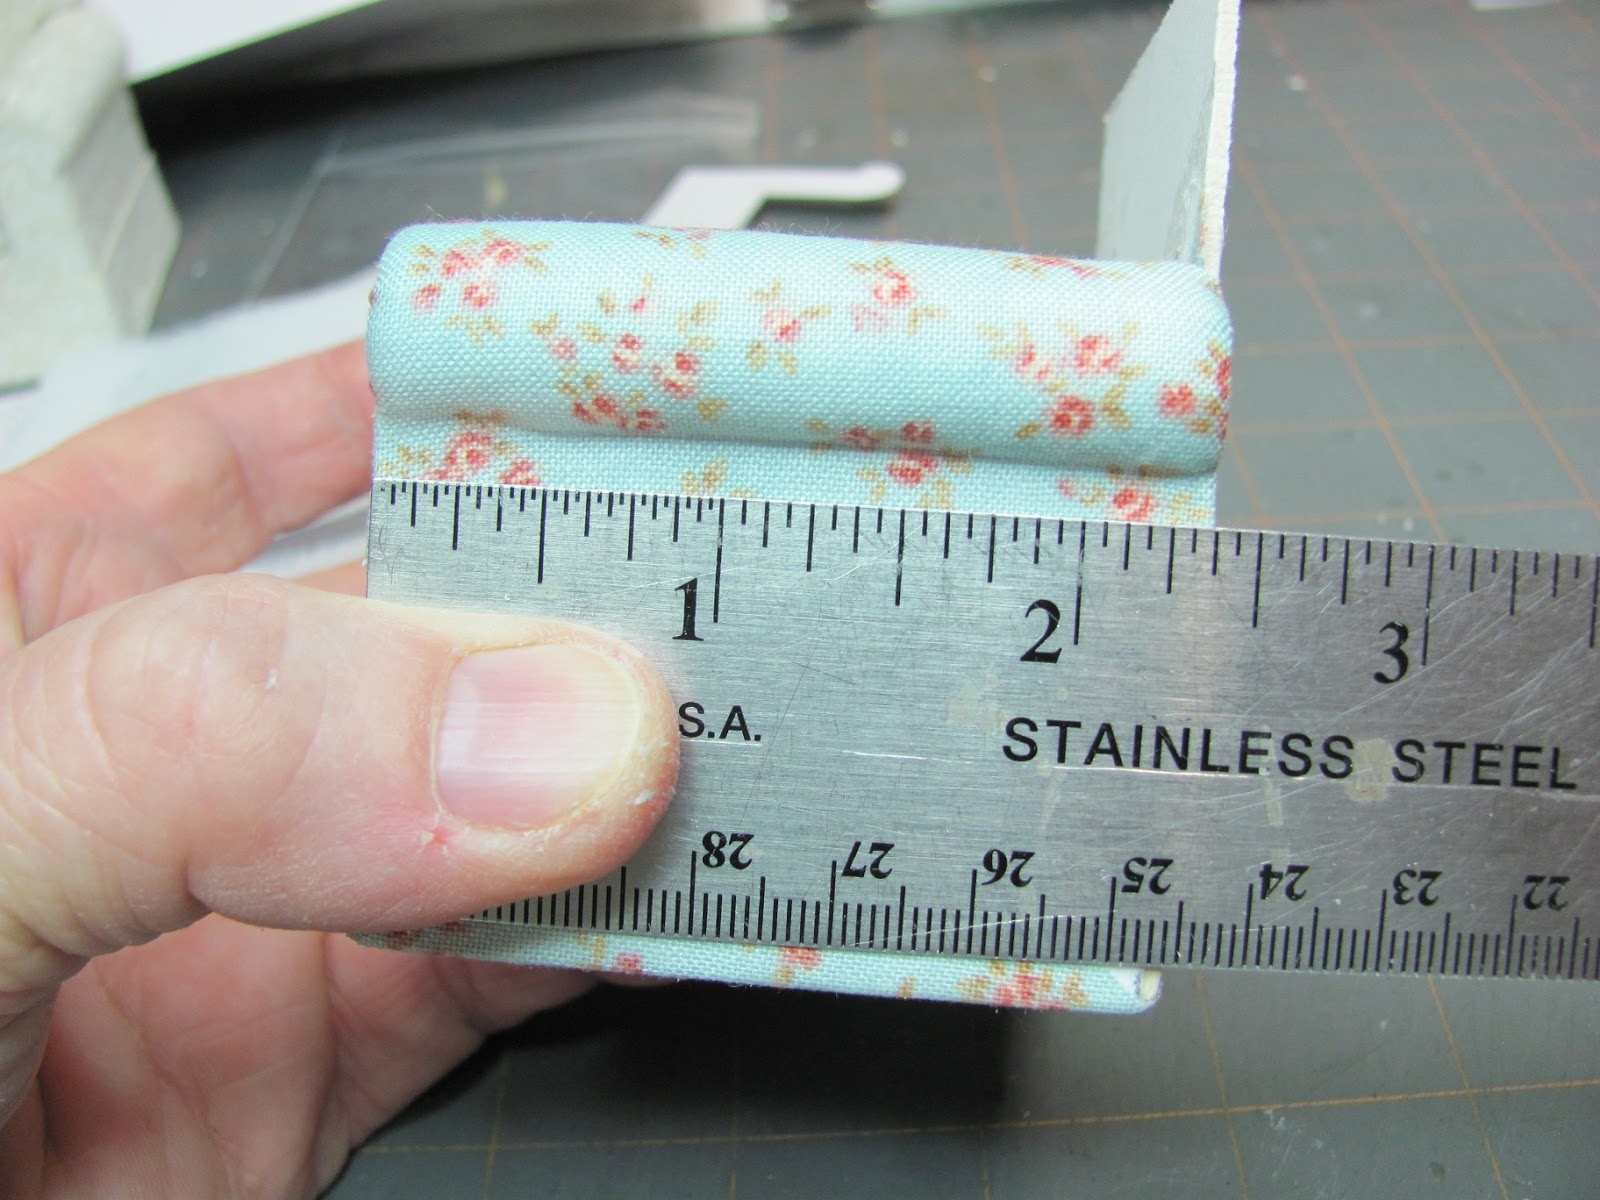
Measure the length of the arm and cut the Thermolam Plus this width.

Cut it long enough to go from the seat base over the dowel to just under the dowel.
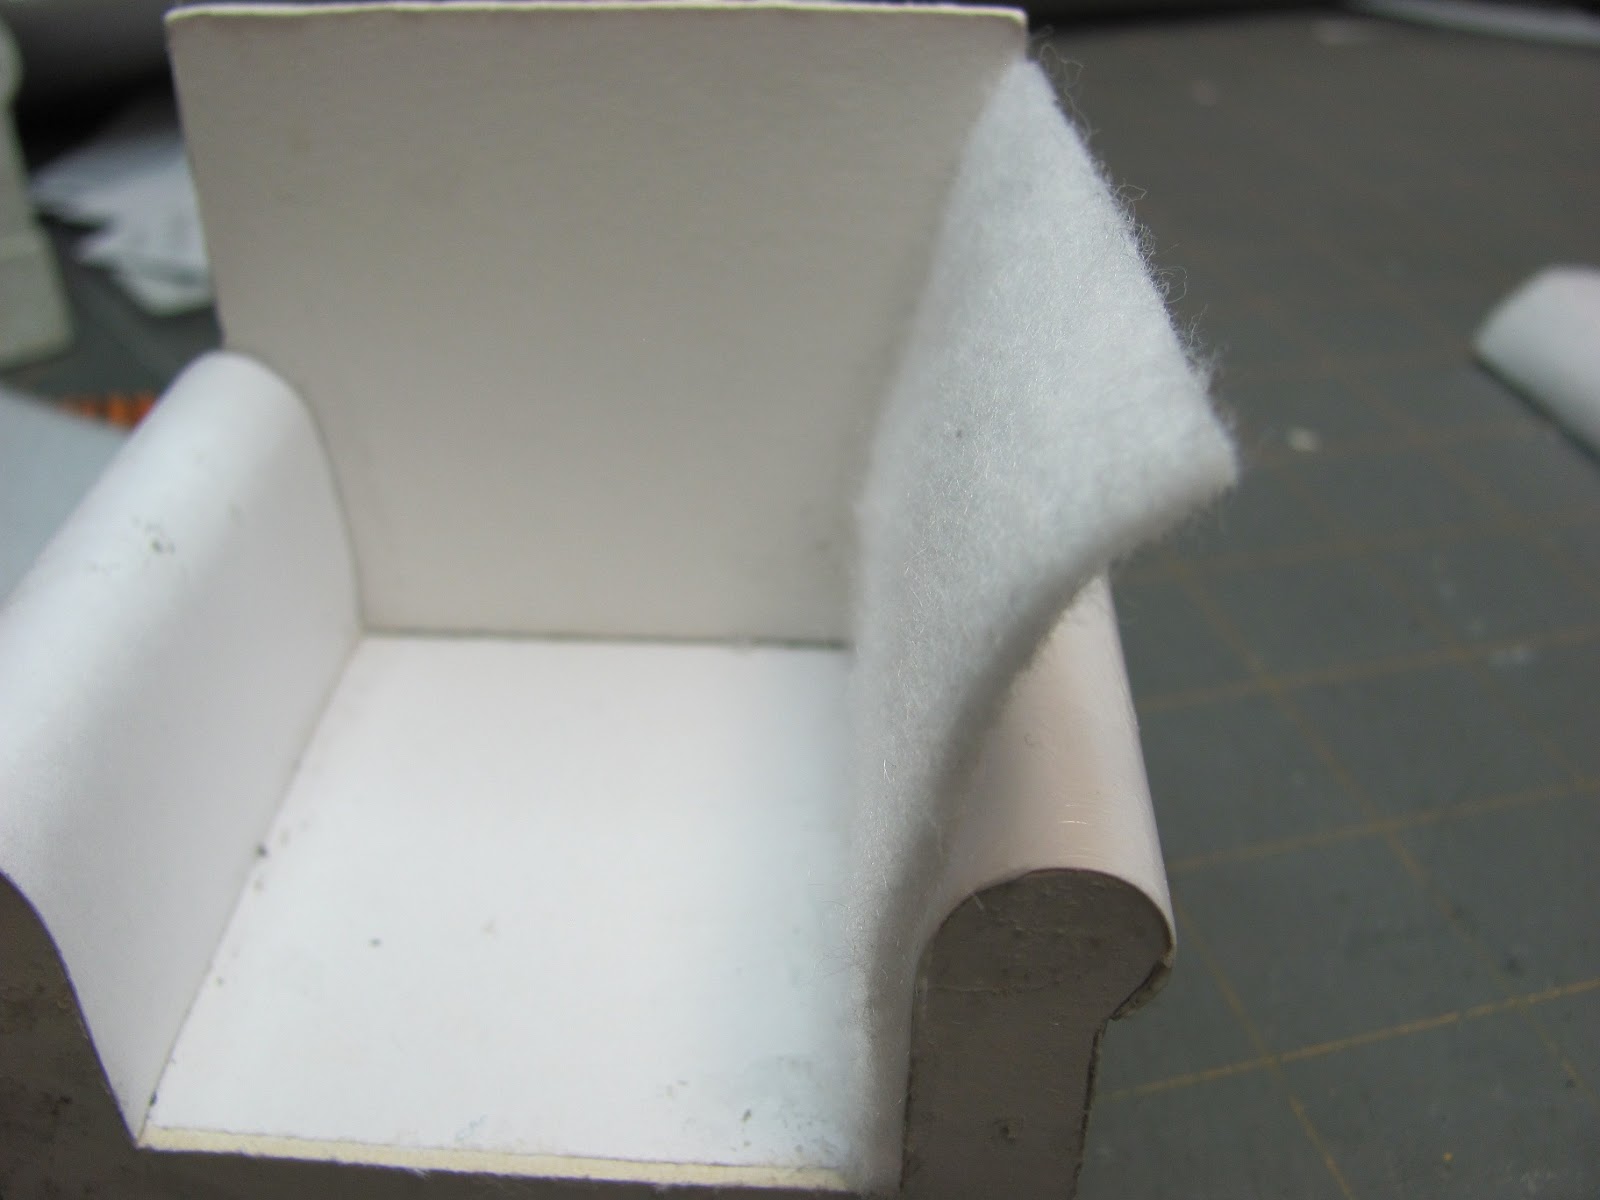
Apply and smear the tacky glue onto the card stock arm cover.
Lay the Thermolam Plus onto the arm cover.
The Thermolam Plus is glued to just where the dowel stops.
Both pieces of Thermolam Plus are glued on.

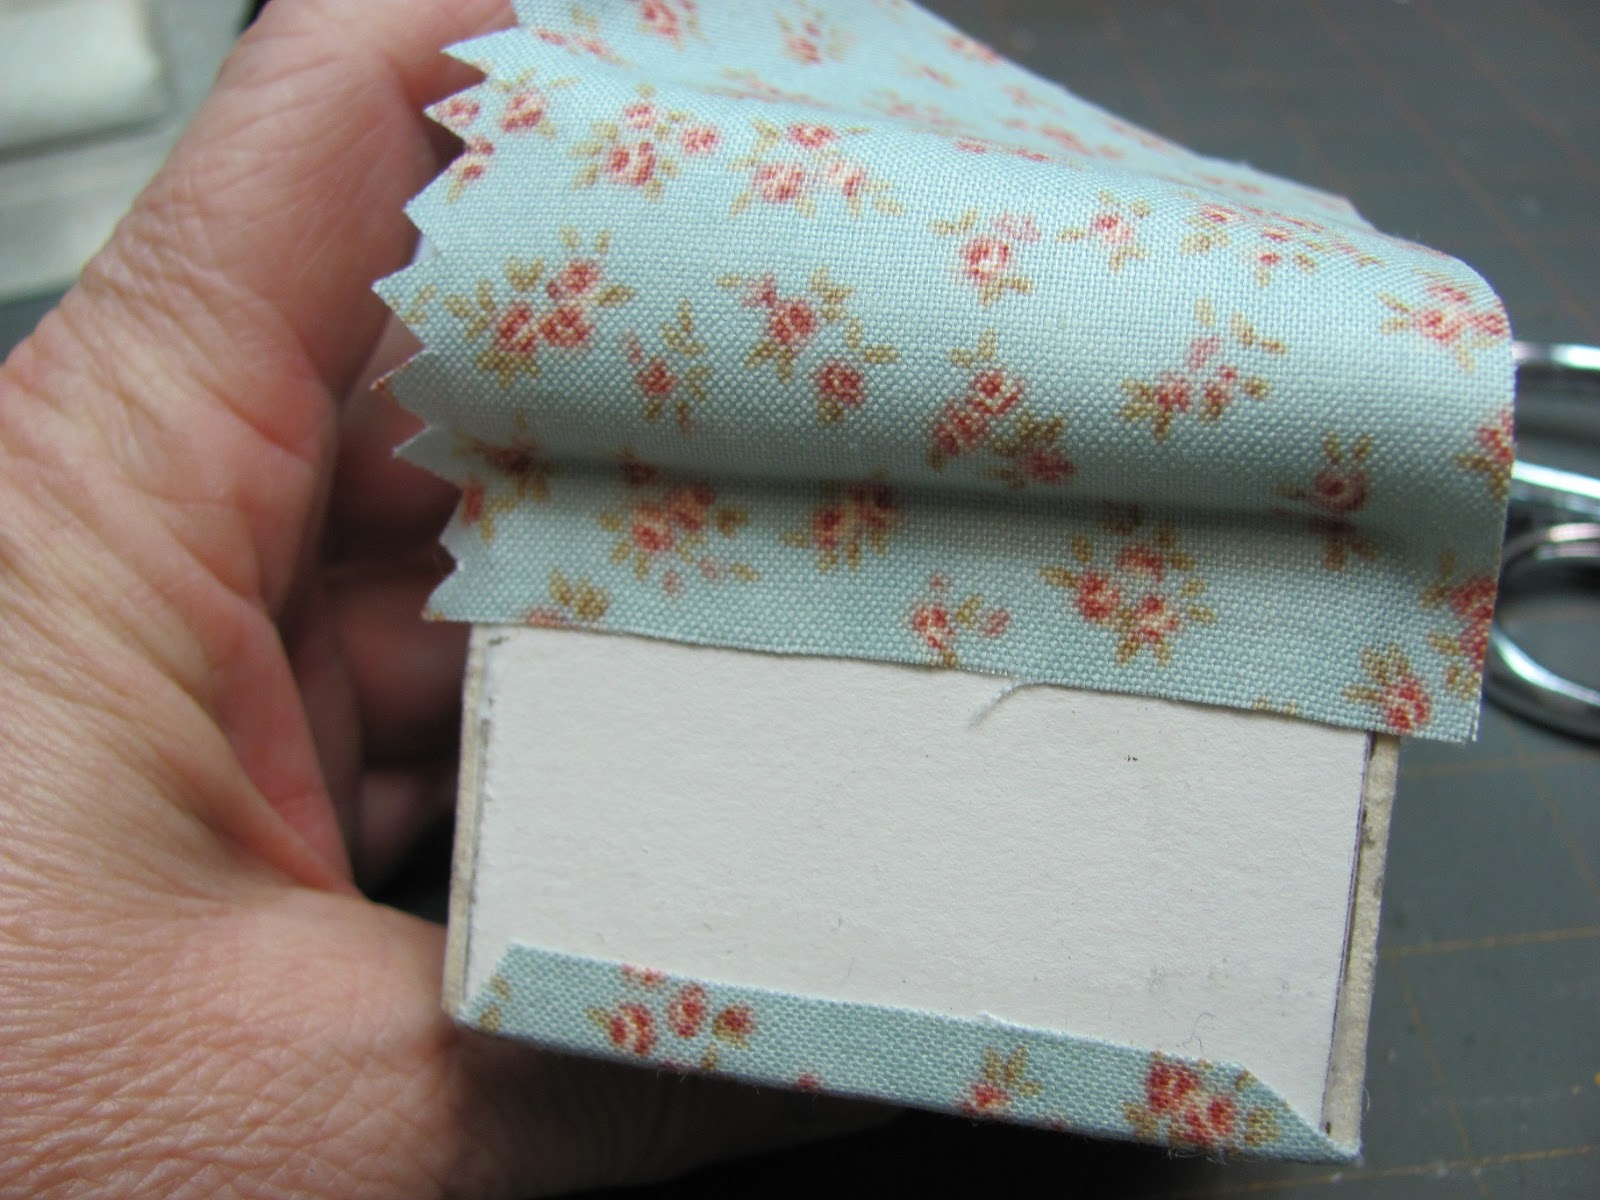
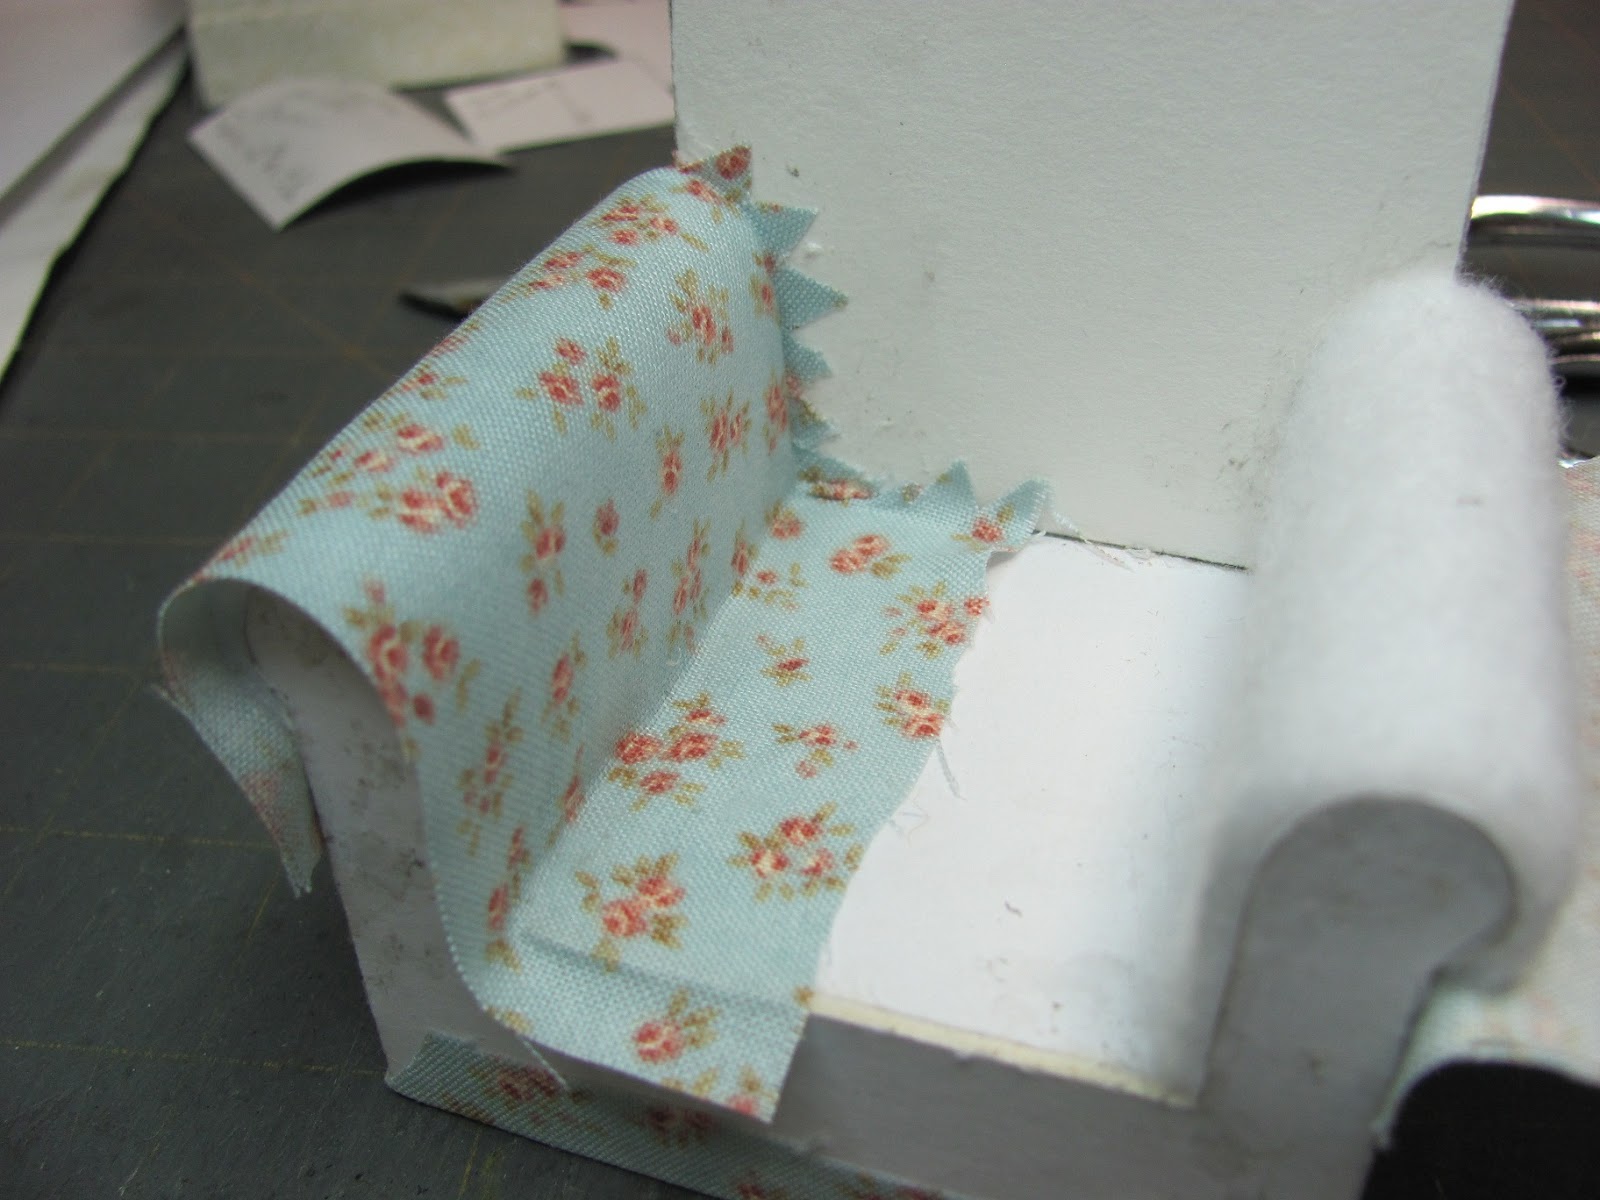
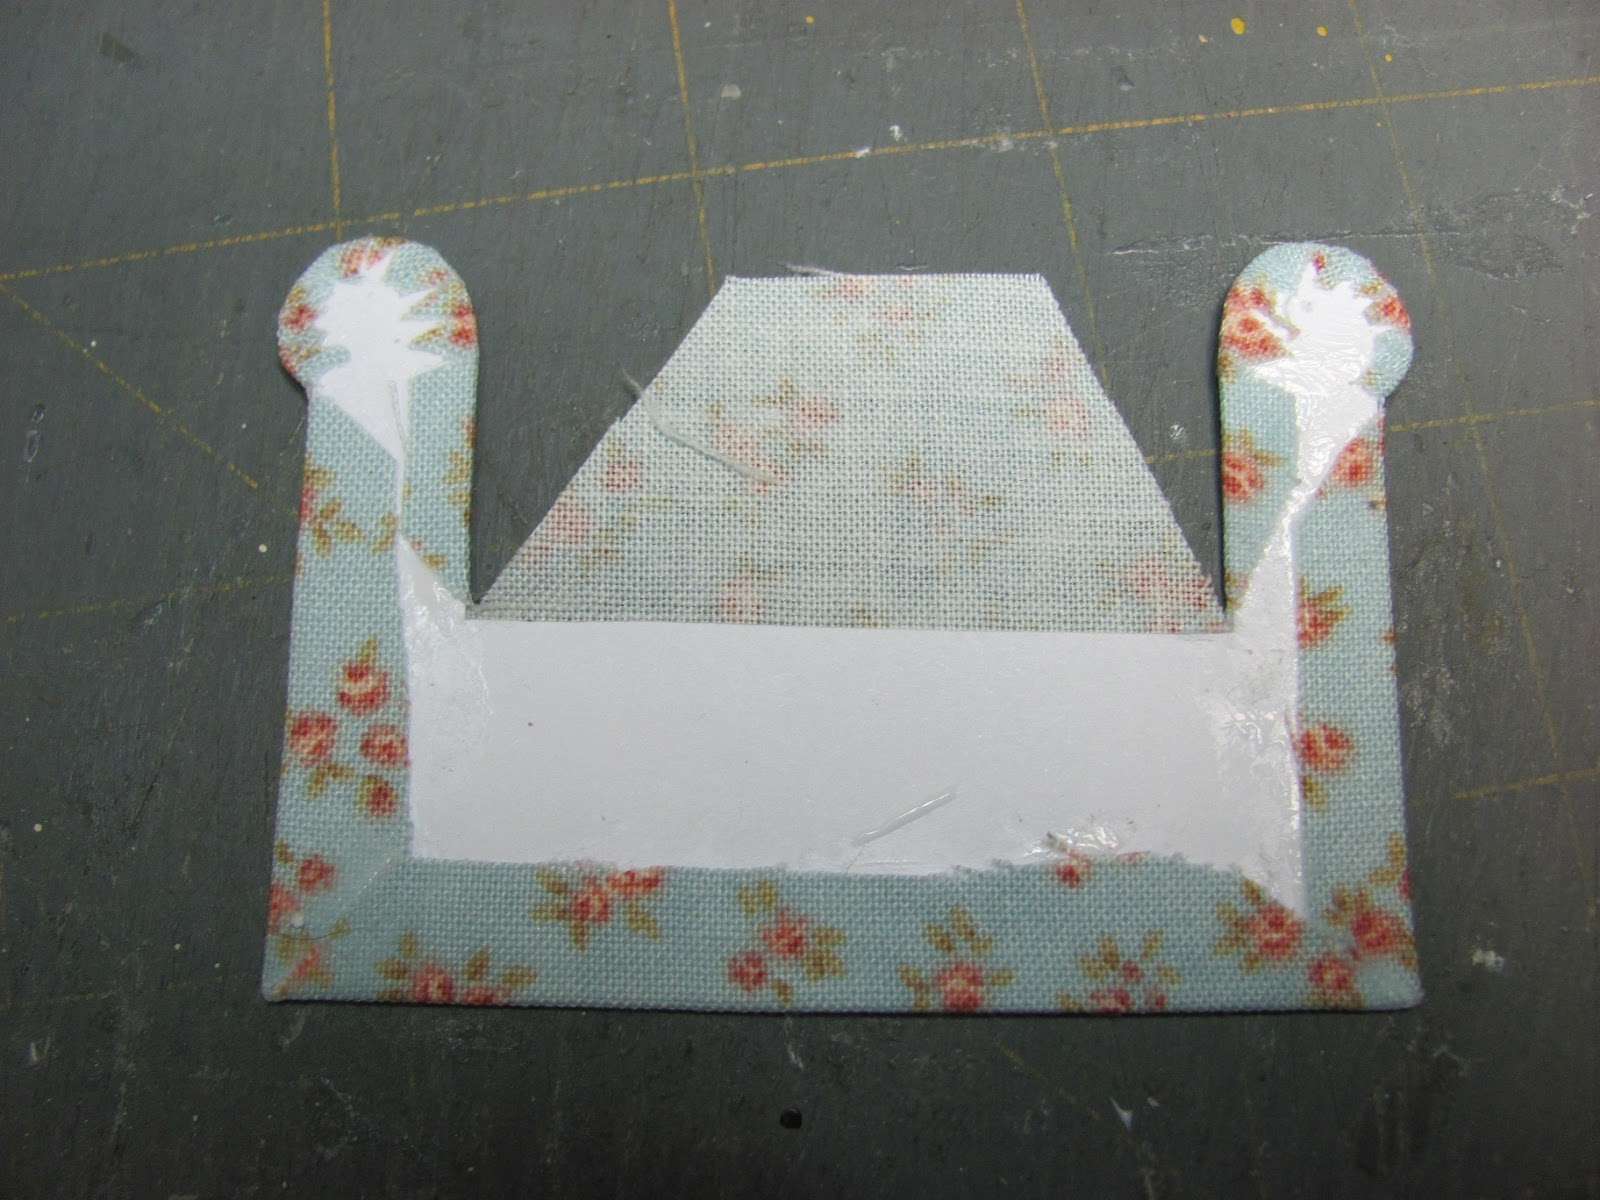
Cut 2 pieces of fabric 2 3/4" x 3 1/4". On the wrong side measure 1/4" on one long side and draw a line. Cut "V" notches to that line.
Match the line you drew to the back and glue the end to the side up under the dowel.
I have glued both pieces of fabric onto the sides.
I have taken a picture of the glue on the back and seat base before I've smeared it so you can see where I have applied it. Be sure to smear the glue to get an even coat and no glue oozes out where you don't want it to.
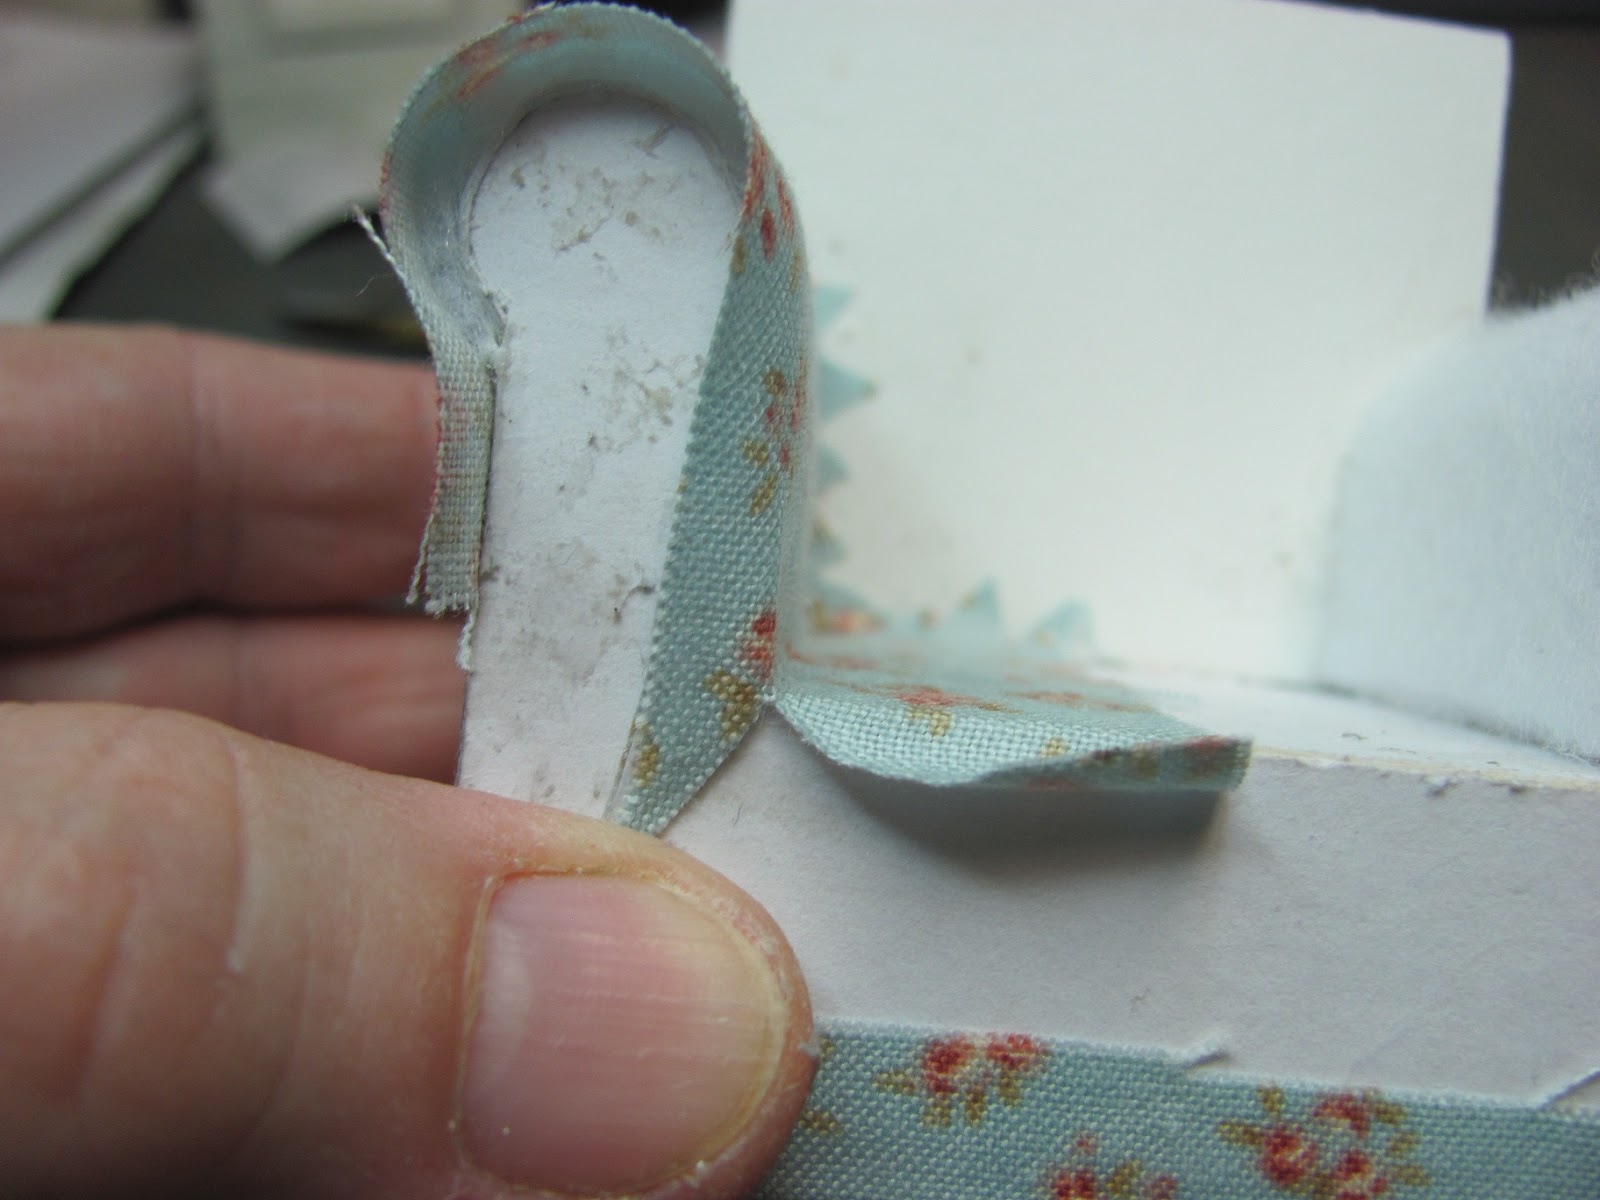
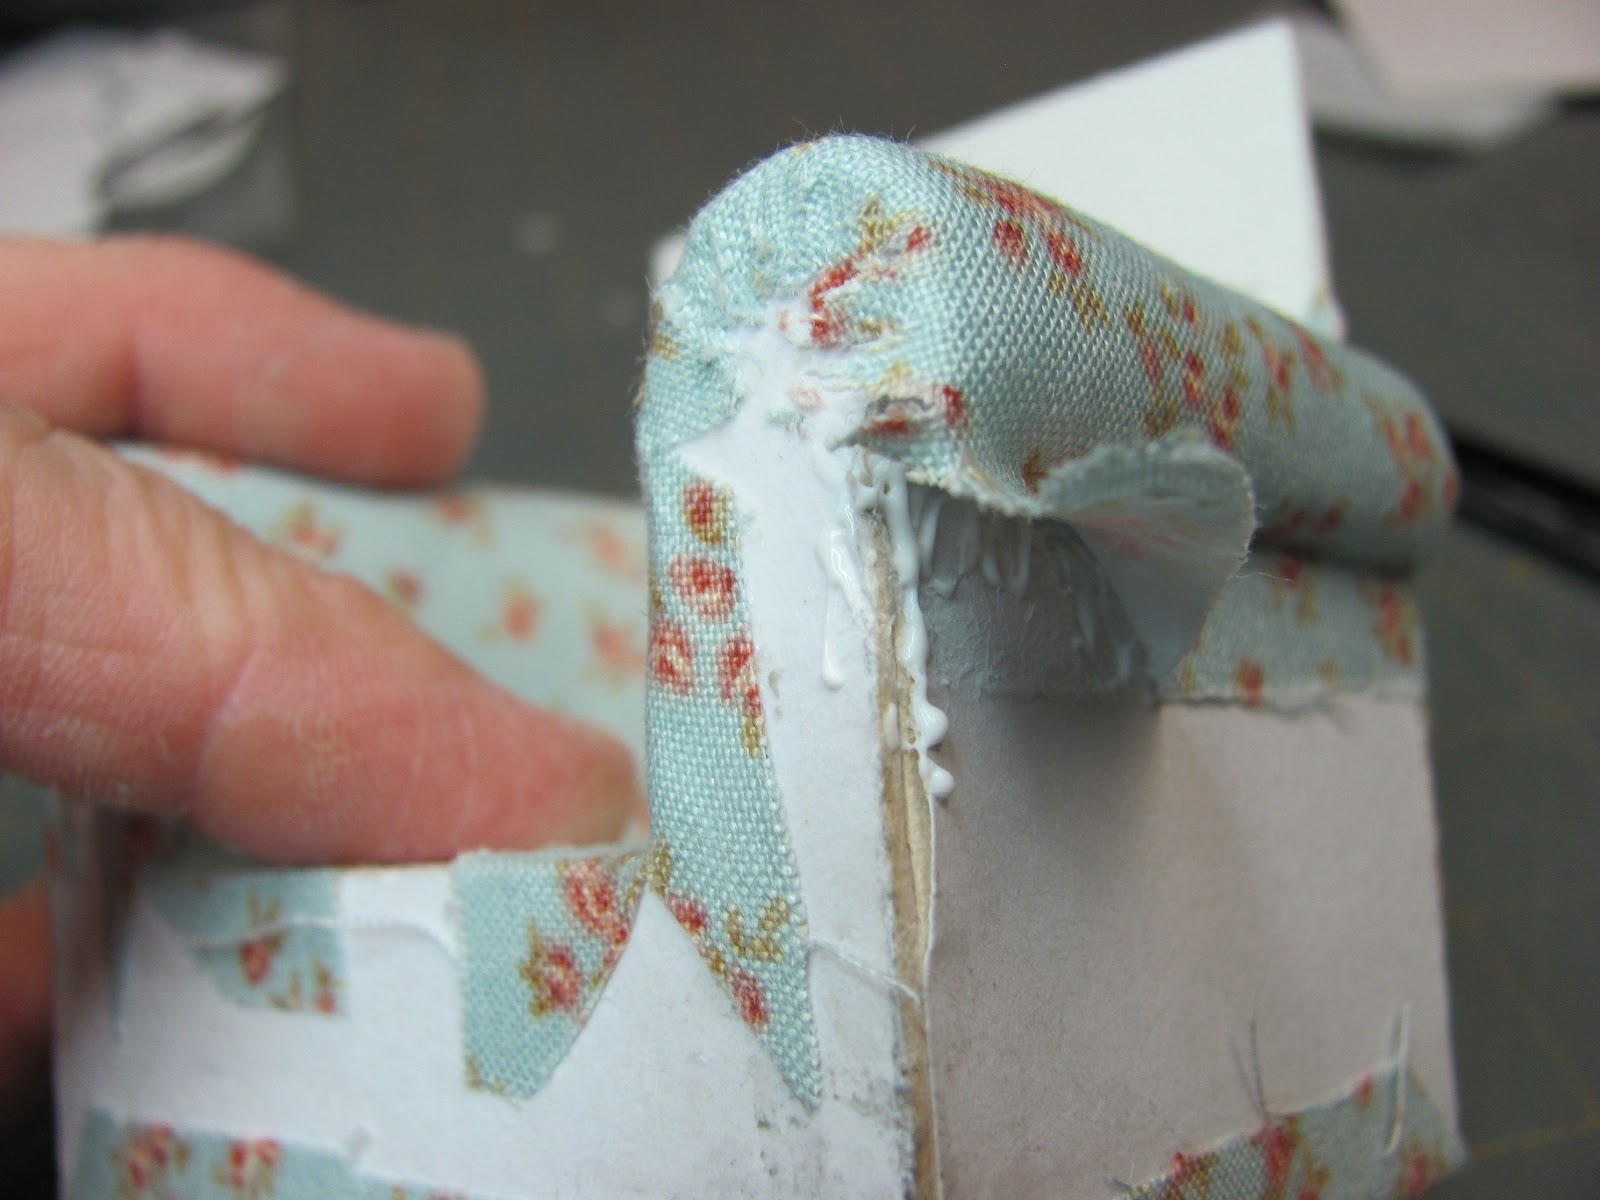
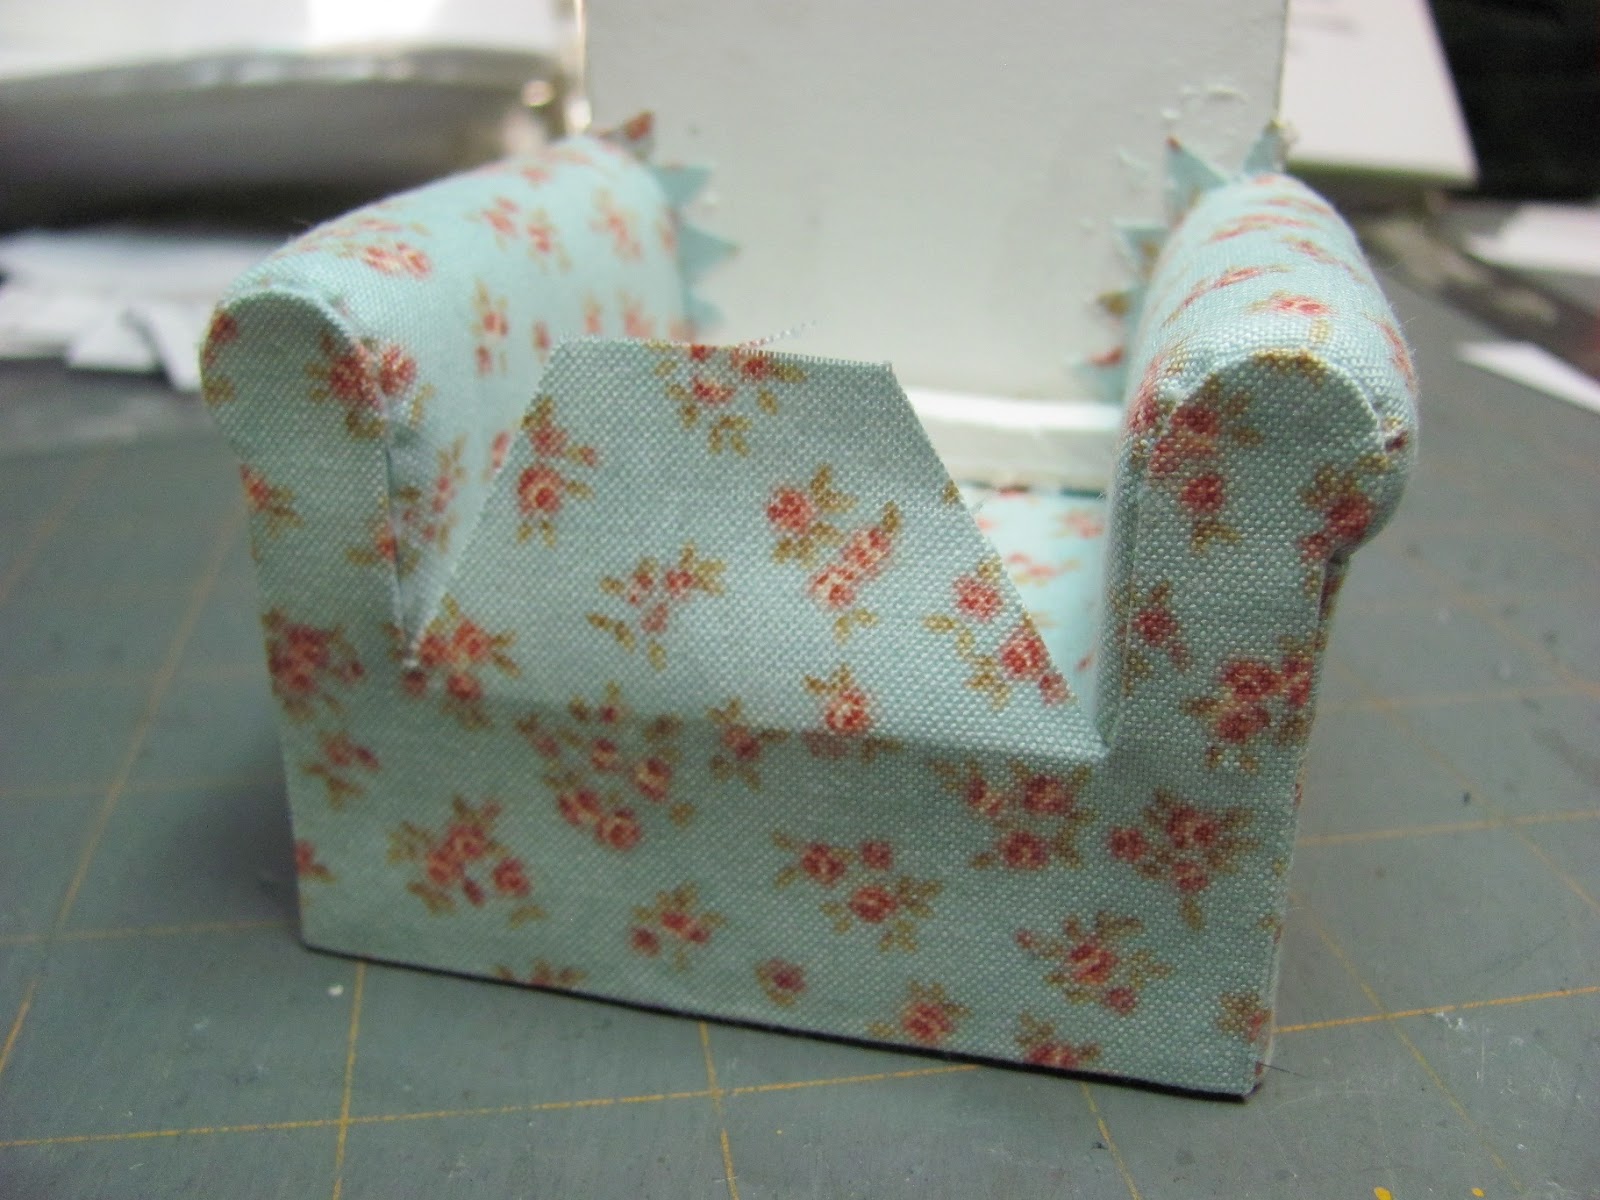
Pull your fabric over the top of the arm, pull tightly and press down into the glue.

Apply tacky glue to the back and press the fabric into it. If you are finding you have too many wrinkles around the dowel lift the fabric off the side and pull a little bit and re-glue to the side. This should take the extra fabric out.

Make a diagonal cut to the corner of the seat base.
Showing what the diagonal cut should look like.
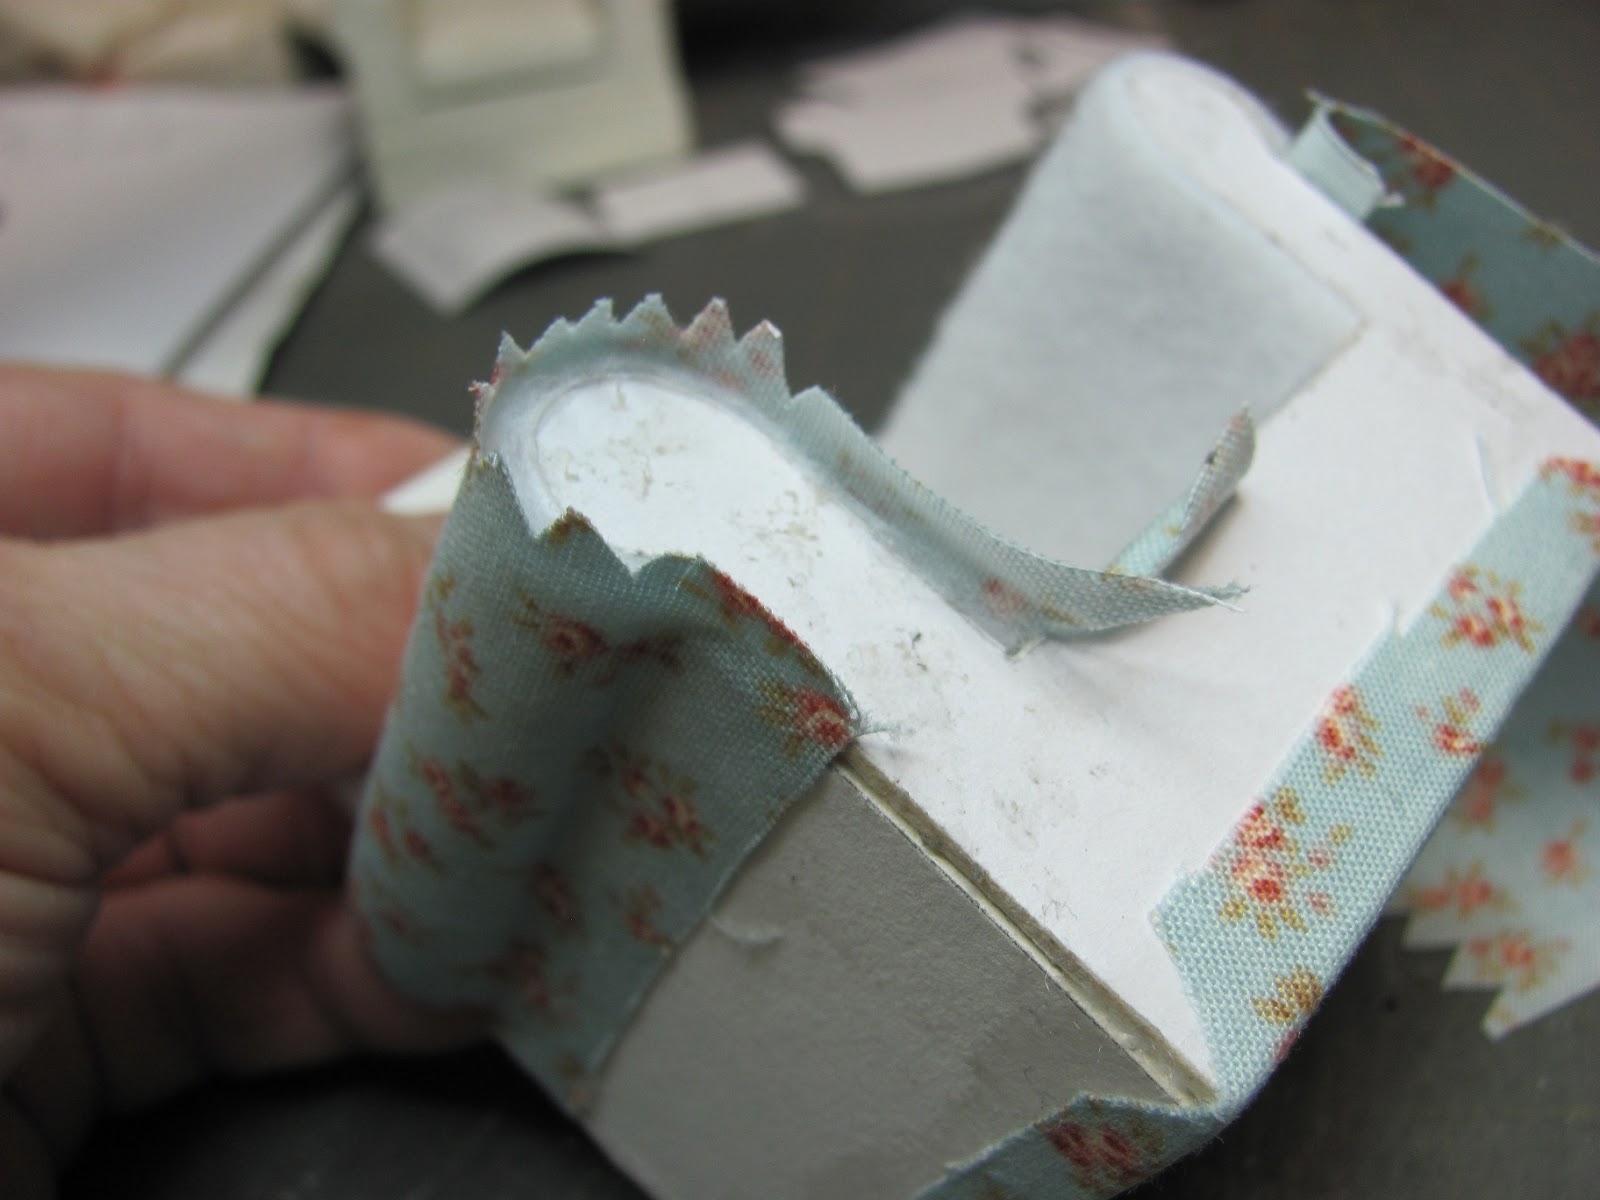
Cut "V" notches around the dowel.
Apply tacky glue to the front and glue the extra fabric down. In this picture I am showing how I pulled up the fabric from the side and pulled on it a little bit to take the extra fabric out and could smooth the notches around the end of the dowel. You will also have trouble getting the notches to glue down if you have any of the Thermolam Plus hanging over the edge.

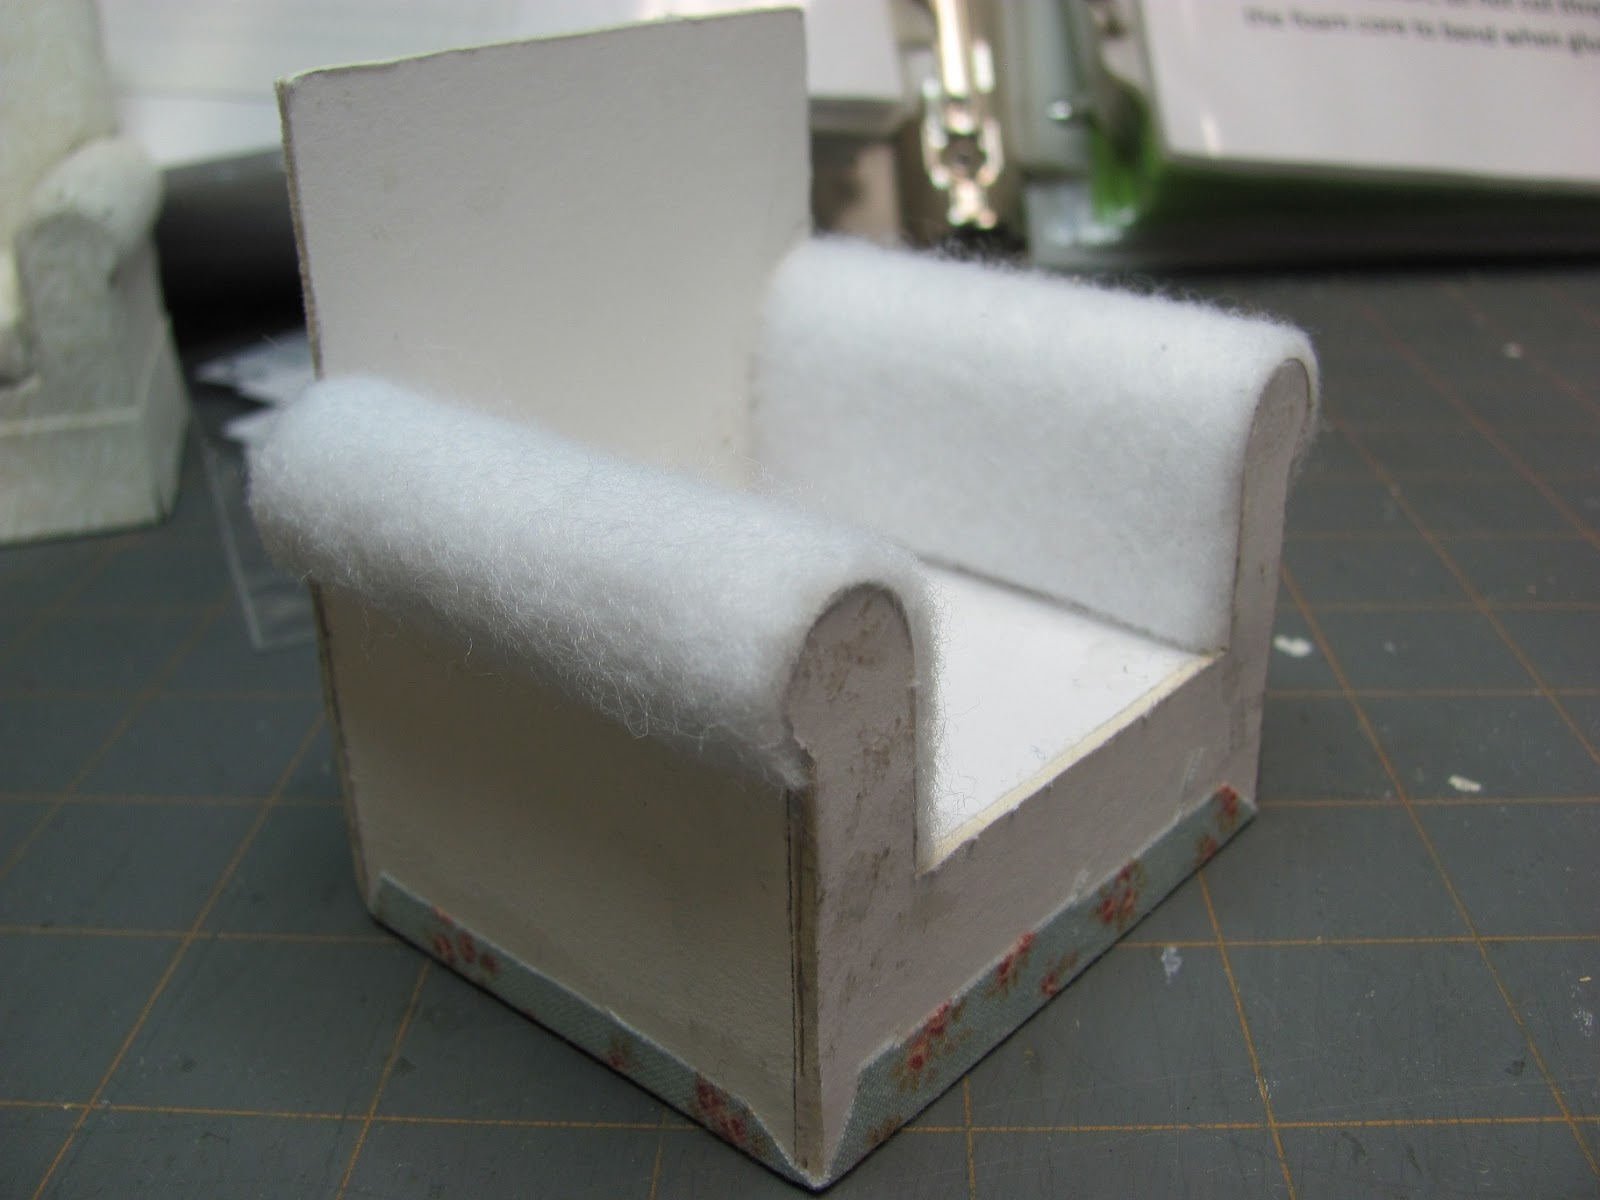
The fabric has been glued onto the arms.
There are other ways of finishing the front of the arms, like accentuating the gathering but not today.
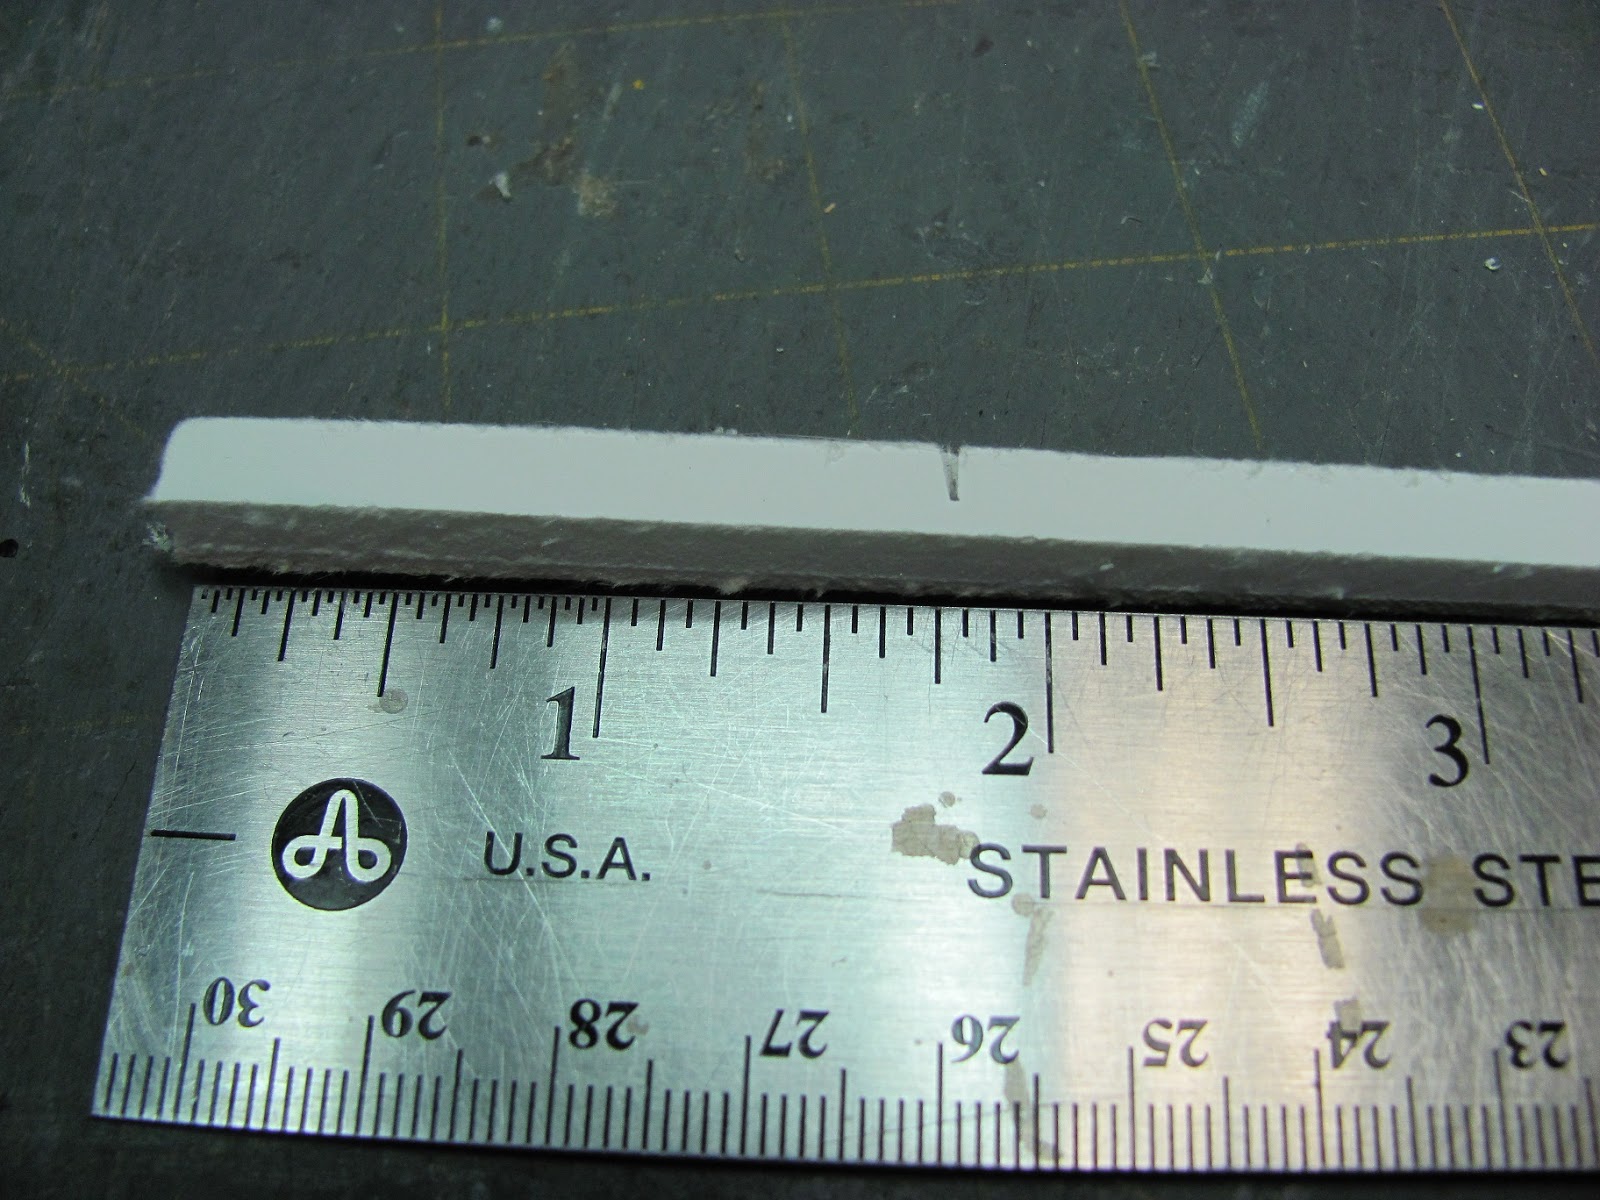
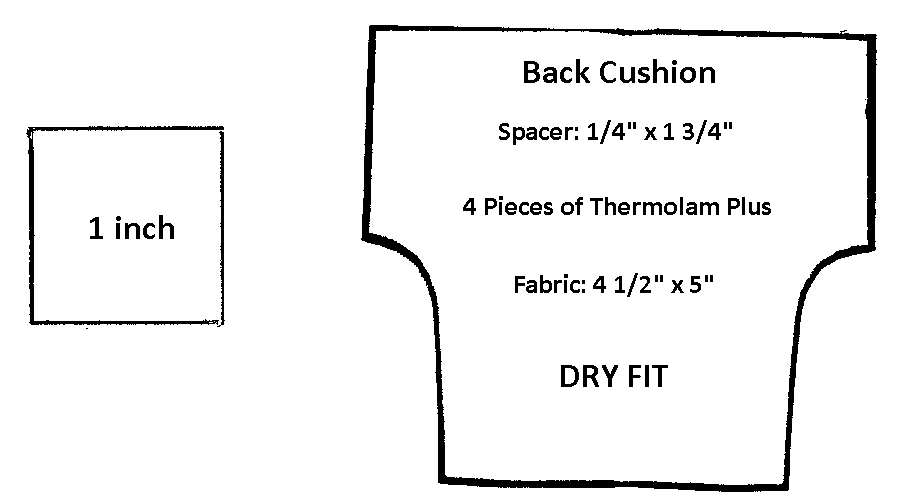
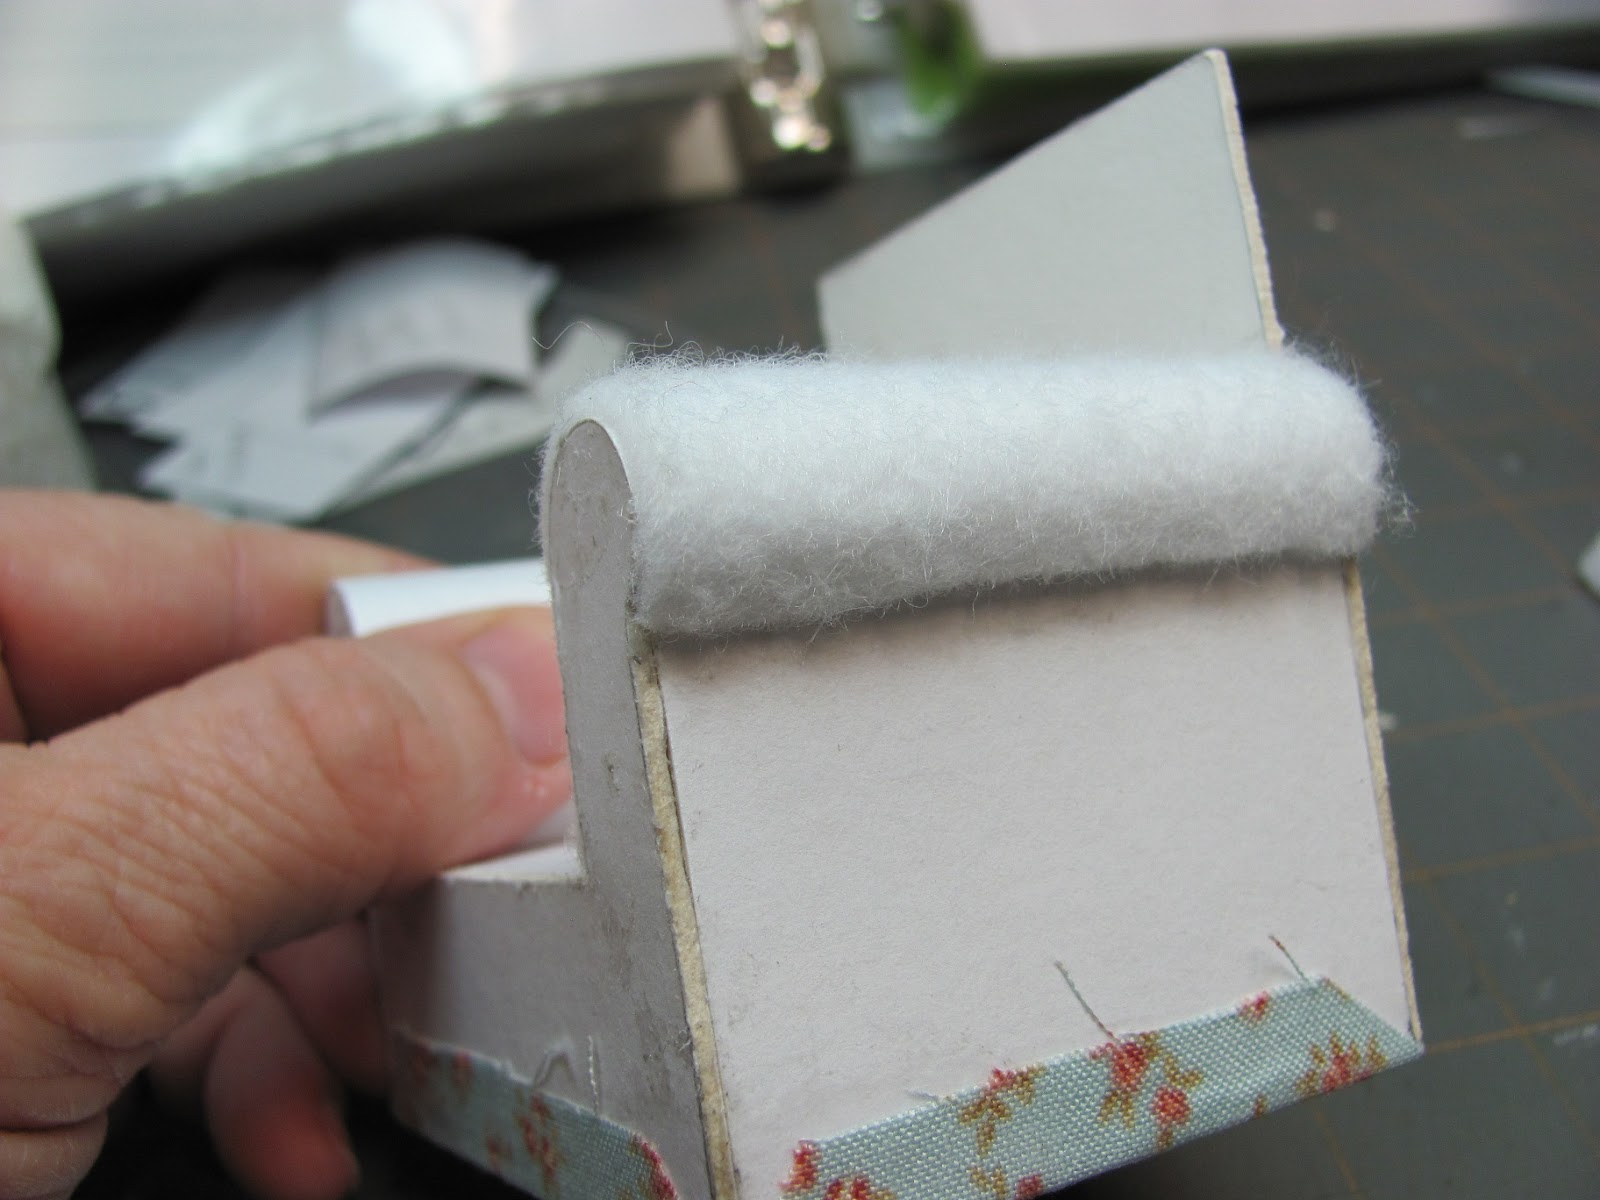
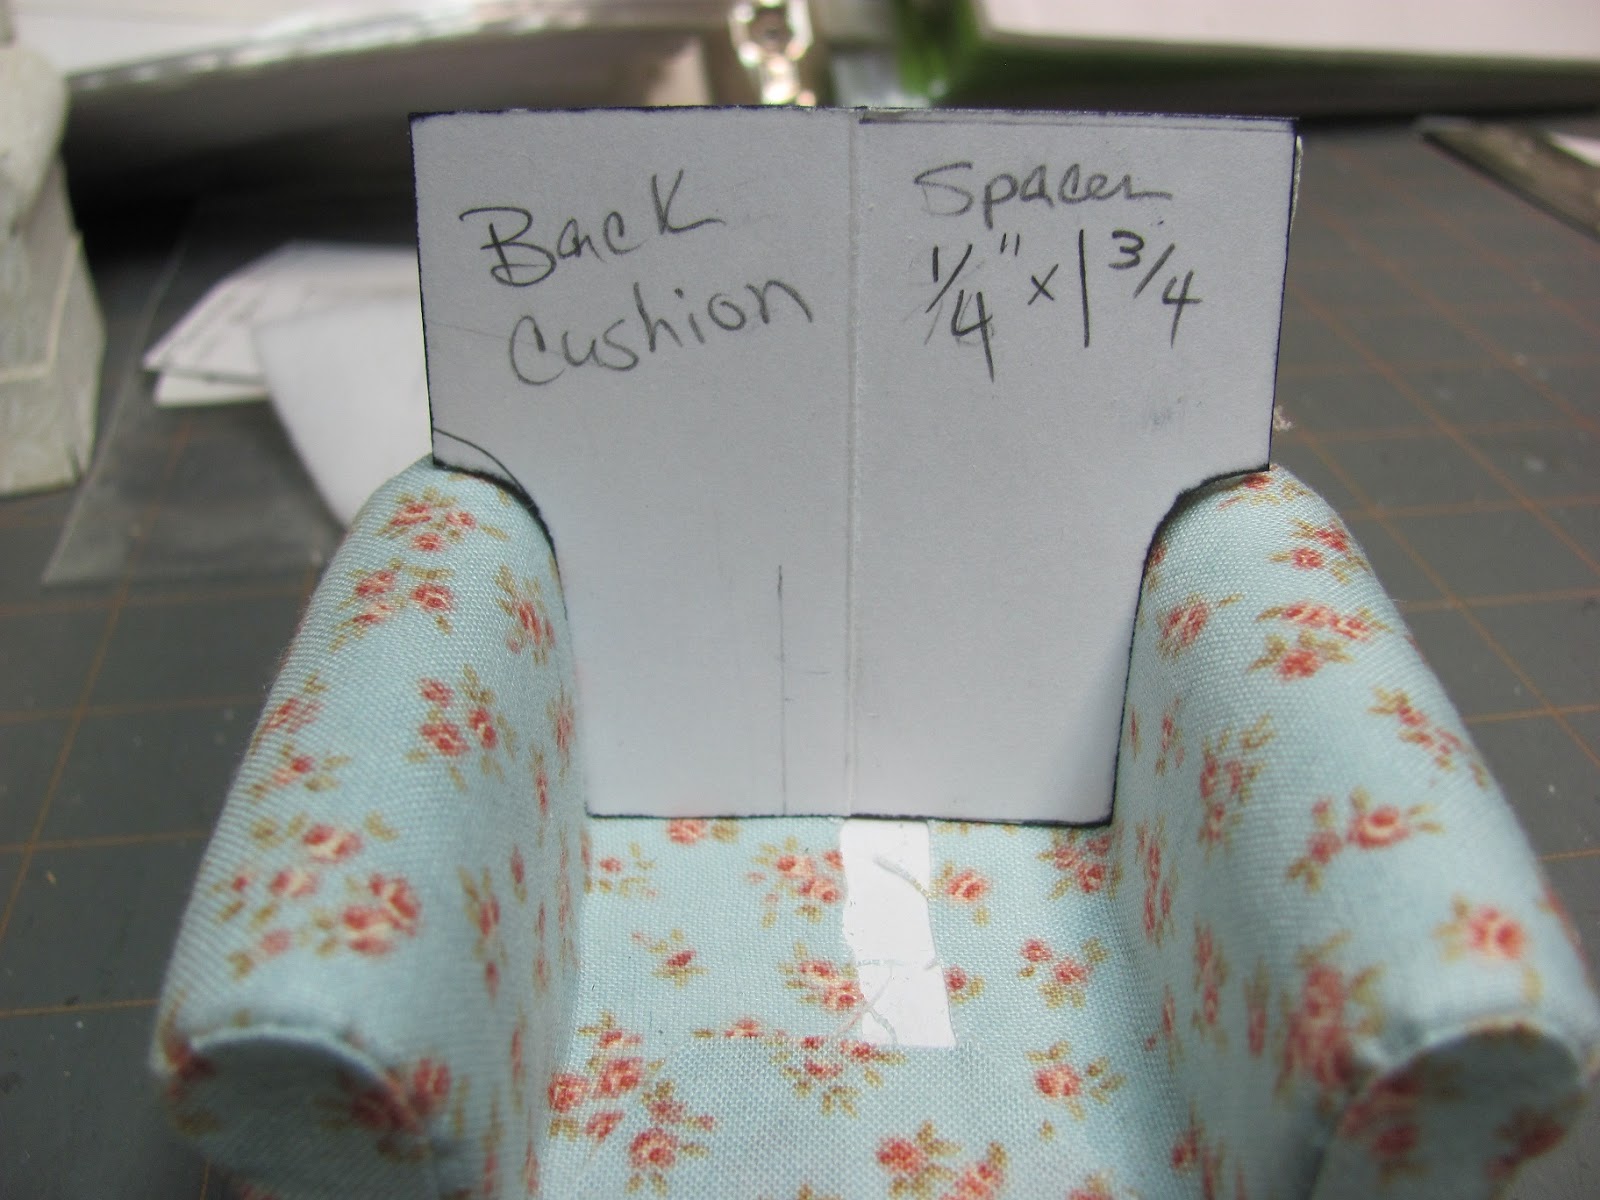
Cut a strip of foam core 1/4" wide and 1 3/4" long.
This is the spacer for the back cushion.

Glue this piece into the back of the chair. This will make your back cushion slant and look comfortable.
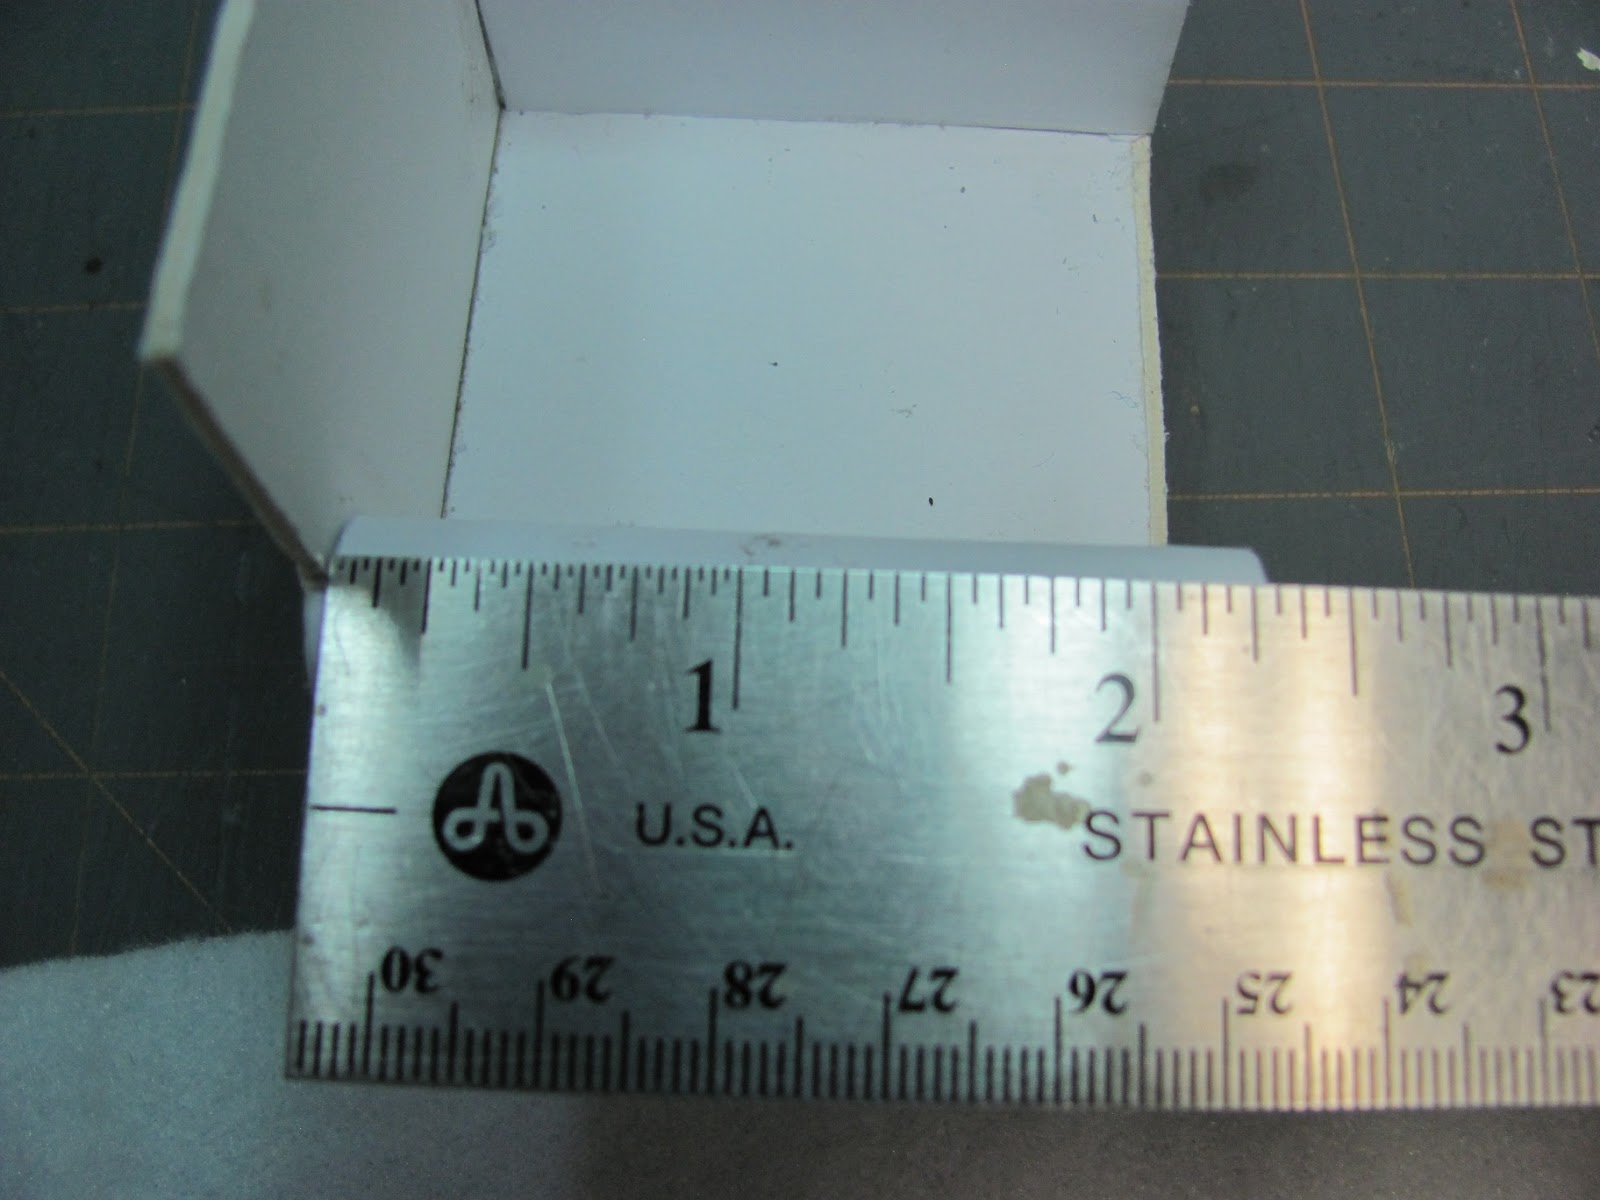
Measure the length of the side of the chair.
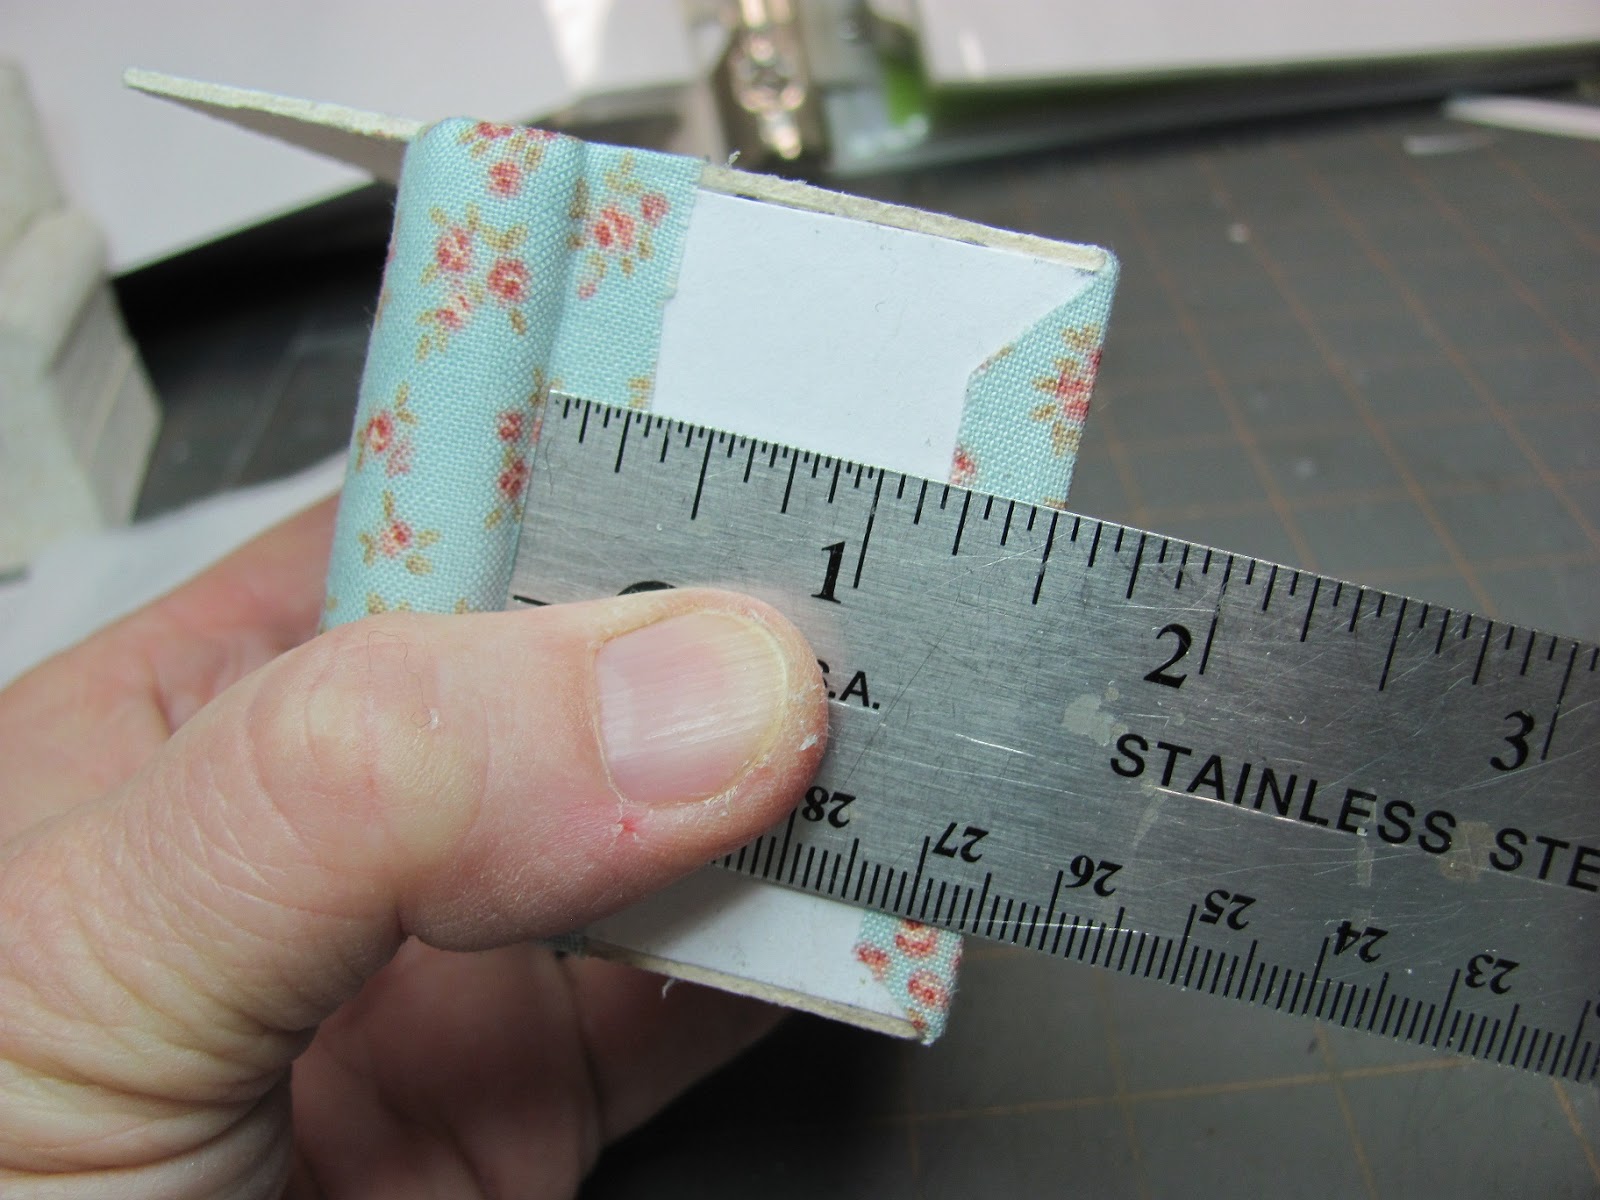
Measure the height of the side of the chair.
Transfer your measurements to card stock and cut out side covers for your chair.
Apply glue stick to the card stock and press the side cover onto the wrong side your fabric.
Trim and cut the corners like I have.
Apply tacky glue to the top and bottom and fold the extra fabric over to secure.
*Just a reminder, when I say apply tacky glue, I want you to smear and smooth the glue so you don't have any glue oozing out, even if I don't write in the directions. You do not need to smooth the glue stick.
Apply tacky glue to the side of the chair, be sure to smooth the glue out before you apply the card stock side cover. Smooth the side cover with your hand.
Apply glue to the front and back of the chair and press the extra fabric onto the glue.
Trace the front pattern onto card stock for a front cover.
Cut the front cover out. Apply glue stick to one side and press onto the wrong side of fabric. Trim the fabric like I have done in the picture.
Apply tacky glue to the card stock and fold and glue all sides but the top that will be glue onto the seat base.
Apply tacky glue to the front of chair and press the front cover onto it.

Apply tacky glue to the top of the seat base and glue the extra fabric down.
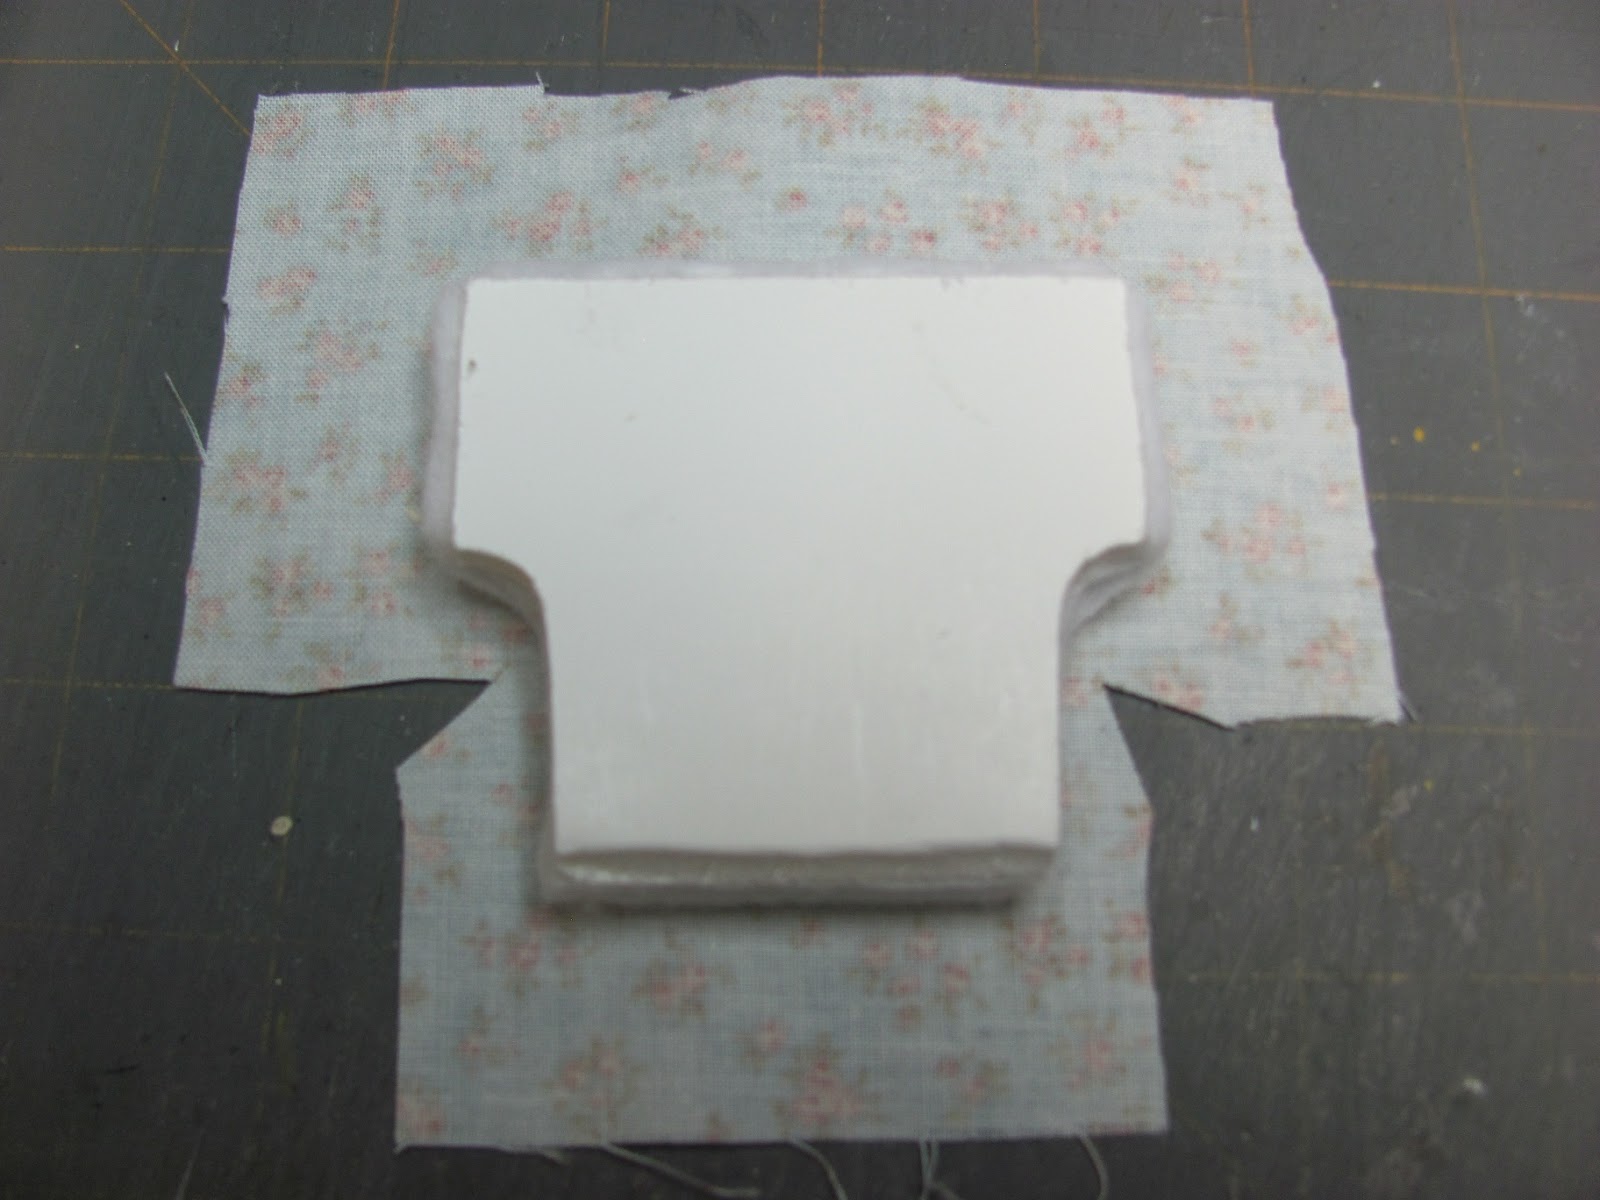
Dry fit the back cushion pattern and make note of any changes that should be made to the final back cushion.
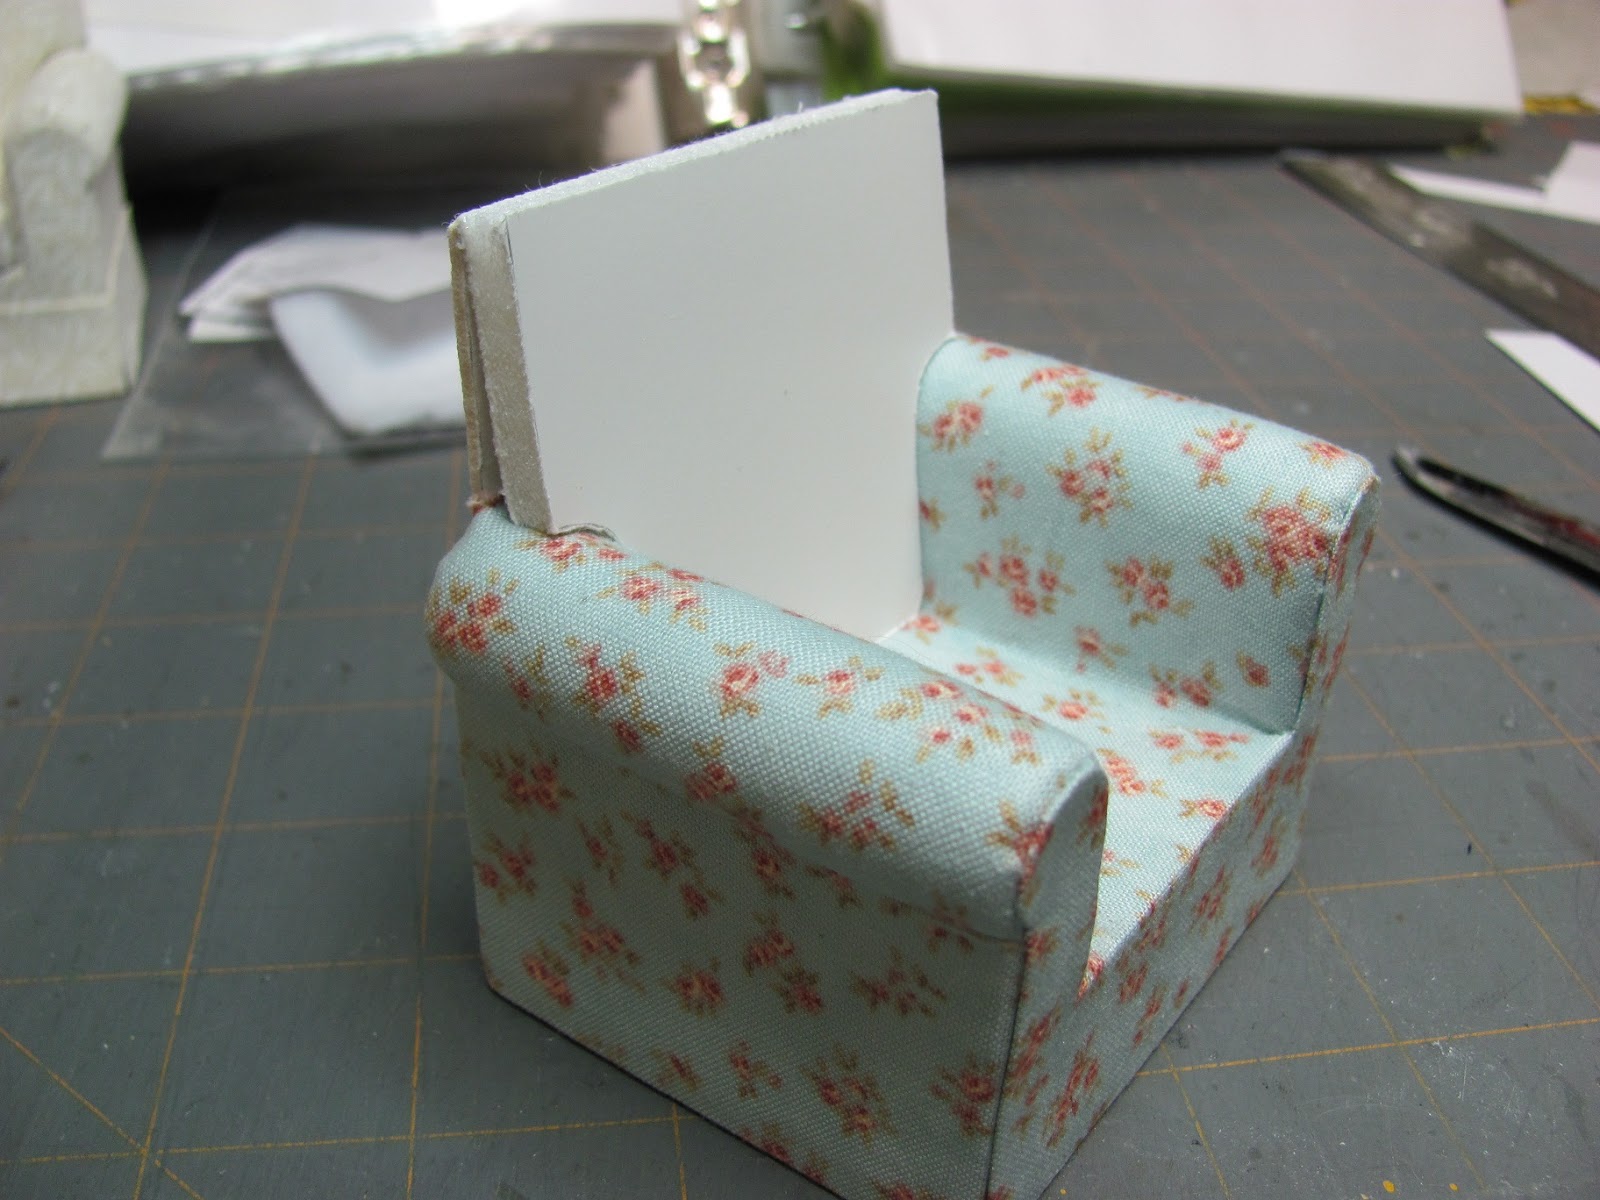
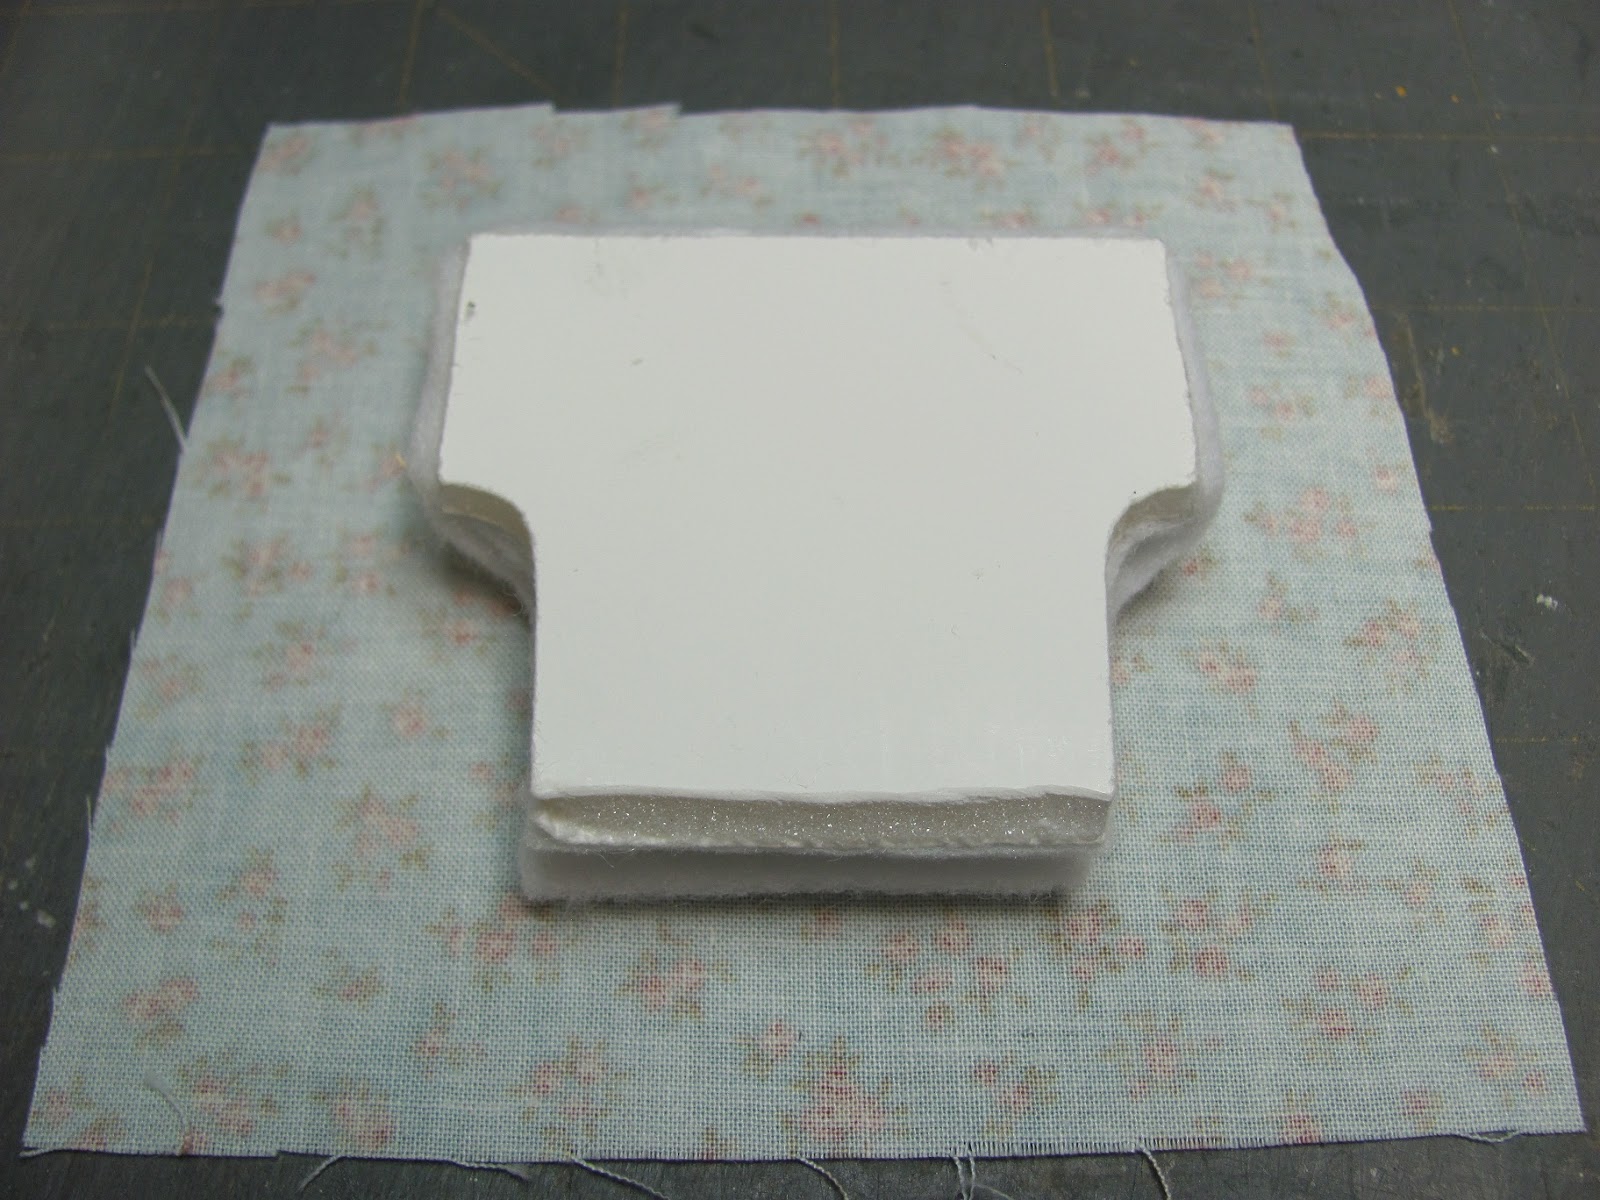
Trace the back cushion pattern onto 1 layer of foam core and cut out.
Dry fit again.
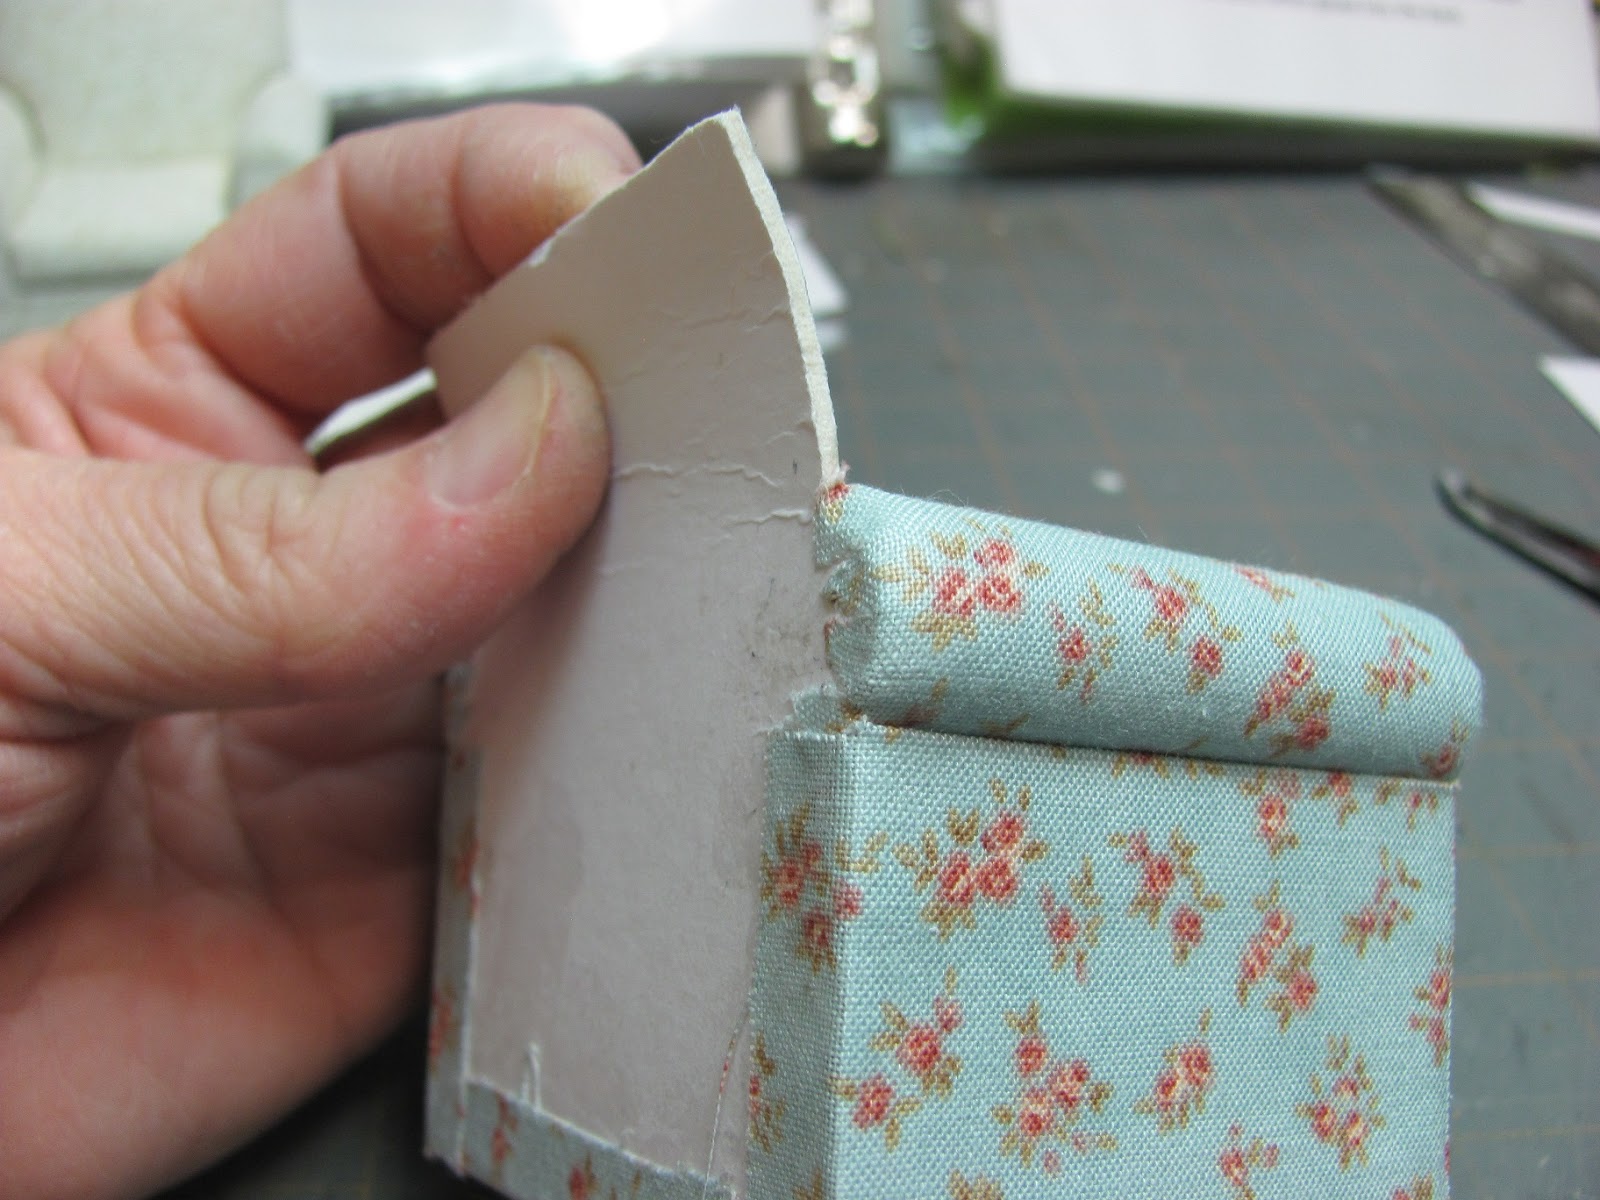
I am carefully bending the top mat board back to tip it out. I know most of you don't have the machines to cut the angle on the seat base as I would have done. This little bend makes the chair look not so boxy from the side.

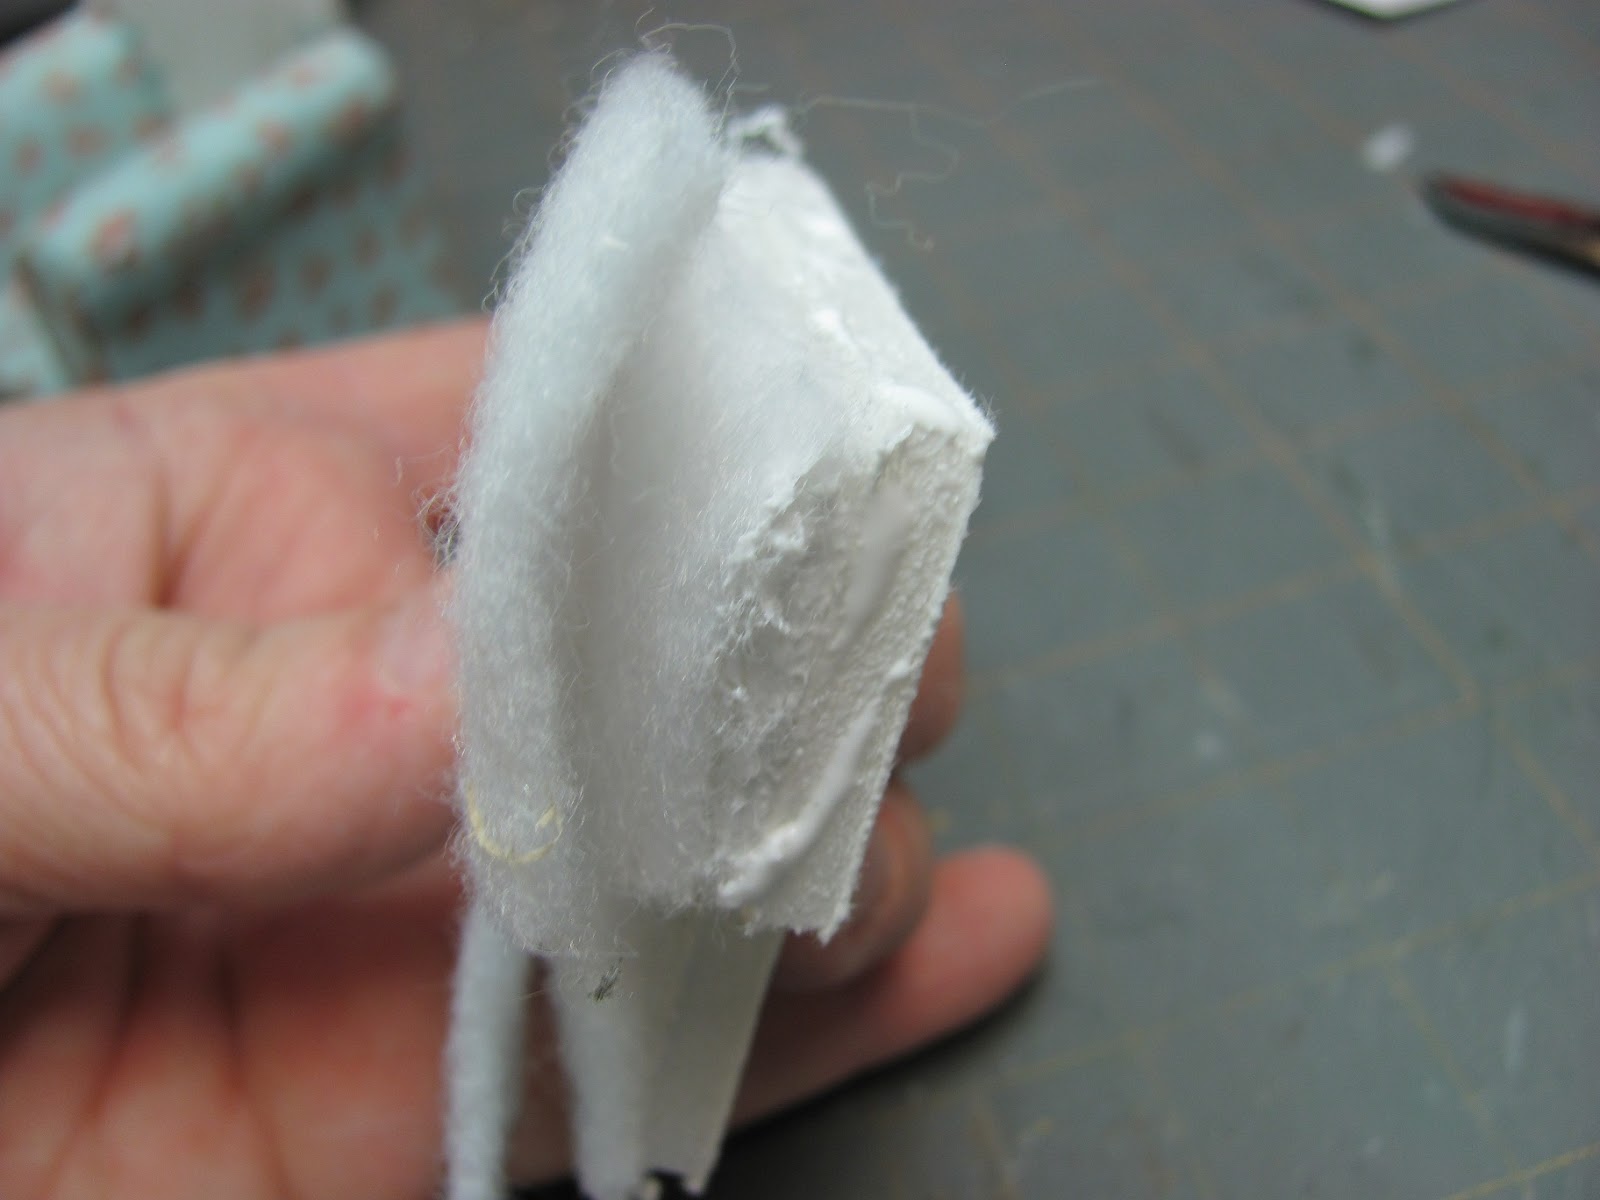
There will 4 layers of Thermolam Plus on the back.
Cut out a piece of Thermolam Plus the size of the back cushion and trim off about a 1/4" all around.

The second pieces is even all around except at the bottom, it's still 1/4" shorter.

The third piece is even all around.
Apply tacky glue to the back cushion and glue the Thermolam Plus onto the back cushion starting with the smallest, second and then the third piece.
The fourth piece is cut even with the bottom and around the arms. Leave extra at the sides and top to glue onto the edge of the foam core.
Apply tacky glue to the edge of the foam core and press the Thermolam Plus onto it.
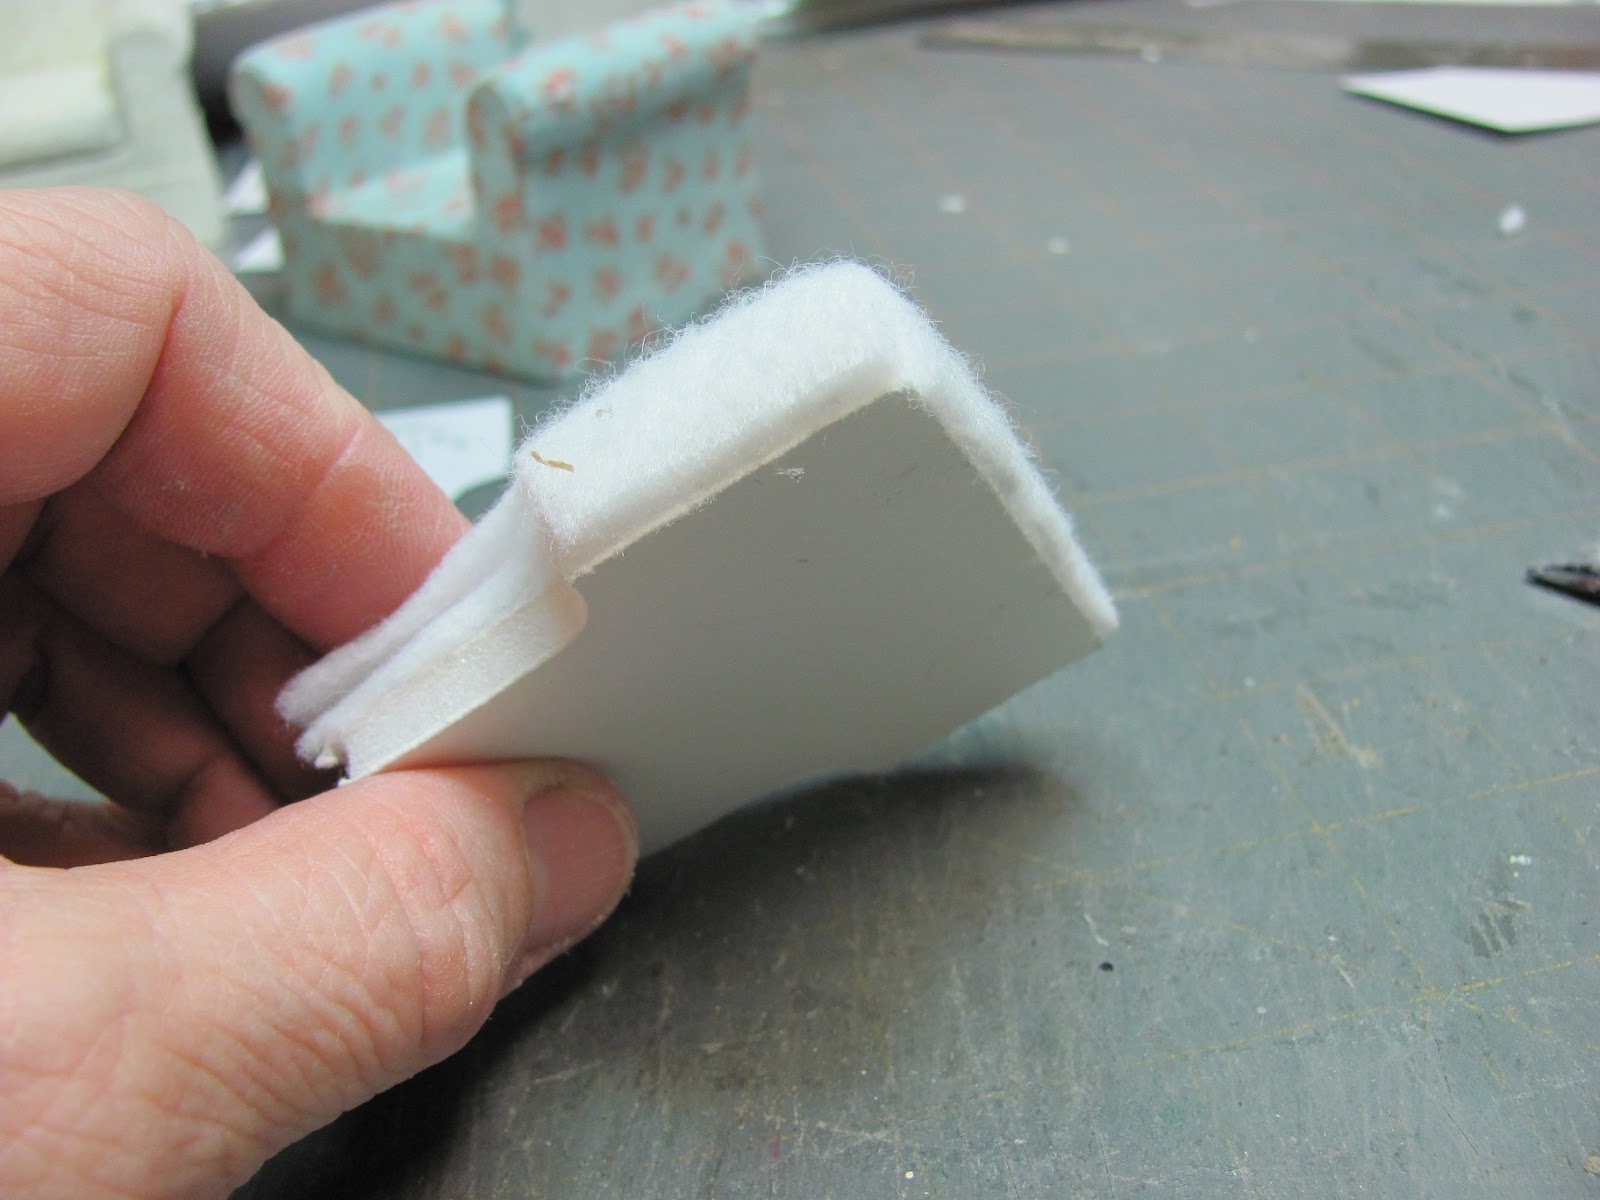
Trim corners and trim even with the back of the foam core.
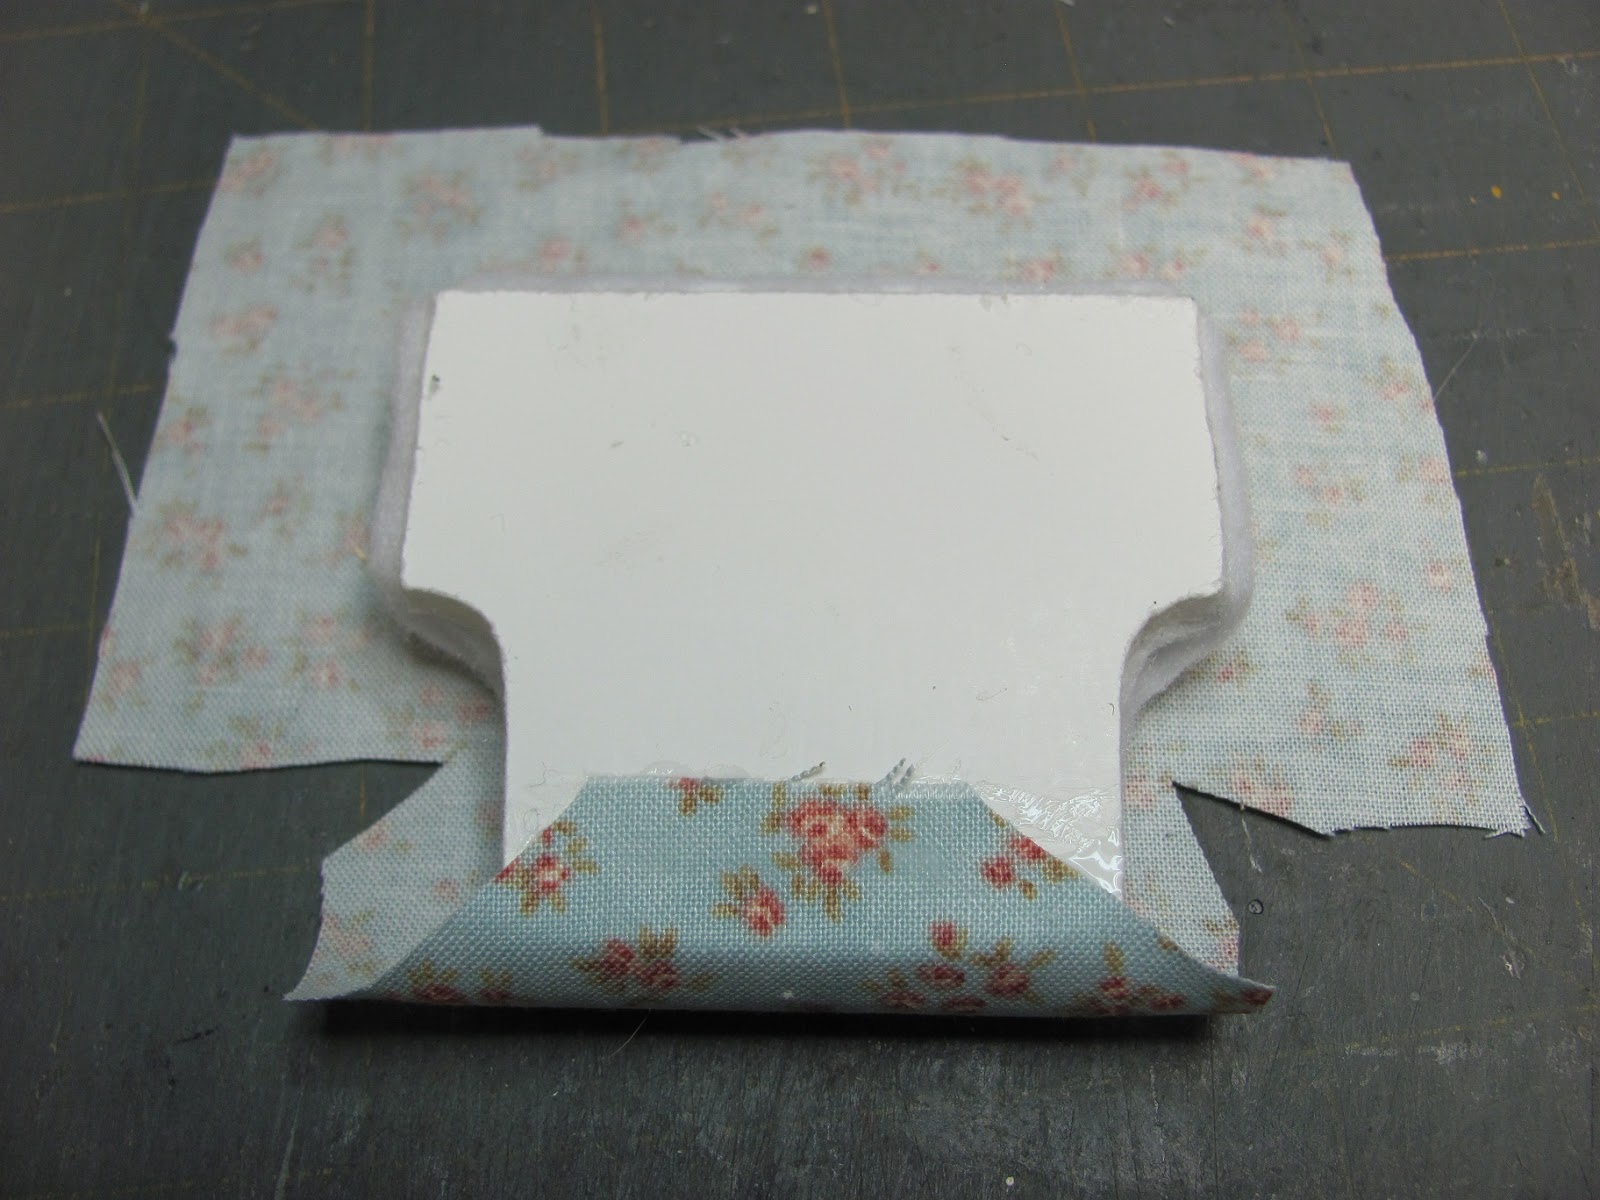
Cut a piece of fabric 4 1/2" x 5". The 5 inches is going from the top to bottom of the back cushion.
Trim the fabric like I have done in the picture.
Use tacky glue to glue the extra fabric at the bottom onto the back cushion. Trim as I have in the picture.
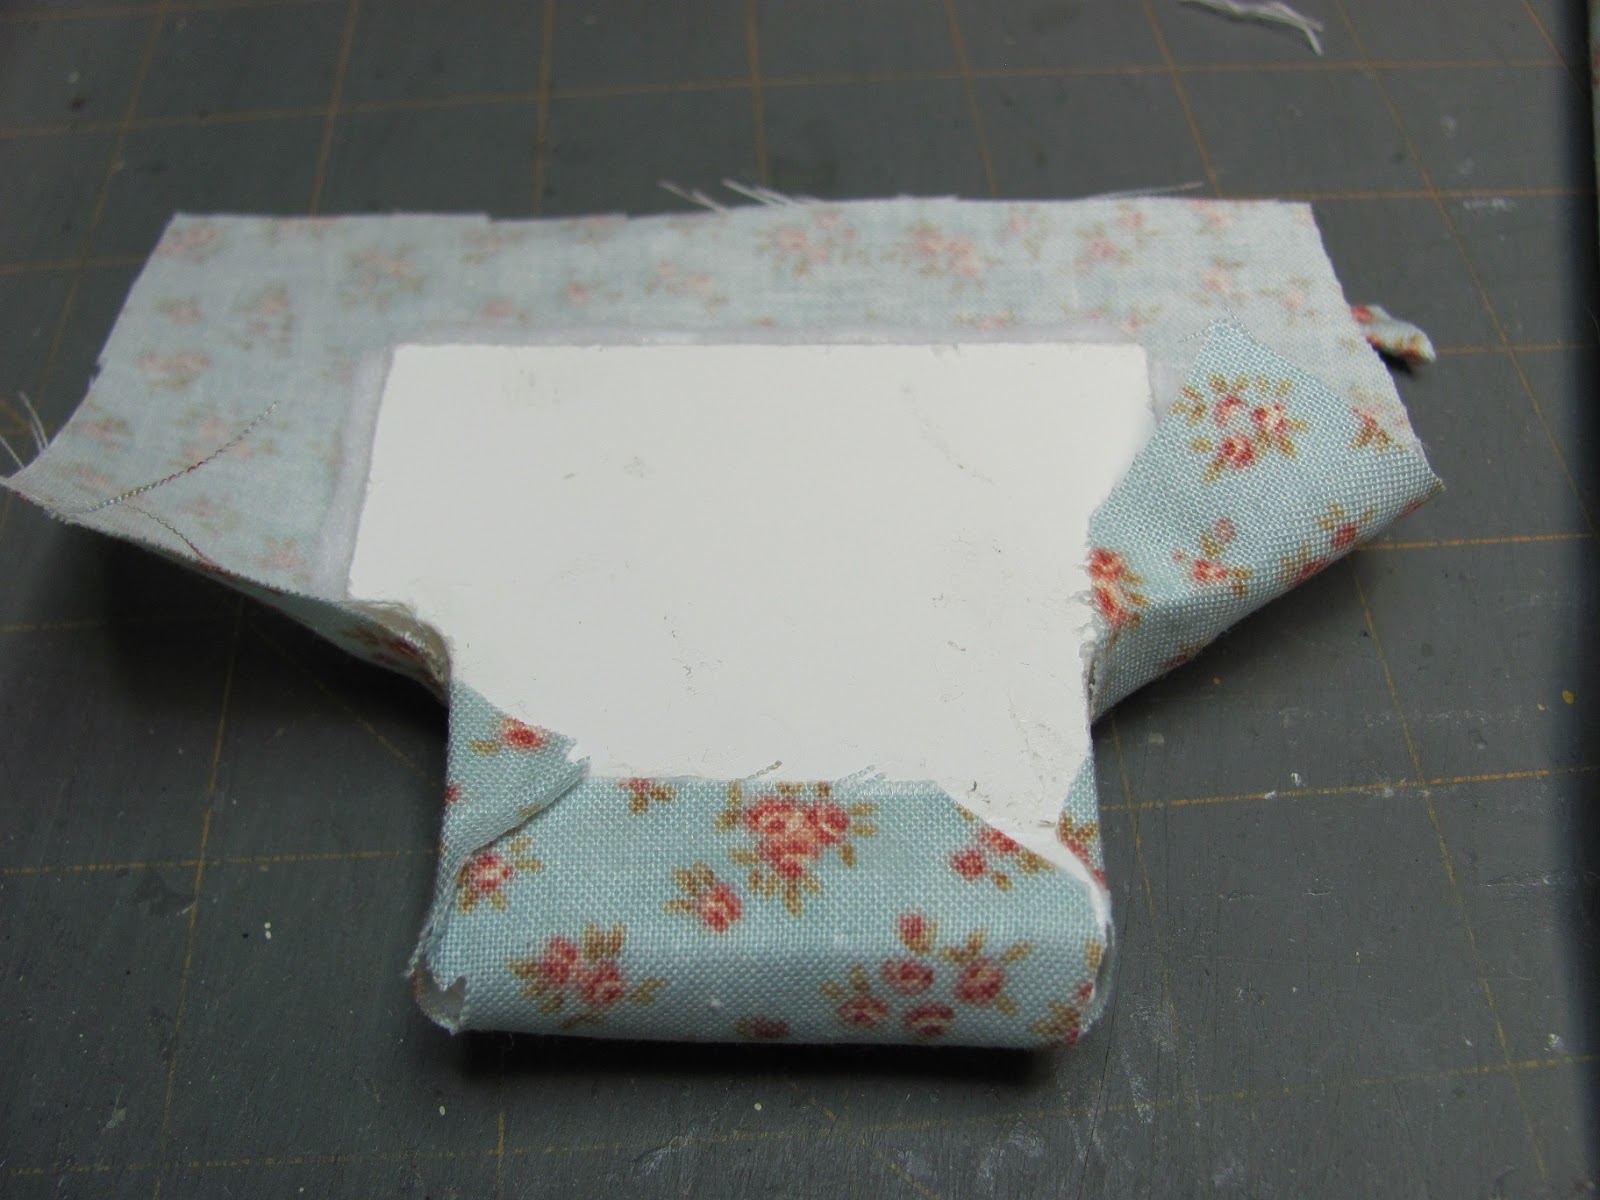
Glue the extra fabric into the arm area. Don't worry if your fabric doesn't come over to the back, as long as you have fabric glued to the side of the foam core the raw edge will be hidden.
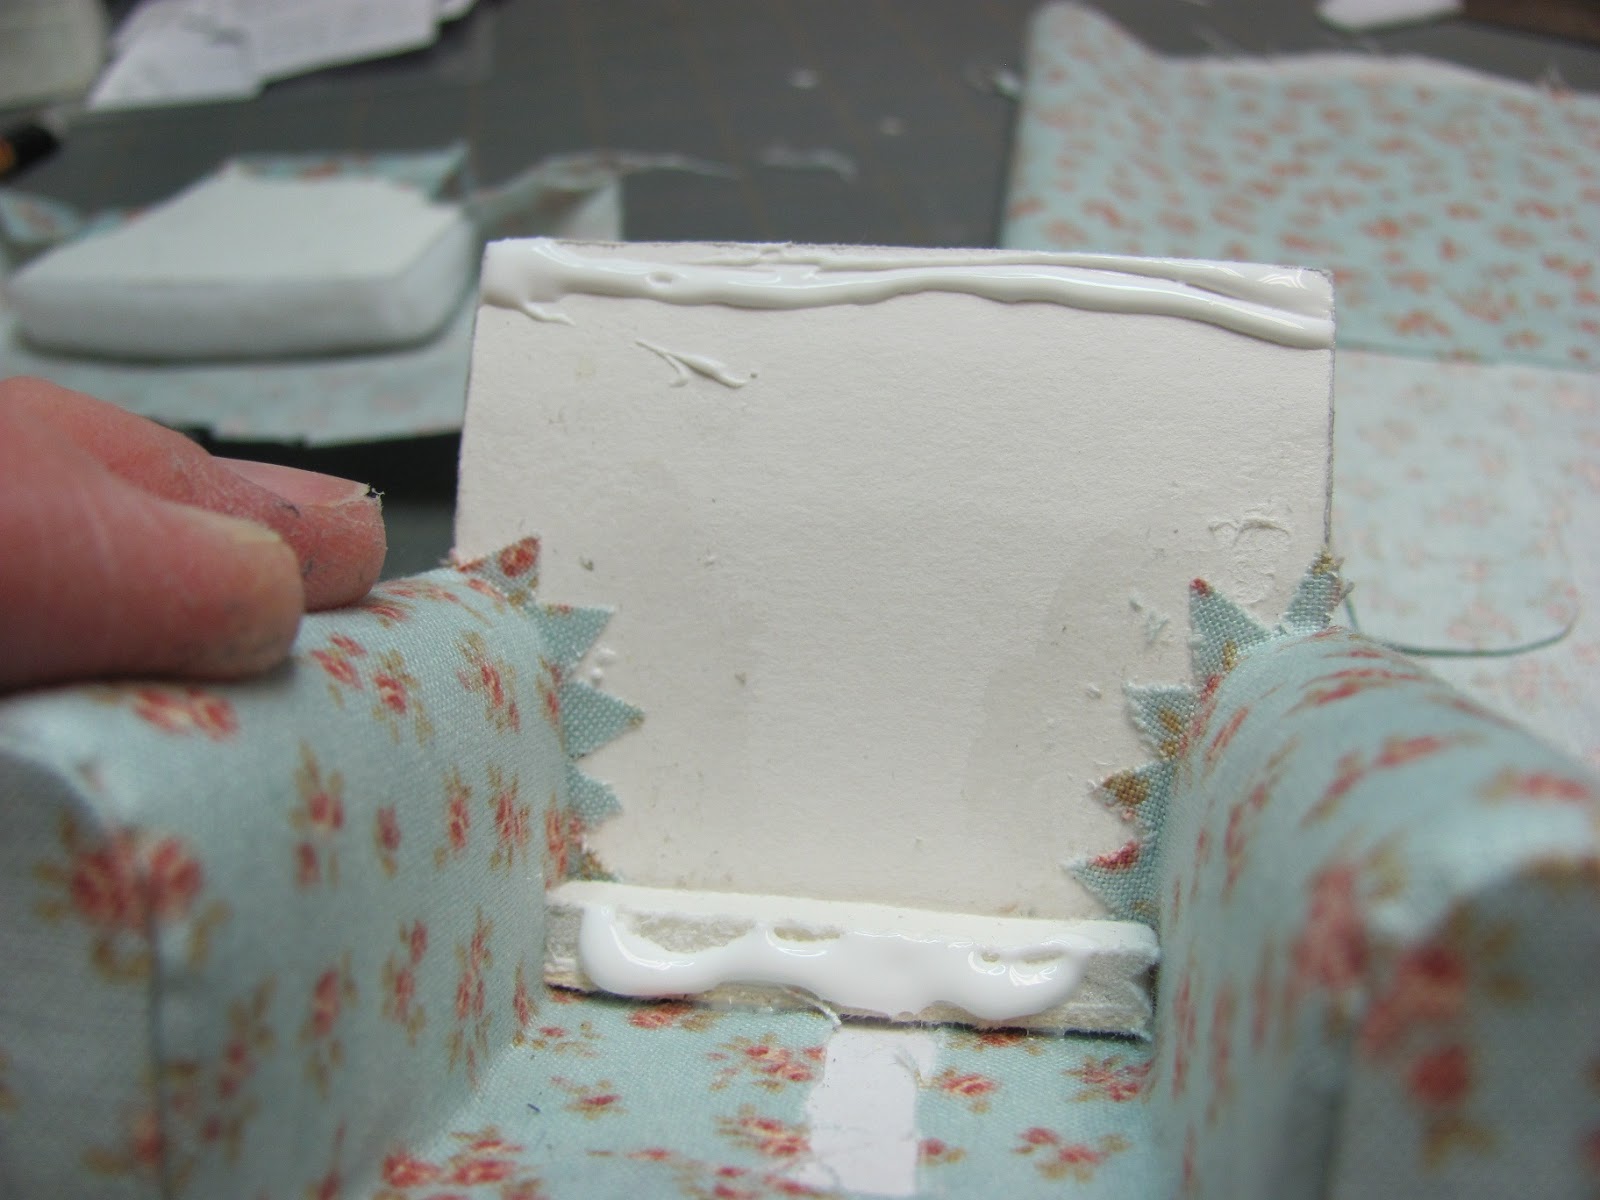
Apply tacky glue to the top of the back and to the side of the spacer.