Sew a Baby Necktie

Little neckties are so cute on babies and toddlers! They’re such a fun way to dress up a plain white tee or shirt with a pop of colour and whimsy. This tie design features a velcro neckpiece that can be adjusted as Baby grows from 6 months to 3 years and over. Here’s how to make one for your little guy:
Materials:
- 1/4 yard of cotton quilting fabric
- 1″ wide velcro
Directions:
Download our PDF pattern: The DIY Mommy – Little Guy Necktie A and The DIY Mommy – Little Guy Necktie B. (For personal use only.) Tape/glue the two pages together, meeting the ends of the pattern lines exactly together.

Cut TWO of each pattern piece. Sew Tie Piece 1 and Tie Piece 2 together using a QUARTER INCH SEAM at the two short ends. Repeat with second pieces of Tie Pieces 1 and 2. Sew neck pieces together on long ends and one short end, leaving one short end open for turning.
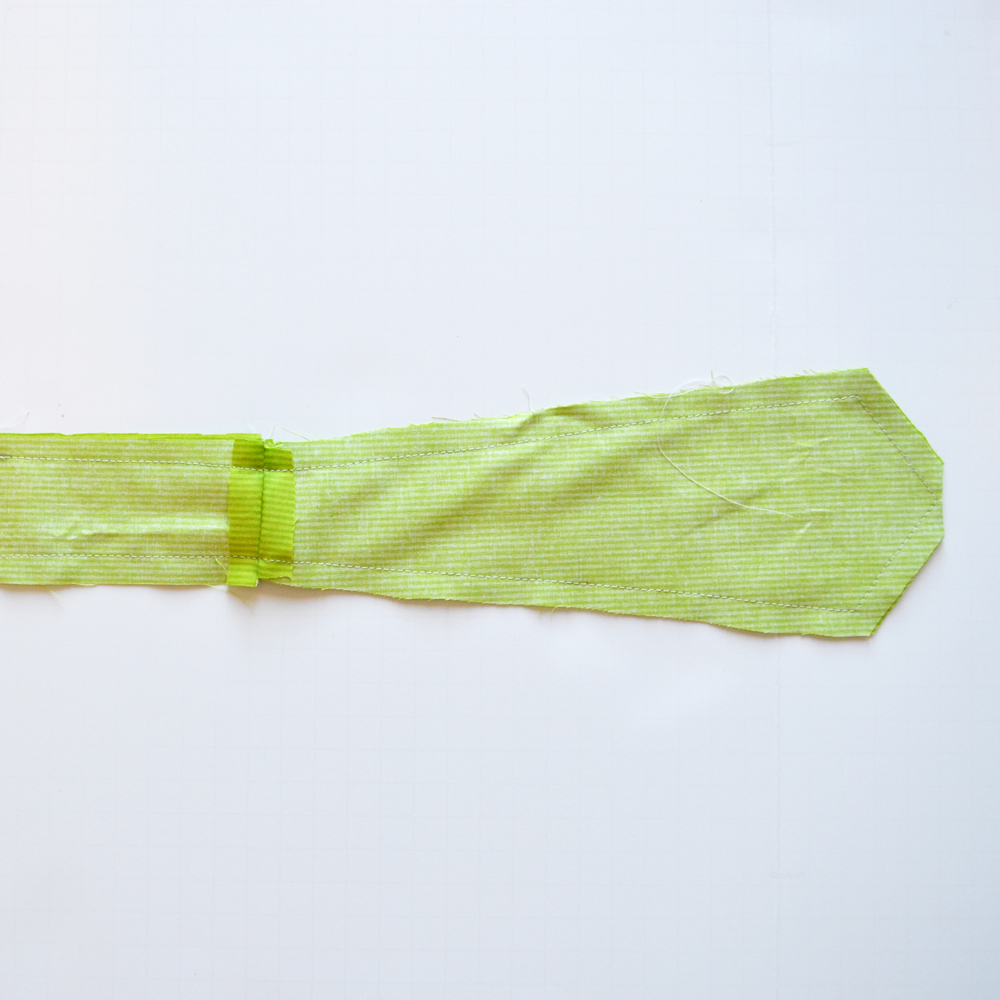
Press seam on two main tie pieces open. With right sides together, sew the two large tie pieces together using a quarter inch seam. Leave a 2 inch opening along the side for turning. Clip the corners (this makes the corners less bulky when you turn & press them.)

Turn both the neck piece and tie piece right-side-out. Press. On the unsewn edge of the neck piece, turn the raw edges in 1/4″ and press.
Sew the end of the neck piece and the open hole of the tie piece closed using a topstitch that’s 1/8″ to 1/4″ from the edge.
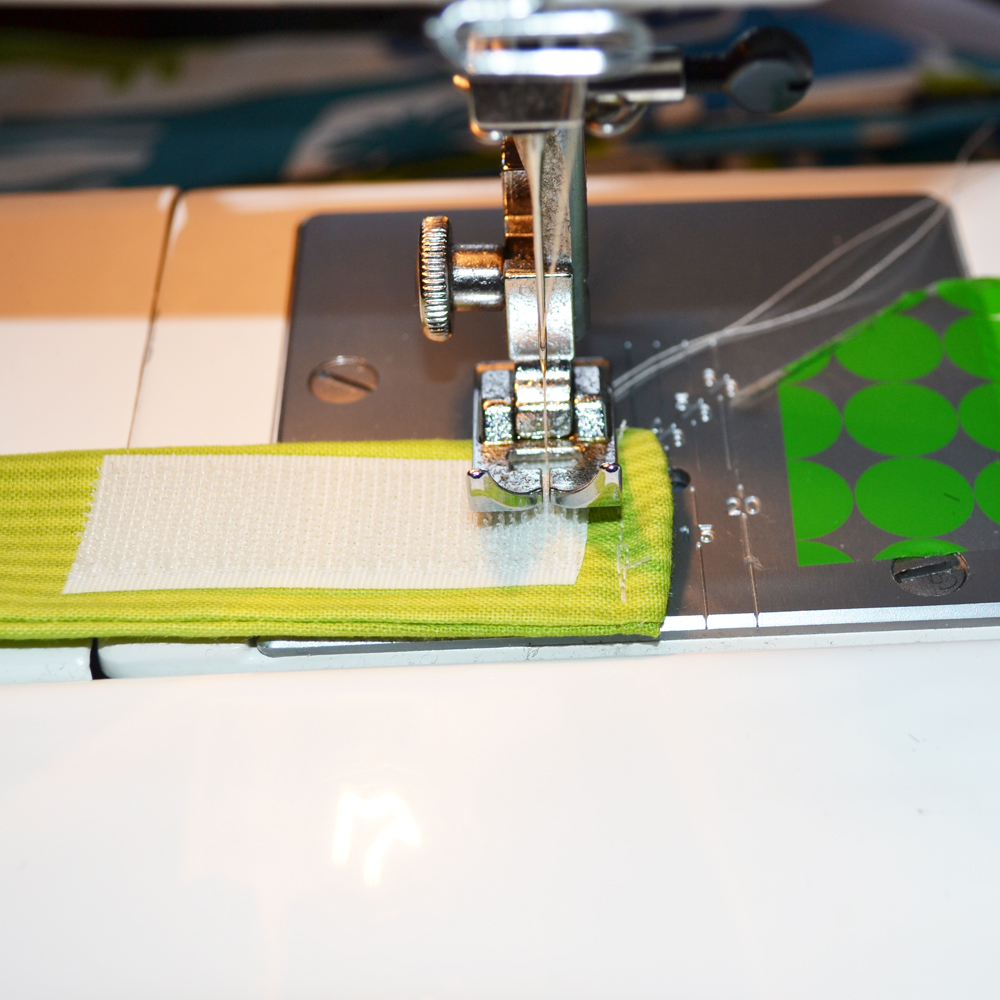
Cut a piece of velcro approximately 2″ long. Sew one side to the end of the neck piece and the other side to the opposite end and opposite side of the neck piece.

To assemble the tie, use the diagram below to tie the main piece onto the strap. The piece can be removed for washing and re-assembled!
Christina Dennis is the creator and designer behind Golly Gee Baby, a collection of unique and colourful baby clothing and accessories that are ethically manufactured.