халатик
04-01-2013 00:54
к комментариям - к полной версии
- понравилось!
Это цитата сообщения M_A_G_D_A Оригинальное сообщение
Toddler Dish Towel Bathrobe !
 [показать] SUPPLIES: SUPPLIES :
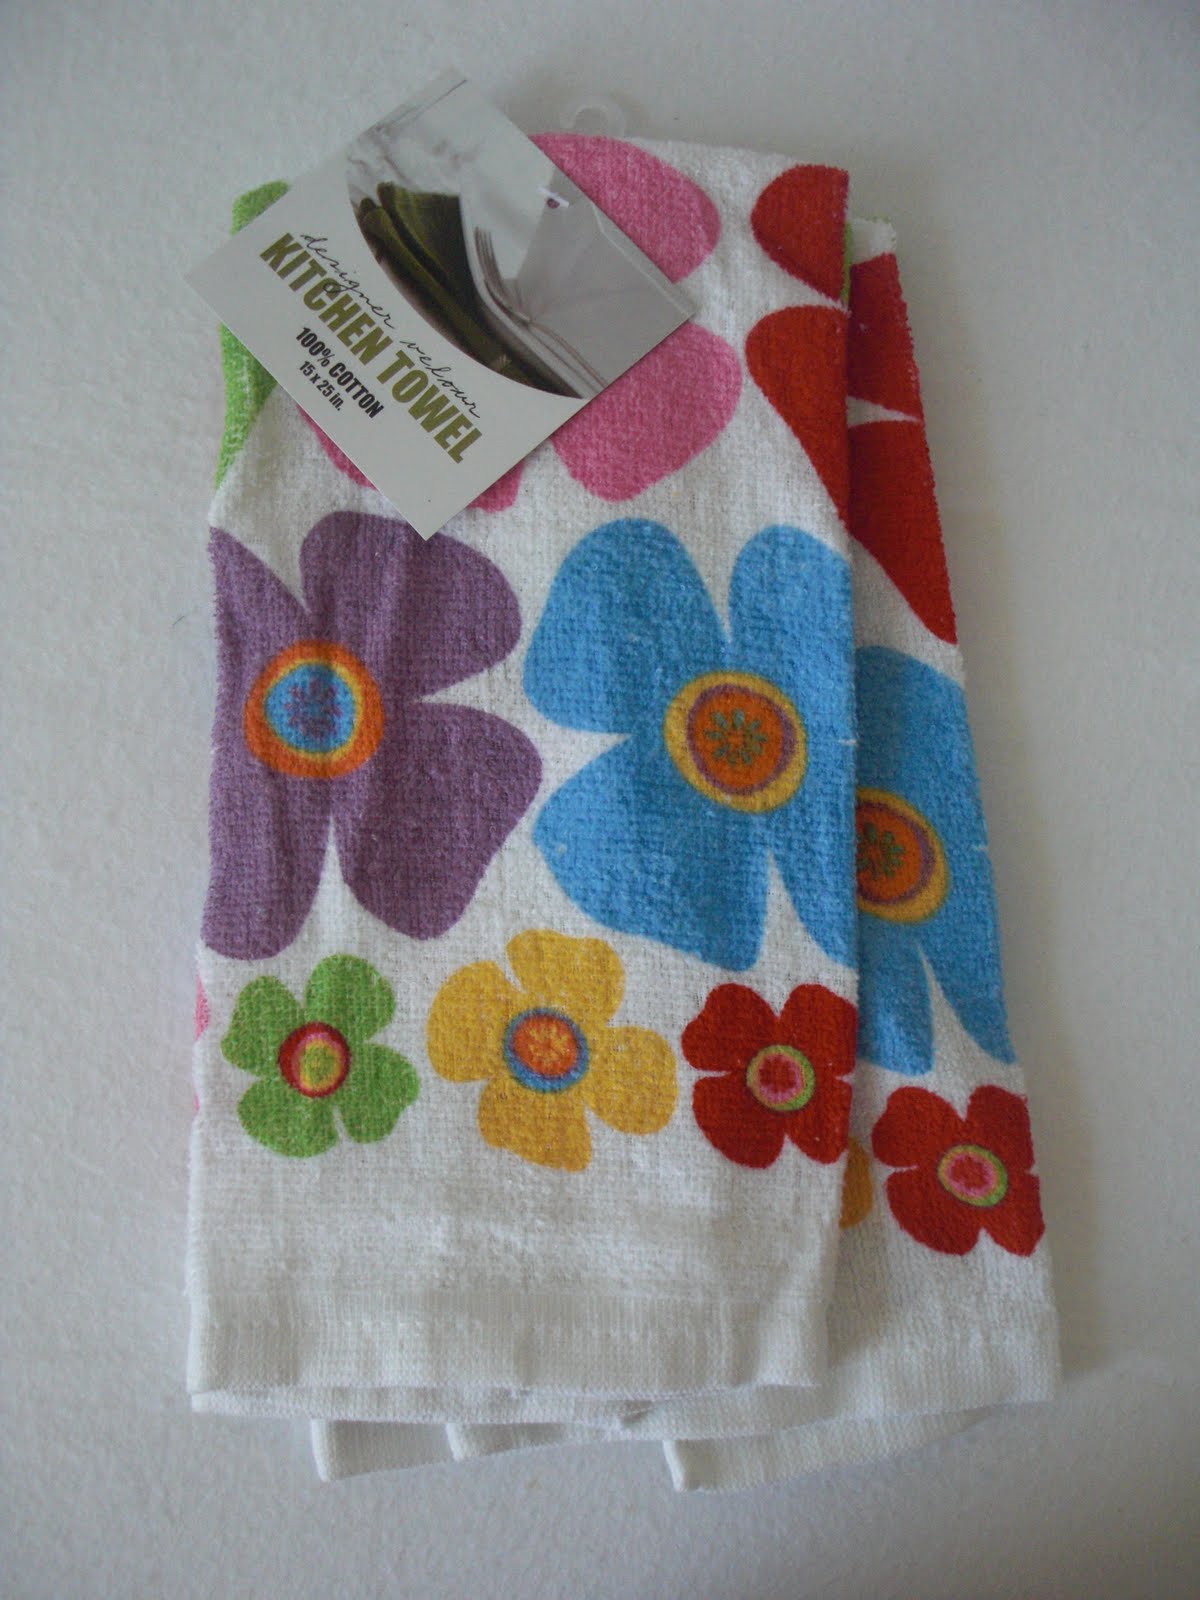
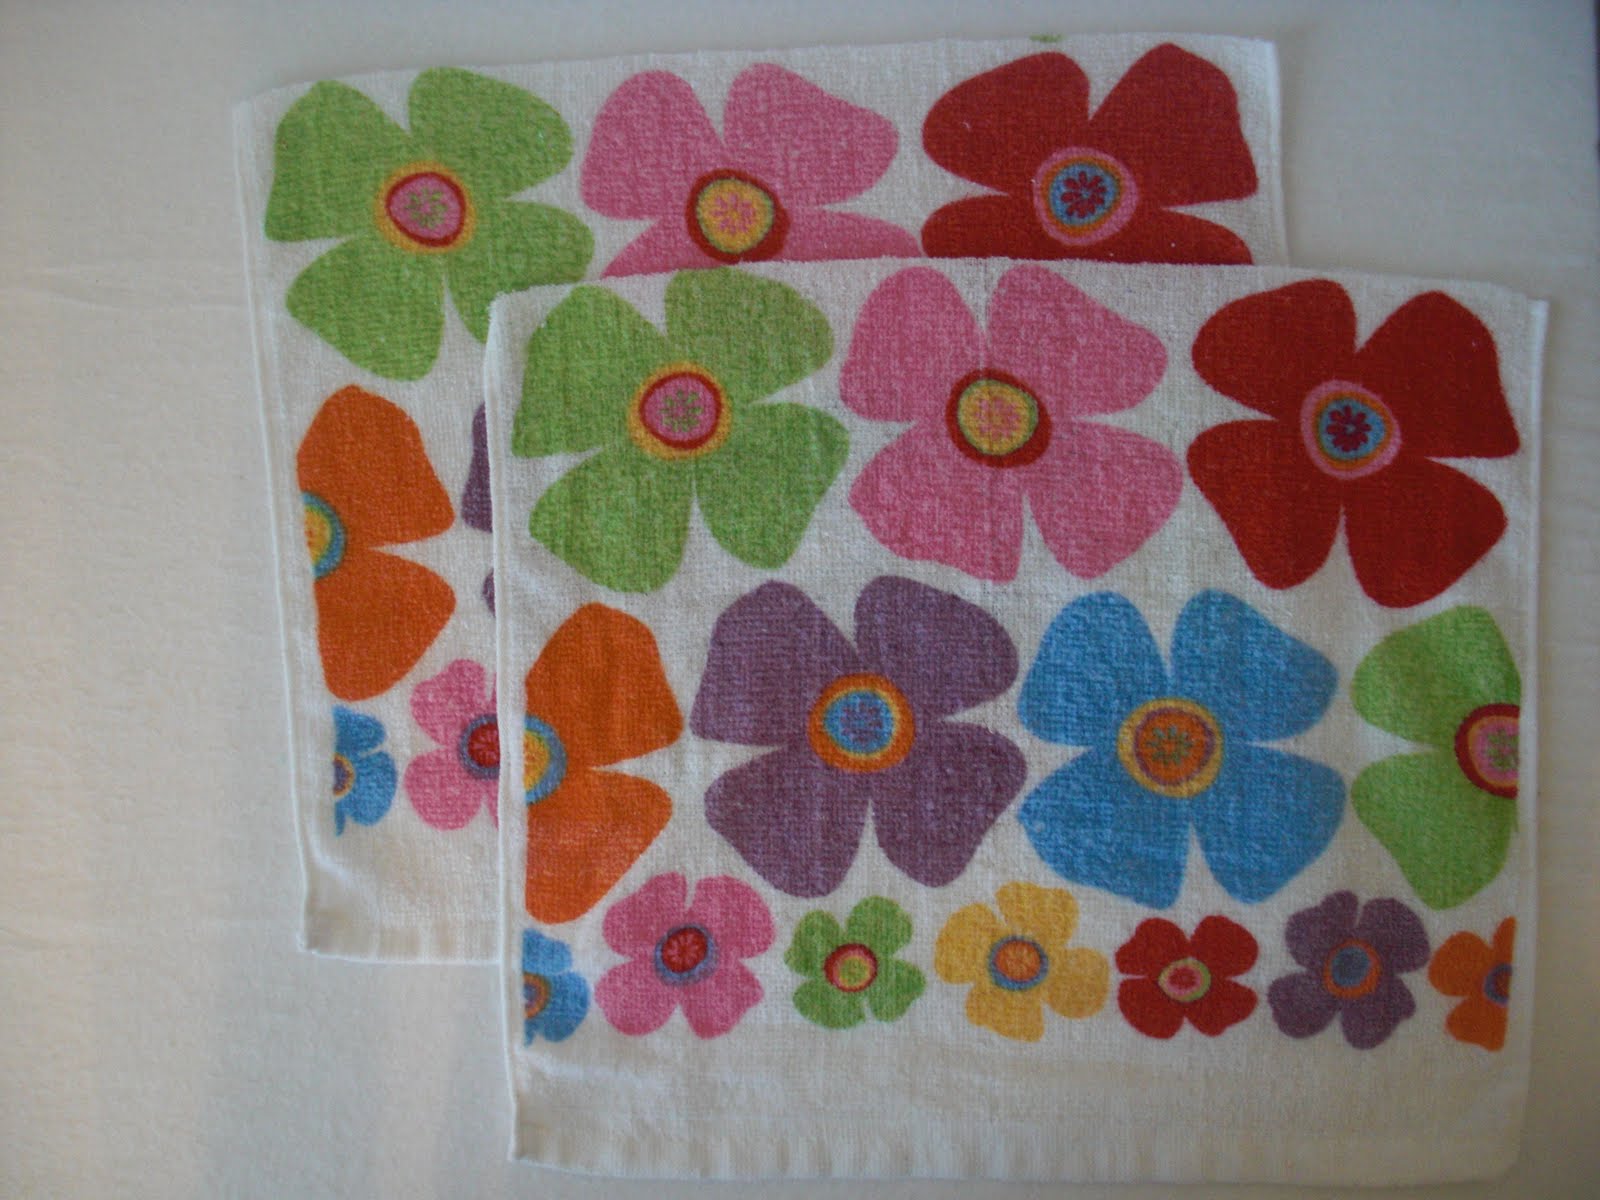
~ Two terry dish towels -- mine measured about 14.5"x24" ~ Two terry kitchen towels - the mine is about 14.5 " x24 "
(This size of dish towel yielded a robe perfectly sized for my almost-18-month-old, although these towels are a bit on the smaller side. I am sure you could find larger ones for an older toddler.) (This size dish towel robe gave a perfect size for my almost -18- months old, but the towels are a little on the smaller side . I'm sure you can find great for an older child . )
~ Approximately 3 1/2 yards 3/4" wide cotton twill tape ~ Approximately 3 1 / 2 yards 3 / 4 "wide cotton twill
[показать] STEP TWO: Fold one towel in half from hem to hem and cut along the fold, as shown. STEP TWO: Fold a towel in the middle of the ring with hem and cut along the fold, as shown.
[показать] STEP THREE: Fold your second towel in quarters to find the center and mark. STEP THREE: Fold the towel in the second quarter to find the center and the brand. Fold from hem to hem and cut from one edge to the center, as shown. Double hem hemming and cutting edge to the center, as shown.
[показать] STEP FOUR: With your towel still folded cut a small neck opening, as shown. STEP FOUR: With a folded towel still cut a small opening in the neck, as shown.
[показать] (I don't know if this diagram is helpful or confusing!) (Do not know if this chart is helpful or confusing!)
[показать] STEP FIVE: Lay your towel with the neck opening on a flat surface. STEP FIVE : Support the towel with the neck opening on a flat surface .
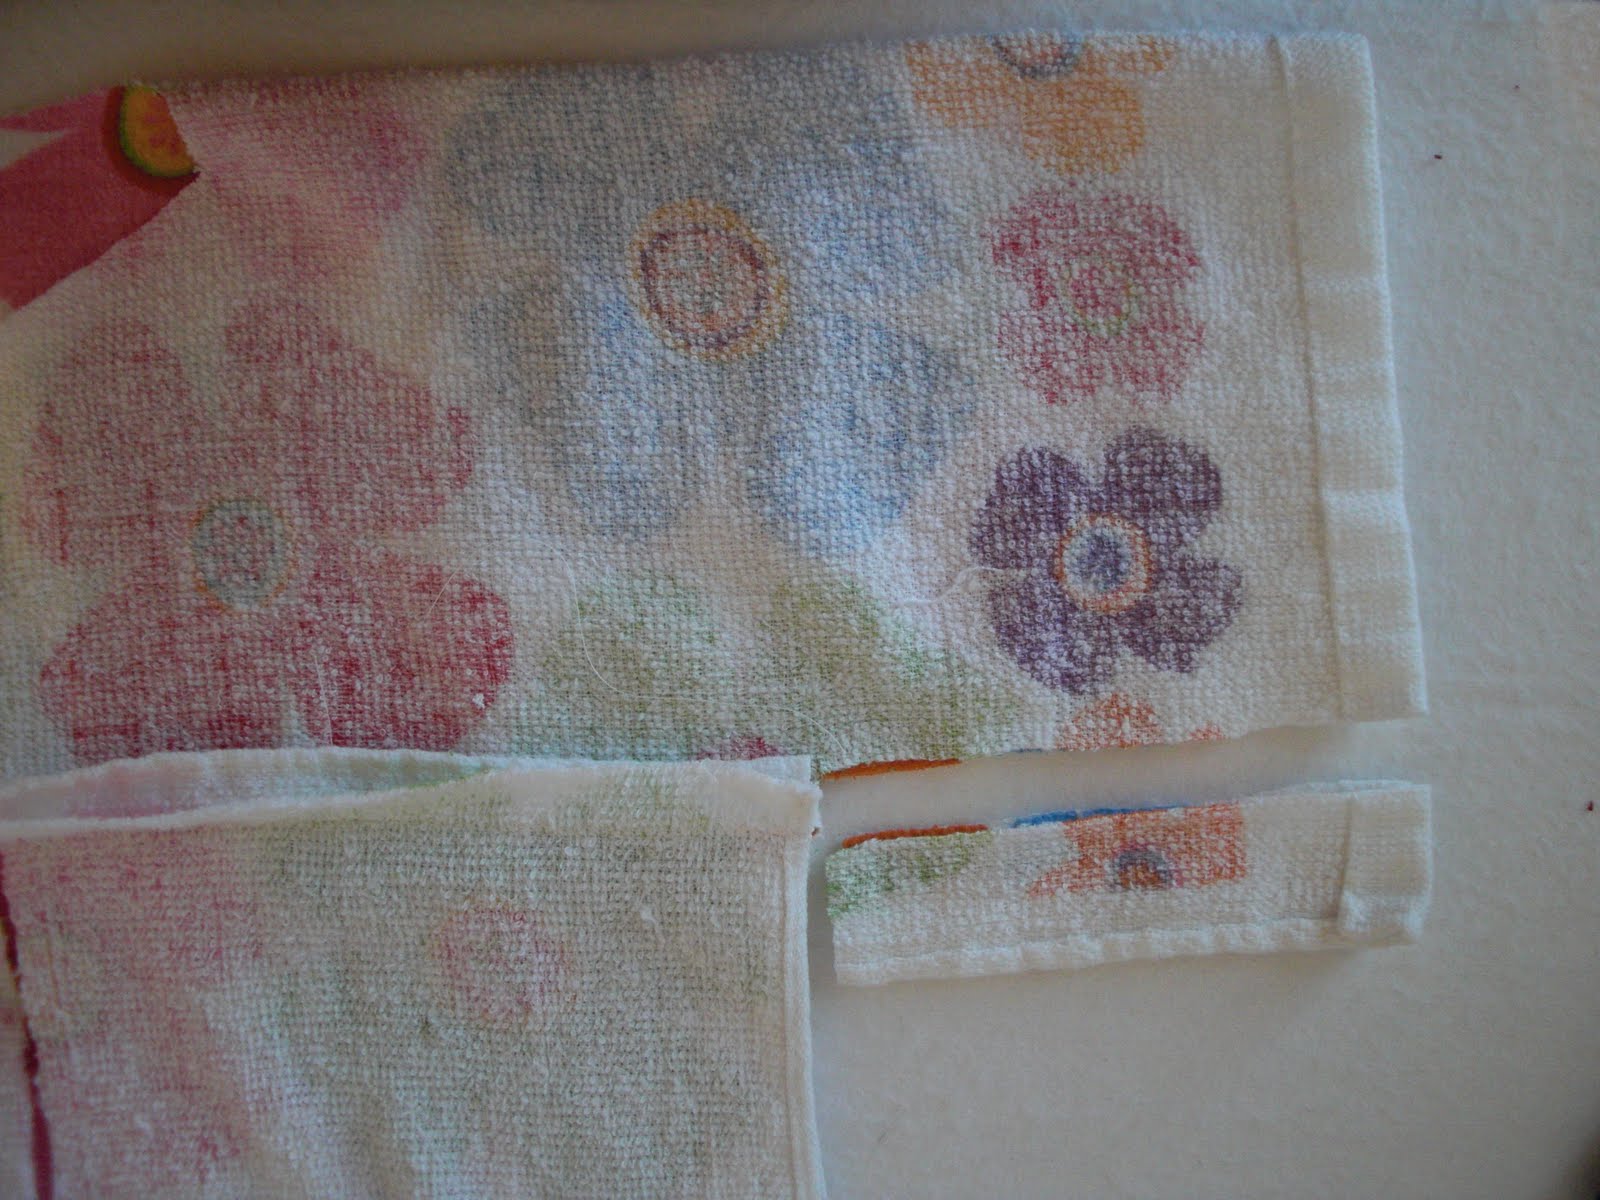
[показать] STEP SIX: Lay one of your dish towel halves on top, right sides together, with the raw edge centered on the edge. STEP SIX: Place a dish towel in half , top right sides together , with the edge of the fabric centered on the edge. Pin, being careful not to stretch the towels. Pin, taking care not to stretch the towel. Sew with a 3/8" seam allowance. Sew a seam 3 / 8 " .
[показать] Repeat Steps Five and Six for the opposite side of your towel, as shown. Repeat steps five and six to the other side of the towel, as shown.
[показать] STEP SEVEN: Continue the center front cut line through the hem of your towel, as shown. STEP SEVEN: Stay on the line to cut the center front edge of the towel, as shown.
[показать] STEP EIGHT: Remove a small amount from the "underarm" area of the robe. STEP EIGHT: Remove a small amount of " under the arm " of the gown. Fold your robe right sides together and cut away a 1 1/4" width rectangle. This makes the sleeves narrower and more fitted, and also eliminates the bulky finished edge of the towel. Double robe right sides together and cut a 1 1 / 4 " wide rectangle . This makes the sleeves narrower and equipped, and also eliminates the bulky finished edge of the towel.
At this point I serged the seams where I attached the towels to each other, then topstitched the seams down. At this point I sewed the seams where the towels attached to each other , then stitched seams down. I do recommend finishing the edges to avoid fraying, but you could certainly use a zigzag stitch if you don't have a serger. I recommend finishing the edges to prevent fraying , but it certainly could use a zigzag stitch , if you do not have a serger .
STEP NINE: (not pictured) Sew the side seams on each side from the hem of the sleeve all the way around to the hem of the robe. STEP NINE : (Not shown ) Sew the side seams on each side of the edge of the sleeve all the way around the edge of the mantle. Use a 1/2" seam allowance. Serge or zigzag for a finished edge on the seams. Note: If you like, you can add twill tape loops for your robe when you sew the side seams. Use a 1 / 2 "seam allowance . Serge or zig -zag for a finished edge at the seams. Note : You can add loops twill tape your garment to sew the side seams.
[показать] STEP TEN: Cut a 1 1/2 yard length of twill tape and press it in half lengthwise, as shown. STEP TEN: Cut a half yards of length 1 twill tape and press in half lengthwise, as shown. This will be the binding for the raw edge opening of your robe. This is the link to open raw edge of your robe .
[показать] STEP ELEVEN: Carefully bind the robe opening, starting at the hem on one side (finish the ends of the twill tape by folding them inside before you sew), and continuing all the way around to the other hem. STEP ELEVEN: care to bind the coat opening , starting at the hem of one side ( finishing the ends of the tape cross by folding them inside before sewing ), and continuing all the way around the hem of others. This finishes the edge of your robe beautifully, without the need for bias tape or a facing! This completes the edge of your robe beautifully , without the need for bias tape or a face!
[показать] STEP TWELVE: Cut your remaining twill tape into two 1 yard pieces. STEP TWELVE : Cut the twill tape remaining two pieces of 1 yard. Layer them together and sew all the way around. Layer them together and sew all around. This is the tie for your robe. This is the tie of her robe .
вверх^
к полной версии
понравилось!
в evernote
Это цитата сообщения M_A_G_D_A Оригинальное сообщение
Toddler Dish Towel Bathrobe !
 [показать] SUPPLIES: SUPPLIES :
 ~ Two terry dish towels -- mine measured about 14.5"x24" ~ Two terry kitchen towels - the mine is about 14.5 " x24 "
(This size of dish towel yielded a robe perfectly sized for my almost-18-month-old, although these towels are a bit on the smaller side. I am sure you could find larger ones for an older toddler.) (This size dish towel robe gave a perfect size for my almost -18- months old, but the towels are a little on the smaller side . I'm sure you can find great for an older child . )
~ Approximately 3 1/2 yards 3/4" wide cotton twill tape ~ Approximately 3 1 / 2 yards 3 / 4 "wide cotton twill
STEP ONE : Prewash and dry your towels and twill tape! STEP ONE: Pre-wash and dry your towels and twill tape !
 [показать] STEP TWO: Fold one towel in half from hem to hem and cut along the fold, as shown. STEP TWO: Fold a towel in the middle of the ring with hem and cut along the fold, as shown.
 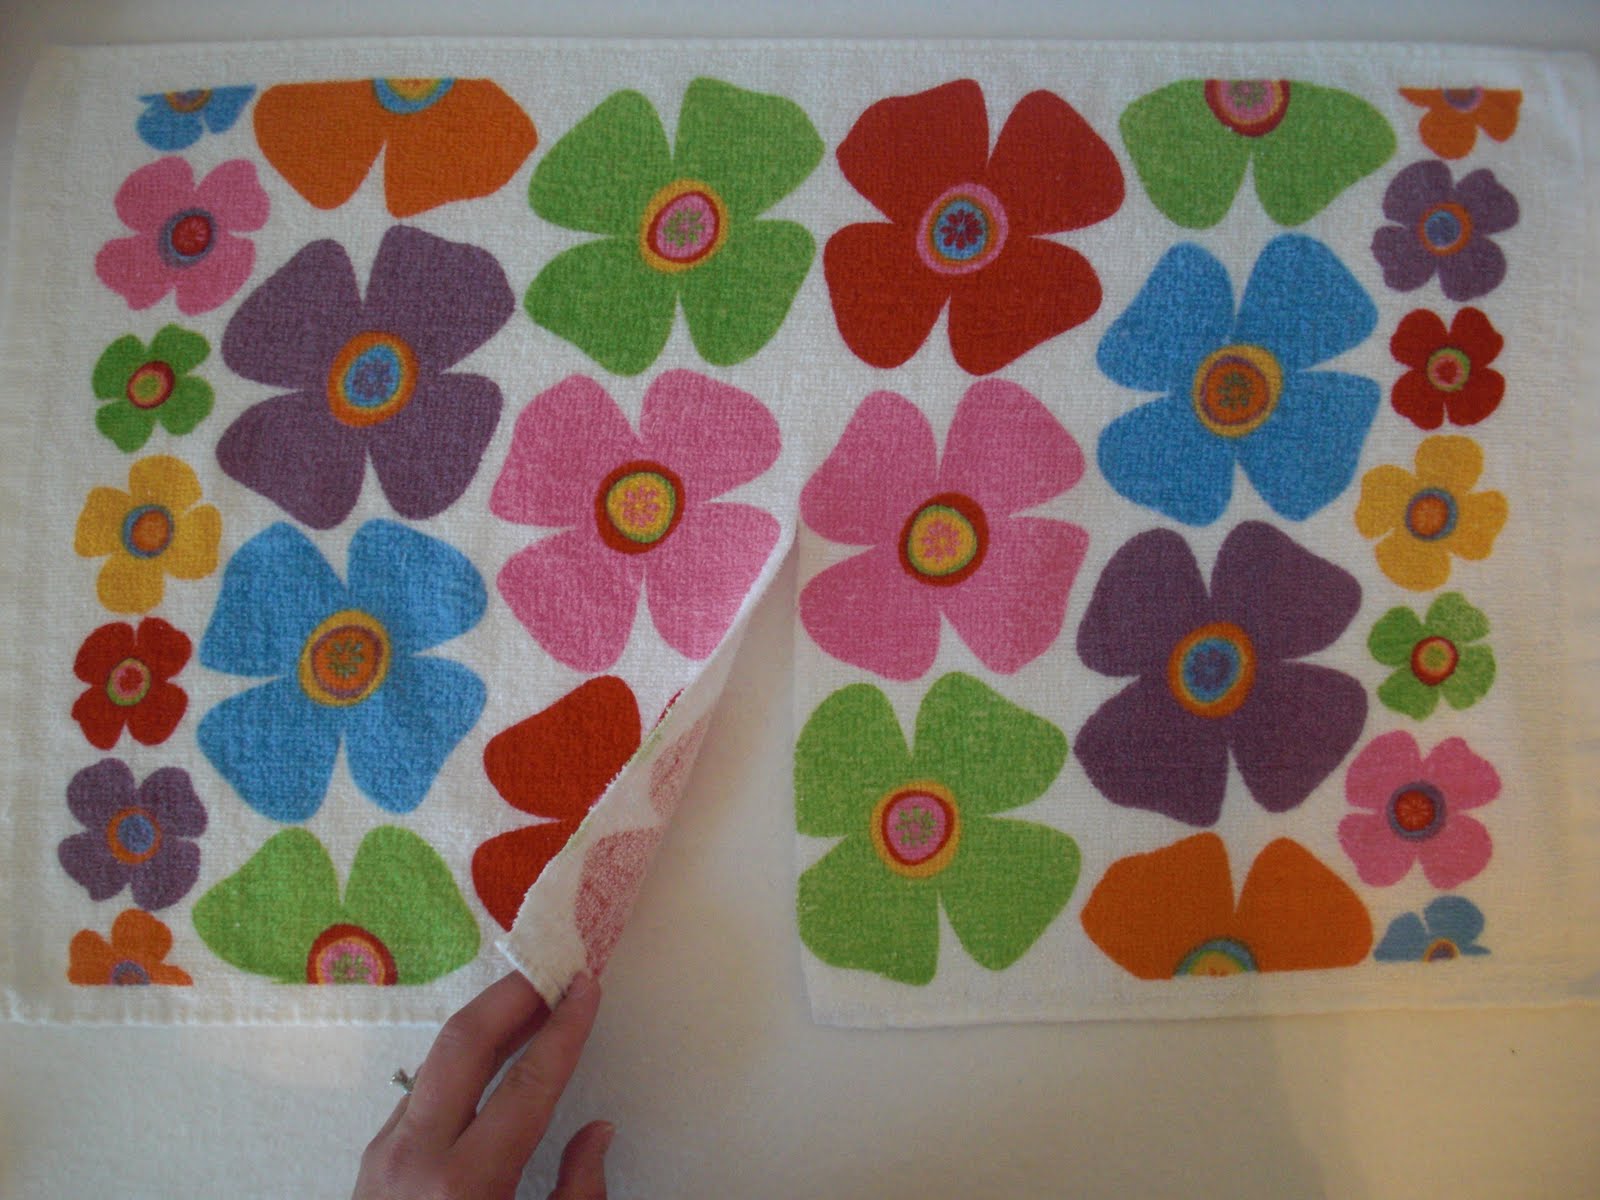 [показать] STEP THREE: Fold your second towel in quarters to find the center and mark. STEP THREE: Fold the towel in the second quarter to find the center and the brand. Fold from hem to hem and cut from one edge to the center, as shown. Double hem hemming and cutting edge to the center, as shown.
 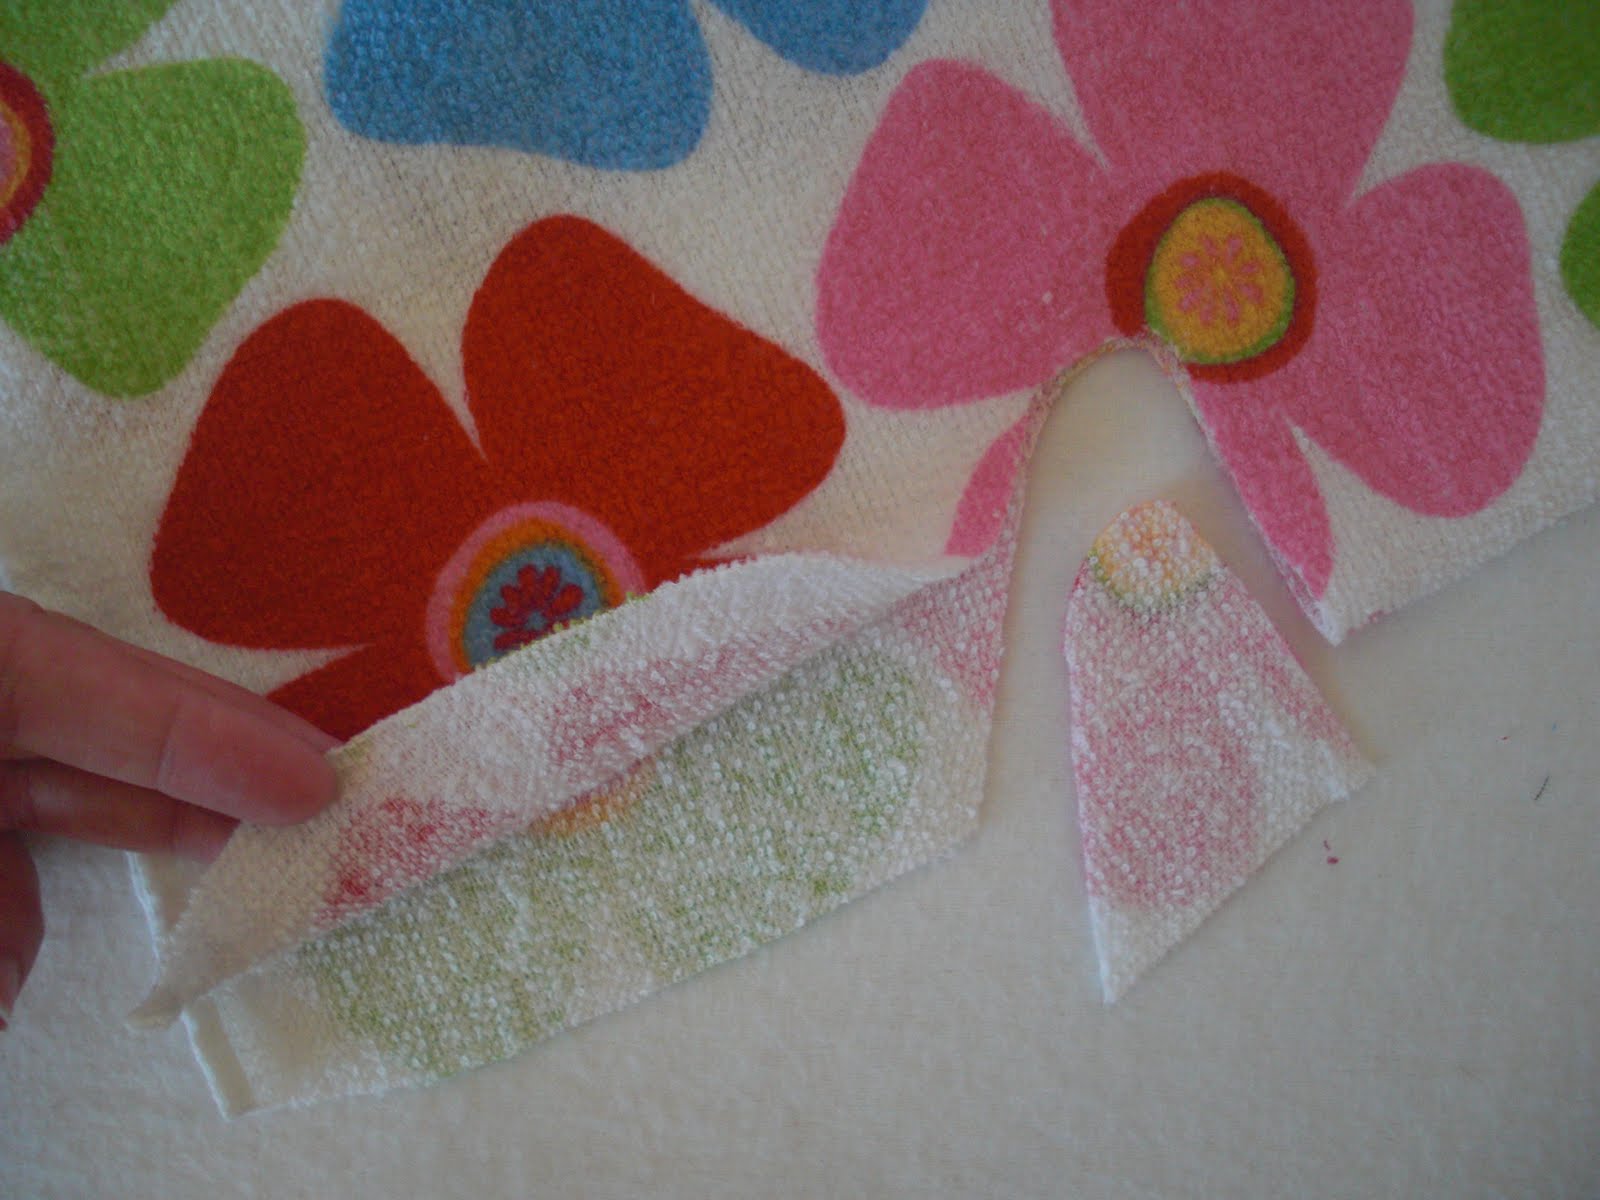 [показать] STEP FOUR: With your towel still folded cut a small neck opening, as shown. STEP FOUR: With a folded towel still cut a small opening in the neck, as shown.
 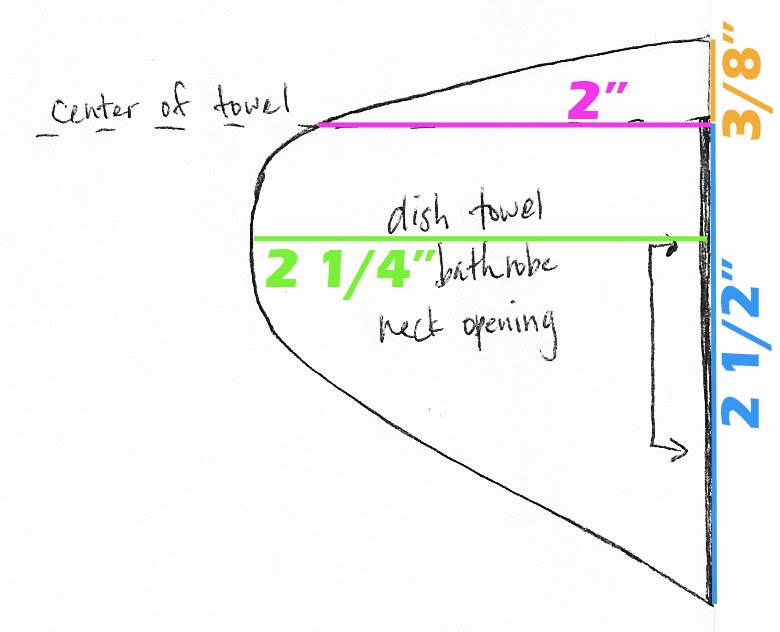 [показать] (I don't know if this diagram is helpful or confusing!) (Do not know if this chart is helpful or confusing!)
  [показать] STEP FIVE: Lay your towel with the neck opening on a flat surface. STEP FIVE : Support the towel with the neck opening on a flat surface .
  [показать] STEP SIX: Lay one of your dish towel halves on top, right sides together, with the raw edge centered on the edge. STEP SIX: Place a dish towel in half , top right sides together , with the edge of the fabric centered on the edge. Pin, being careful not to stretch the towels. Pin, taking care not to stretch the towel. Sew with a 3/8" seam allowance. Sew a seam 3 / 8 " .
 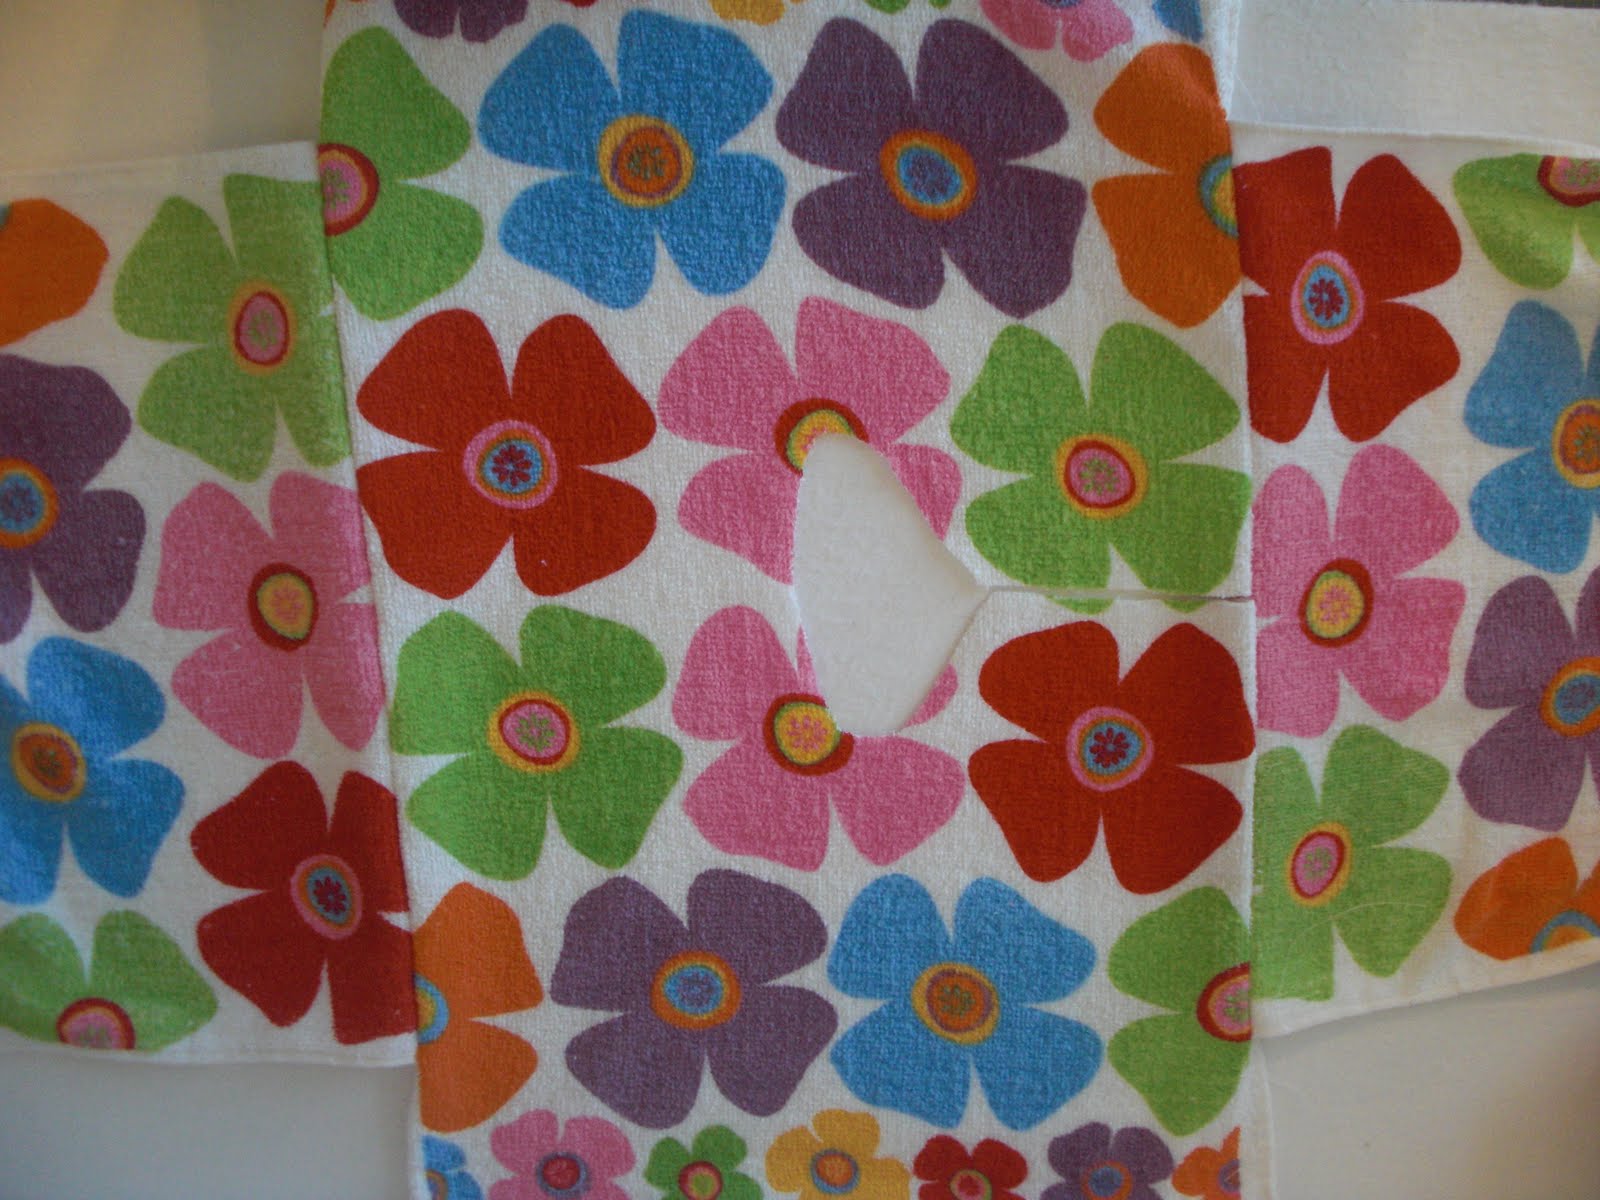 [показать] Repeat Steps Five and Six for the opposite side of your towel, as shown. Repeat steps five and six to the other side of the towel, as shown.
  [показать] STEP SEVEN: Continue the center front cut line through the hem of your towel, as shown. STEP SEVEN: Stay on the line to cut the center front edge of the towel, as shown.
 (Note: You COULD do things in a different order -- skipping steps three and four until after five, six and seven. I did mine this way because it was easier to fold and find the center point of my towel before attaching the other towel halves.) (Note : You can do things in a different order - skip steps three and four up after five , six and seven. I did mine this way because it was easier to fold and find the point of my towel before place the other halves towel . )
 [показать] STEP EIGHT: Remove a small amount from the "underarm" area of the robe. STEP EIGHT: Remove a small amount of " under the arm " of the gown. Fold your robe right sides together and cut away a 1 1/4" width rectangle. This makes the sleeves narrower and more fitted, and also eliminates the bulky finished edge of the towel. Double robe right sides together and cut a 1 1 / 4 " wide rectangle . This makes the sleeves narrower and equipped, and also eliminates the bulky finished edge of the towel.
 At this point I serged the seams where I attached the towels to each other, then topstitched the seams down. At this point I sewed the seams where the towels attached to each other , then stitched seams down. I do recommend finishing the edges to avoid fraying, but you could certainly use a zigzag stitch if you don't have a serger. I recommend finishing the edges to prevent fraying , but it certainly could use a zigzag stitch , if you do not have a serger .
STEP NINE: (not pictured) Sew the side seams on each side from the hem of the sleeve all the way around to the hem of the robe. STEP NINE : (Not shown ) Sew the side seams on each side of the edge of the sleeve all the way around the edge of the mantle. Use a 1/2" seam allowance. Serge or zigzag for a finished edge on the seams. Note: If you like, you can add twill tape loops for your robe when you sew the side seams. Use a 1 / 2 "seam allowance . Serge or zig -zag for a finished edge at the seams. Note : You can add loops twill tape your garment to sew the side seams.
 [показать] STEP TEN: Cut a 1 1/2 yard length of twill tape and press it in half lengthwise, as shown. STEP TEN: Cut a half yards of length 1 twill tape and press in half lengthwise, as shown. This will be the binding for the raw edge opening of your robe. This is the link to open raw edge of your robe .
  [показать] STEP ELEVEN: Carefully bind the robe opening, starting at the hem on one side (finish the ends of the twill tape by folding them inside before you sew), and continuing all the way around to the other hem. STEP ELEVEN: care to bind the coat opening , starting at the hem of one side ( finishing the ends of the tape cross by folding them inside before sewing ), and continuing all the way around the hem of others. This finishes the edge of your robe beautifully, without the need for bias tape or a facing! This completes the edge of your robe beautifully , without the need for bias tape or a face!
  [показать] STEP TWELVE: Cut your remaining twill tape into two 1 yard pieces. STEP TWELVE : Cut the twill tape remaining two pieces of 1 yard. Layer them together and sew all the way around. Layer them together and sew all around. This is the tie for your robe. This is the tie of her robe .
http://obsessivelystitching.blogspot.com
Серия сообщений "Towels":
Часть 1 - Toddler Dish Towel Bathrobe !
Часть 2 - A Bath Pouf from an old towel.... I like it!!
Часть 3 - Baby stuff
Часть 4 - Paper hat
Часть 5 - recycled towel
Вы сейчас не можете прокомментировать это сообщение.
Дневник халатик | ТАНЯ_ЧЕ - Дневник ТАНЯ_ЧЕ |
Лента друзей ТАНЯ_ЧЕ
/ Полная версия
Добавить в друзья
Страницы:
раньше»