Это цитата сообщения Алена_ЛиСаша Оригинальное сообщение
http://bu-lavka.ru/Article.asp?id=372&o=1
|
Это цитата сообщения alenalan Оригинальное сообщение


Серия сообщений "вязание крючком":ВЯЗАНИЕЧасть 1 - Новогоднее платье для малышки. Подробный МК.
Часть 2 - Настольная новогодняя елочка. Подробный МК.
...
Часть 18 - Красивый в гарнитур: колье и серьги
Часть 19 - Жилет "Грей". Авторская работа.
Часть 20 - Туника из мотивов крючком.
Это цитата сообщения Pepel_Rozi Оригинальное сообщение

Серия сообщений "ВЯЗАНИЕ ЖЕНЩИНАМ":
Часть 1 - Ажурный белый жилет крючком
Часть 2 - Синий костюм Трио «Синий цветок»
...
Часть 14 - Сиреневый пуловер крючком
Часть 15 - Юбка из хлопковой пряжи с рисунком "Ананасы".
Часть 16 - Жакет легкий, как паутинка. Вязание крючком.
Часть 17 - Вязаный костюм. Вязание спицами и крючком.
Это цитата сообщения Oksana_Hilles Оригинальное сообщение
 [показать]
 [показать]
  [показать]
  [показать]
  [показать]
 [показать]
  [показать]
  [показать]
  [показать]
  [показать]
  [показать]
  [показать]
  [показать]
  [показать]
  [показать]
  [показать]
  [показать]
  [показать]
  [показать]
  [показать]
  [показать]
  [показать]
  [показать]
  [показать]
  [показать]
  [показать]
  [показать]
 Это цитата сообщения Шугалей_Ирина Оригинальное сообщение
http://www.countrysideliving.net/ART_NoDigGrd_Nov07.html
Высокие овощные грядки (теплые грядки, компостные грядки, приподнятые грядки). Как сделать легкий в обслуживании высокий огород
[250x215]Раньше в литературе по садоводству рекомендовались ежегодные весенняя и осенняя перекопки чуть не всего участка. Современная литература по органическому земледелию рекомендует совершенно противоположенный подход: копать по минимуму и только при крайней необходимости. А самое простое решение – выращивать овощи и фрукты вообще без перекопок, на высоких насыпных грядках, наполненных органическими материалами
Традиционный огород: копаем один раз
Это цитата сообщения maranafa Оригинальное сообщение
Летняя блузка, вязаная крючком
Размер: 44-46.
Вам потребуется:
200 г пряжи (100% хлопок);
крючок № 3.
Выкройка модели:
Плотность вязания: 25 в. п. х 12 р. = 10 х 10 см.
Спинка (перед): сначала вязать от линии талии вверх. Связать цепочку из 117 в. п. + 3 в. п. подъема и вязать узором по сх. 7, повторяя только раппорт. На высоте 24 см от начала для выреза горловины оставить средние 42 п. Далее обе стороны закончить раздельно и вязать еще 15 см. Работу закончить. Затем от линии талии связать 15 см вниз для фигурного края.
Сборка: выполнить плечевые и боковые швы. По всем краям изделия связать 1 ряд ст. б/н и 1 ряд “пико” из 4-х в. п. Связать пояс-шнур из нити в 3 сложения цепочкой из в. п., длиной 120-130 см. Пояс продеть в дырочки ажура по талии.
ИСТОЧНИК: Журнал "Ксюша. Для тех, кто вяжет"
[264x450]
[500x567]

Это цитата сообщения fljuida Оригинальное сообщение
1. Кулоны "Мозаика" (4,5 х 4 см) Полимерная глина FIMO (металлик), детали часов, швейная и бижутерная фурнитура, цепочки.
[показать] [показать]2. Повтор "Сердца Железного дровосека"
[показать]Это цитата сообщения Natashaallmaz Оригинальное сообщение
http://regina16112.blogspot.com/p/blog-page_05.html
Собранные в течение нескольких лет на просторах инета
мастер-классы (tutorials) принадлежат разным авторам.
Всем авторам мастер-классов (tutorials) - большое спасибо!
Это цитата сообщения Модная_Маргарита Оригинальное сообщение
Имитации 
 |
 |
 |
 |
 |
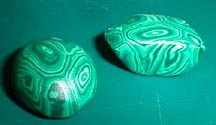
бирюза
http://www.polkadotcreations.com/books/article.php?id=pdckh01 урок от Kathy Halverson
http://grgalina.livejournal.com/1009.html?thread=35313#t35313 - чудесный урок на русском языке от Баунти
http://www.creabijoux.free.fr/ateliers/lecon07/07lecon.htm - инструкцию можно понять без перевода, по картинкам
http://am-ex.livejournal.com/11084.html - русск. урок от участницы ЖЖурнала am_ex
янтарь
http://polymerclayexpress.com/nove2002.html - подробно
http://paroledepate.canalblog.com/archives/2006/06/27/2173355.html - используются полупрозрачный фимо, премо и краски - коричневая и желтая
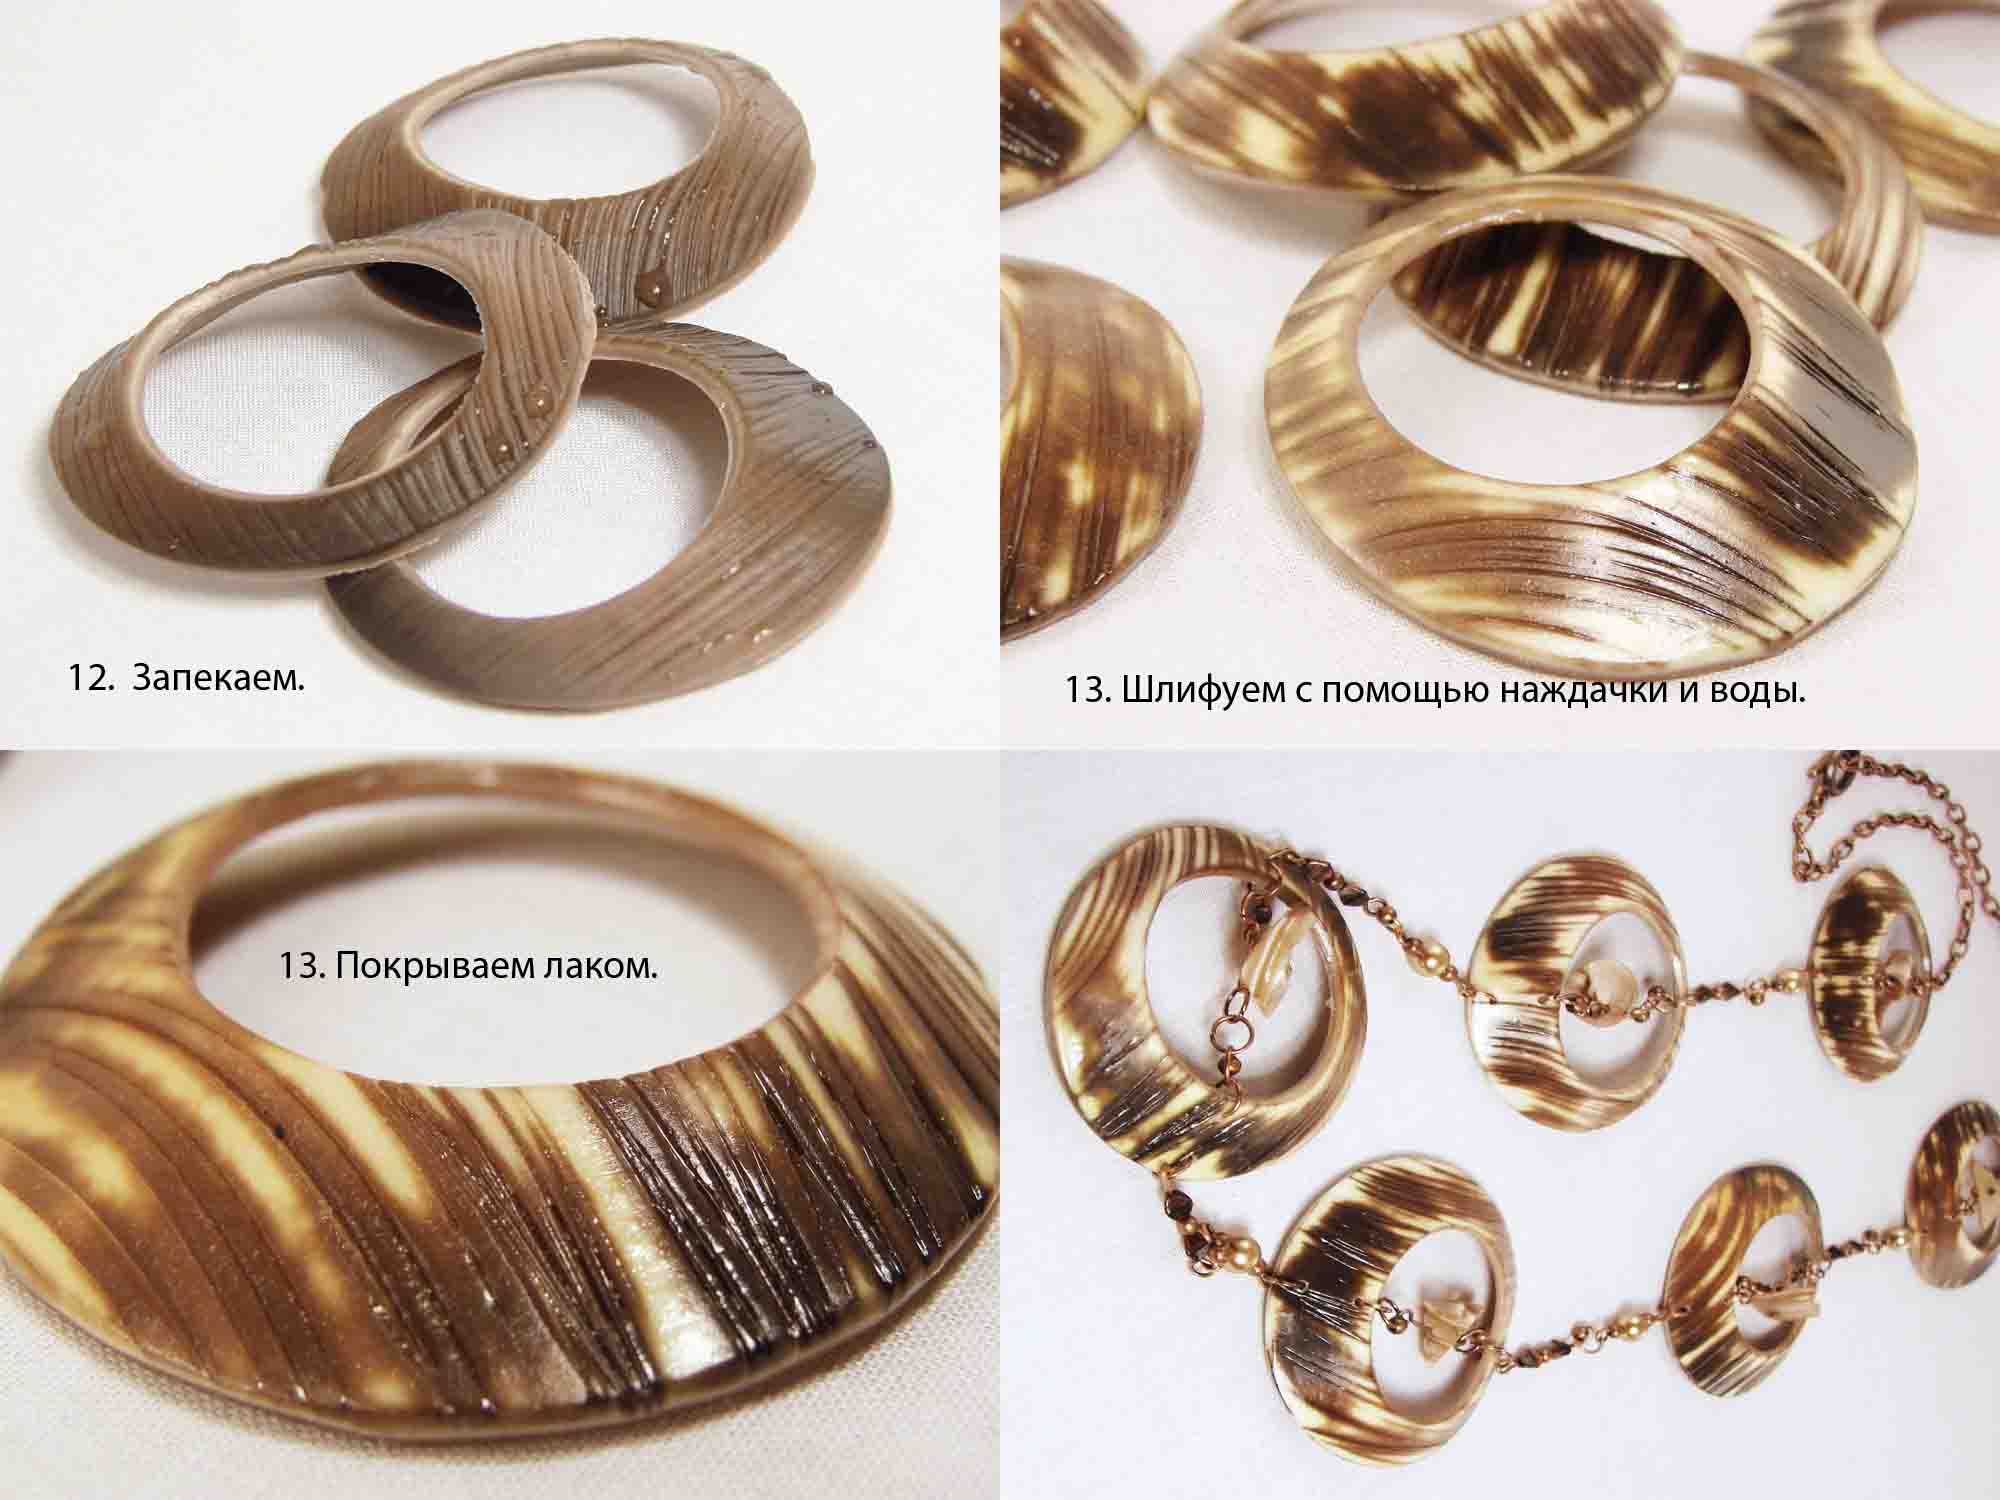
дерево
http://kracivo.ucoz.ru/publ/10-1-0-24- подробный понятный урок (русск.яз.) от Марины Котляр. Изготовление миниатюрной гитары.
http://www.creabijoux.free.fr/ateliers/lecon010/010lecon.htm -отлично иллюстрированный урок на франц.яз-ке
http://www.pcpolyzine.com/june2001/wood.html - замечательный урок по имитации инкрустации из полированного дерева от Bob Wiley
слоновая кость
http://desiredcreations.com/howTo_CAivoryHorn.htm -
Это цитата сообщения крижинка Оригинальное сообщение
МК вязание на вилке.
Учимся вязать на вилке - http://magiya.com.ua/master_class/mk_fork/131.html
Круг - соединение иглой - http://magiya.com.ua/master_class/mk_fork/132.html
Соединение фрагментов - http://magiya.com.ua/master_class/mk_fork/134.html
Соединение полос - http://stranamasterov.ru/node/172111?tid=451
Принцип вязания полос на юбке - http://magiya.com.ua/master_class/mk_fork/133.html
Серия сообщений "Вязание на вилке":
Часть 1 - МК по вязанию на вилке
Часть 2 - Вилка: Соединение полос
Часть 3 - Основы вязания на вилке
Часть 4 - Платья на вилке

Это цитата сообщения Байкалочка_10 Оригинальное сообщение
Опять с заграничного сайта! Ну очень подробно!!!!!!!! Стащила отсюда! Классный сайт по куклам! http://members.home.nl/asrai/cursus-en.htm
|
The hand I made for this lesson is from the palm of the hand to the finger tips about 1.80 inch. It is a bit bigger than I usually make, smaller gave some photographic problems 'cause I don't have a macro lens. |
|
[250x163] |
[250x163] |
|
The size of the hands depend on the size of the head. The length of a hand is equal to the length from chin to halfway the forehead. A face is usually about 2 hands wide. This can always vary a bit depending on the kind of doll. You start off by making 2 cylinder shaped rolls of fimo, in this lesson they are about 2.6 inch long and 0.60 inch thick (pict. 1). Sculpt one end in a kind of spoon shape by pressing the clay with your thumb. Sculpt the hand thinner to the "finger tips' by pushing it more flat (pict. 2). |
|
|
[250x163] |
[250x163] |
|
For this lesson I'll continue with the making of the right hand. Try to work simultaneously on both hands because it is hard to make an equal looking hand afterwards. To make a wrist, roll the clay between thumb and point finger like pict. 3 You now have a roughly shaped hand with a part arm. Make the arm thinner if necessary. Smooth the hand nice and round. The hollow part is the inside/hand palm of the hand (pict. 4). |
|
|
[250x163] |
[250x163] |
|
At pict. 5 you see the back of the hand. You will now make 3 incisions with a knife for separating the fingers. The thumb will be added later. Because this will be a right hand, the incision for the little finger is cut a little further than the other incisions, take your own hand as example. Bend the 2 outer fingers gently side wards so you have more space (pict. 6). Hold the fingers between your point finger and thumb. While warming the clay by the warmth of your hands, very gently roll the fingers slightly back and forth, so the inside of the fingers will also become round. You can use a sculpting tool for the areas that are difficult to reach. |
|
|
[250x163] |
[250x163] |
|
When the two outer fingers are smoothed, you start with the middle two. Bend them slightly apart and again roll them gently back and forth to round off the edges on the inside of the fingers (pict. 7). Do this very slowly, it is important that while you are doing this, the clay will be warmed by your fingers so they don't rip at the beginning. Use a sculpting tool to smooth the areas that are hard to reach (pict. 8). |
|
|
[250x163] |
|
Это цитата сообщения Байкалочка_10 Оригинальное сообщение
Стащила отсюда http://members.home.nl/asrai/cursus-en.htm
|
The foot in this tutorial is from heel to big toe about 1.8 inch long. Always use the head as a comparison for the size of the feet. The length of the feet is equal to the size of the head. |
|
[250x163] |
[250x163] |
|
In this tutorial I will only make the right foot. Try to work simultaneously on both feet because it is hard to make an equal looking foot afterwards. You start off by making a 2.5 inch long cylinder shaped roll of clay, about 0.8 inch thick (pict. 1). Bend the roll of clay in an angle like in pict. 2. The top will become a part leg and the other part the foot. |
|
|
[250x163] |
[250x163] |
| Flatten the clay by pressing it together between thumb and point finger towards the 'toes'. Be careful not to make it too flat. (pict. 3 + 4). | |
|
[250x163] |
[250x163] |
|
Now it is time to form the heel. Push/smear some clay from under the foot backwards (towards the heel) and push/smear some clay from the lower leg down (towards the heel) (pict. 5). This way you'll get more clay on the heel and a better shape at the sole of the foot. Press the clay with your thumb on the inside of the foot to make it more hollow (pict. 6). |
|
|
[250x163] |
[250x163] |
|
Before you can make incisions for the toes, the front of the foot needs to be reshaped a bit. Cut off a piece of clay slantwise starting at the 'big toe' (pict. 7). After this smooth the edge with your fingers (pict. 8). |
|
|
[250x163] |
[250x163] |
|
Look at the foot to see if it's not too thick, if it is you can make it thinner by smearing the clay from the instep to the leg. You can also smear clay upwards just above the heel towards the leg, this way the foot will become slimmer (pict. 9). Sculpt as smooth as possible, use a damp finger to rub the clay for a smooth finish. Now you can make incisions for the toes with the help of a sharp tool. Don't forget the big toe needs to be bigger than the other toes (pict. 10). |
|
|
[250x163] |
[250x163] |
|
| |


Это цитата сообщения Егорова_Таня Оригинальное сообщение
Покажу как сделать самые распространенные кнопки,для переходов на другие страницы.
Если Вы нажмете на эту кнопочку,то попадете в мой дневник на Li.ru.Такую кнопку можно использовать для переходов на любую страницу в интернете,а так же в бродилках-путеводителях по блогу.
Делается она очень просто.
Копируете код из окошечка ниже
Вместо моего слова АДРЕС ставите http-адрес нужной страницы.Вместо НАДПИСЬ пишите то,что должно быть написано на кнопке.Всё!