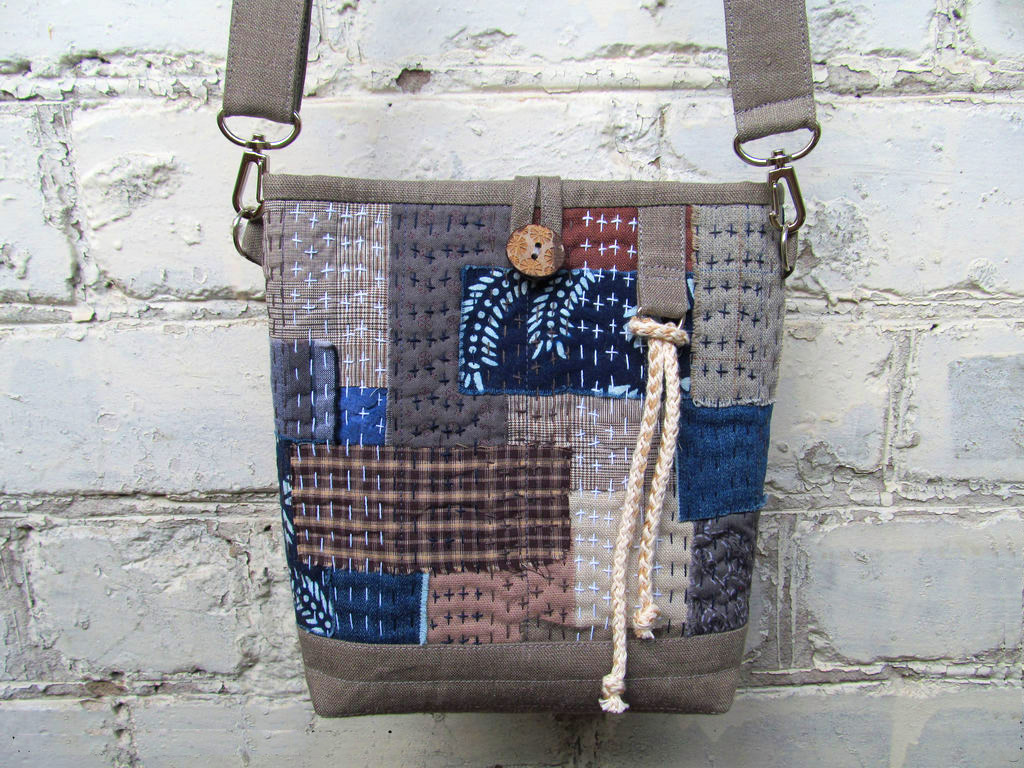
Japanese Boro Denim Tote Bag. Sewing: Quilting and Patchwork. DIY step-by-step tutorial with pictures.

We will need:
- flax and cotton fabrics;
- interfacing or polyester batting;
- glue stick;
- denim thread;
- metal fittings.
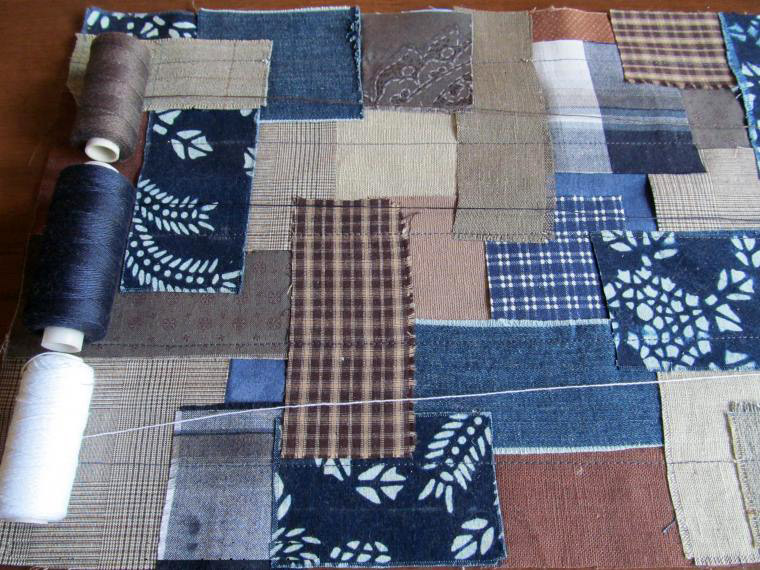
For sewing this bag, it is preferable to choose fabrics x / b, as they are well dispersed around the edge. The size of the finished bag is 21 x 23 cm. We cut the prepared fabrics into patches of any shape - right or wrong. I chose rectangles and squares.

We take cotton fabric for the basis - coarse calico is better, the size for this bag is 25 x 39 cm. We start to lay our patches on the base arbitrarily, but so that they overlap each other by 1.5-2.0 cm.

We twist, turn, shift, until the picture starts to please the eye.

Now we need to fasten our beauty on the basis so that it is more convenient to perform the stitch. To do this, we first sew the machine line, approximately 5–7 cm only vertically, and then glue all the corners with a regular adhesive pencil. Do not worry, the pencil does not leave marks, but at first it is still better to check on a separate piece.


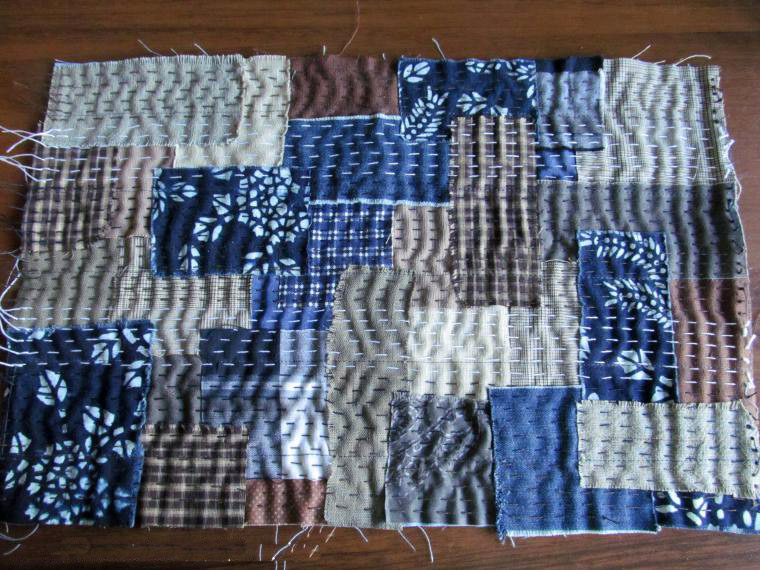
We take denim threads and begin to lay a line forward with a needle, with a stitch length of 0.5 - 0.7 cm. In some places, you can embroider crosses, there is complete freedom for your imagination.
After stitches, our billet will decrease in length by about 2 - 3 cm, so take this into account when cutting the base. Here's what you should get:
Mark the workpiece into two equal parts. To prevent the decorative seam from dissolving, we will lay the smallest (1mm) anchoring seam on both sides of the marking line and along the perimeter. Now we cut the workpiece along the marking line.
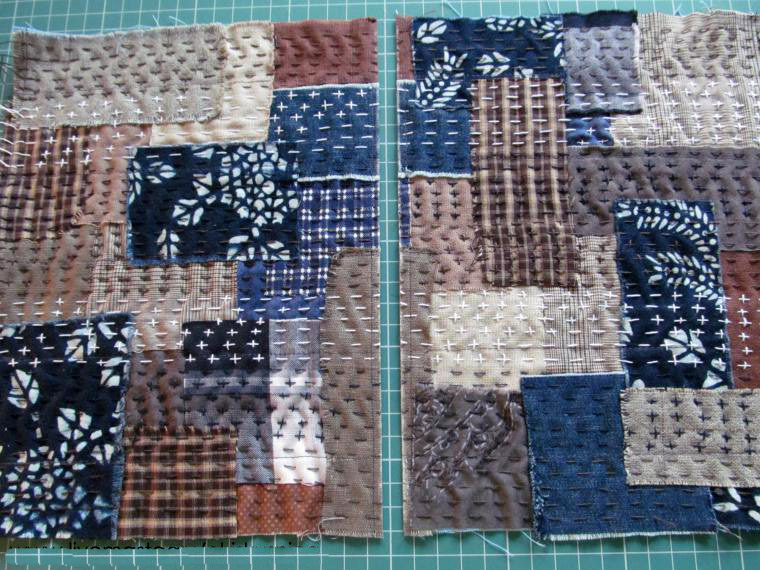
Insert the glued bottom of the bag with a size of 15 x 25 cm between the two parts.


We strengthen our workpiece with volume interfacing, but you can use a thin polyester batting
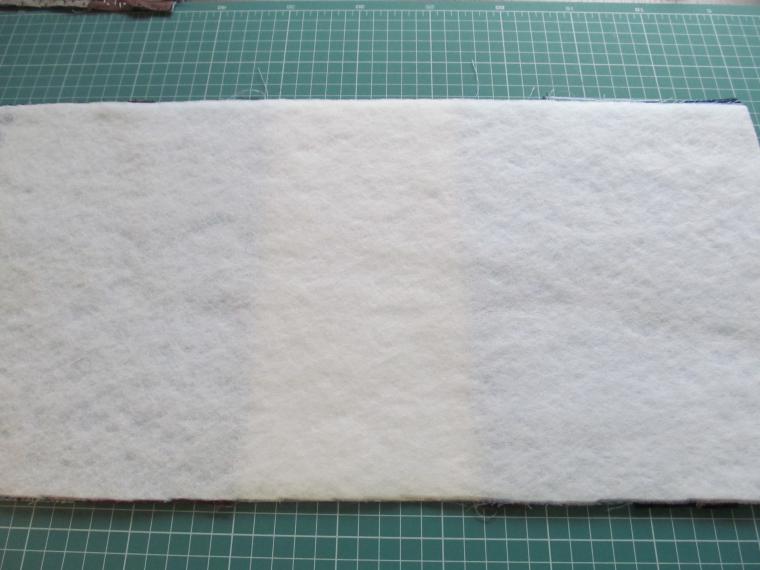
On the sewing machine, we sew the bottom of the bag through 1.5 - 2.0 cm. We trim the edges without cutting off the fastening stitch.

Perform side seams of the bag, inserting loops in the upper part.

Sewing corners and cut off excess.
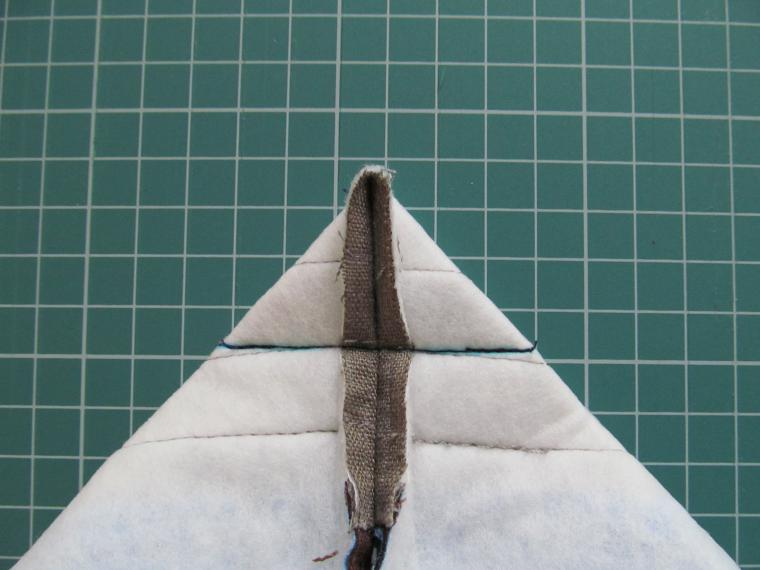

Smooth the seams and twist the bag.

For the lining use one of the fabrics, do not forget about the inner pocket.

We sew the harvested buttonhole and button, insert the stitched lining into the bag and process the upper cut edge. For a belt, we cut out a strip of fabric 7 x 145 cm, we fasten it with glue fabric, sew, turn out, sew carbine.
