TUTORIAL: the Hobo Sack
by Dana on July 6, 2008
 [показать]Whether you’re on the road or hanging at home, every hobo needs a bag for his (or her) treasures.
 [показать]
 [показать]So load it up,
 [показать]hit the road,
 [показать]and sit back on the tracks to enjoy a break.
 [показать]The hobo sack is one of the easiest things to make. It’s a great project for the beginner sewer and even the advanced! Make one, make two, make ten! Whenever we’re running out the door, I ask each of my kids to load up a sack with their favorite toys and snacks. And the car-ride is often a more pleasant one.
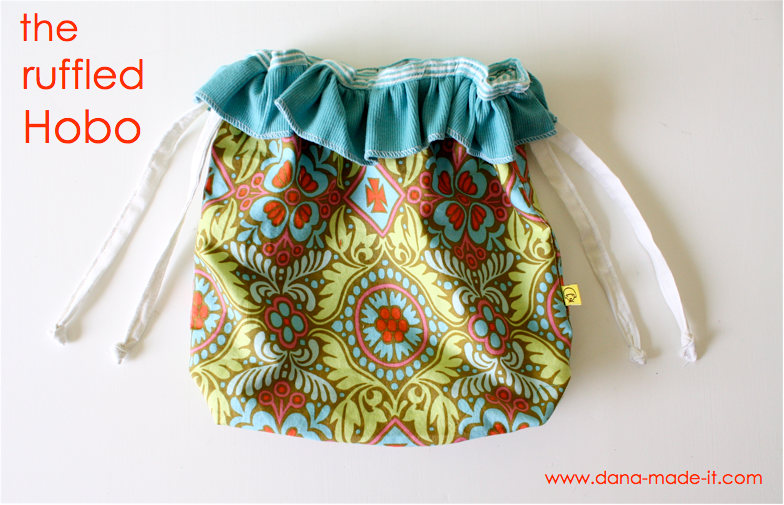
 [показать]So here’s what we’re making:
 [показать]Easy? You betcha.
Let’s get started…..
NOTE: Info for adding a Liner and/or a Ruffle to your bag is at the end of the tutorial.
Skill Level: Beginner
Needed:
* 1/2 yard or less of Cotton (light-weight, twill, corduroy, seer sucker, etc. I used a lighter weight corduroy here)
* Small amount of contrasting fabric for Drawstring Straps (can be cotton or knit)
* Sewing Machine
* Serger (optional)
Seam Allowance: 1/2 inch
Here is the pattern. I drew mine with a ruler on to a File Folder so that it’s sturdy for repeat uses. You can make it larger or smaller, just make sure the corner cut-outs at the bottom are the same on both sides:
 [показать]Just lay it on your fabric and cut two:
 [показать]
 [показать]Decide what you’d like to use for straps. To make it super easy, I chose knit because then I don’t have to sew anything! Knit doesn’t fray and if you pull it real tight……
 [показать]It sort of curls up in a tube, like this:
 [показать]If you’re going to use knit straps like me, cut (2) straps that are 1 yard (36 inches) long and about 1 1/2 to 2 inches wide. If you’d like to use Cotton, use the same dimensions (36×2 inches), sew each one into a long tube, use a safety pin to pull it inside out, iron down and then finish off the ends of each tube/strap.
Okay, on to the sack sewing….
Those little corners down there that are cut out is what gives you “room” in the bottom of your bag. In fact, this is how many purses and bags are made. So now you can whip up all sorts of bags and totes!
 [показать]Take those two corners that are cut out and fold them up to each other:
 [показать]like this:
 [показать]and sew it down. Do this on both sides:
 [показать]When you’re done, it should look like this:
 [показать]If you have a serger, serge off the seams of each one.
If you don’t have a serger, do a zigzag stitch on your seams. It really is nice to have finished off seams, especially since the inside of the bag will take a beating over time with toys and food. And fraying edges will be a tangled mess:
 [показать]Okay, this next step is optional but I think it really polishes off the bag nicely. Serge down each side of your two bag pieces approximately 5 inches (if you don’t have a serger, do a zigzag stitch):
 [показать]When you’re done, each bag piece should look like this (this will make more sense when we get to the casing section):
 [показать]Now we’re going to sew the two bag pieces together…..
So with right sides together, lay one piece inside of the other; match up the corner seams first:
 [показать]Because one piece is inside the other, it may seem hard to get the two pieces completely lined up. But your bag will look much more symmetrical if you do this. So try to get those top corners to match up:
 [показать]Like this. See how nice those top pieces came together?
 [показать]If you have a side-tag for your bag, insert it now:
 [показать]and pin it down:
 [показать]Then, this is an important step for your casing and straps. You MUST leave a gap in the seam for the straps to come in and out of (you’re creating a hole in each side seam). So, when you sew down the sides…..first, sew down 1 1/4 inches, then SKIP 1 1/4 inches, and then sew the rest of the way down. What I do (so that I don’t forget to leave the gap) is mark my Start and Stop points with double pins. The area between the two pins is where I do NOT want to sew:
 [показать]Pin all the way around your pieces and it should look like this:
 [показать]Then start sewing:
 [показать]Stop at the double pins (make sure you forward and back stitch to finish off your stitch):
 [показать]Then, you don’t even need to cut your threads yet, just pull the fabric down and start stitching again at the next double pins (remember to forward and back stitch to seal off your stitch):
 [показать]Continue sewing all the way the around the bag. When you get to the bottom, just curve the fabric around, keeping the same seam allowance the whole time you sew:
 [показать]When you’re done, the top part of your bag, should look like this, with the two gaps in your seam:
 [показать]Now, Iron out the top portion that you serged and you will now discover your little hole!….
 [показать]There it is! That’s where your drawstring straps will come in and out. And since you serged (or zigzagged) the edges, it is less likely to fray with time and stay in great shape!
 [показать]Okay, since we don’t want the rest of your bag to fray as well, serge around the rest of the seam (make sure you don’t serge over the top portion where you just made the hole! Simply start where the previous serge left off. If you don’t have a serger, do a zigzag):
 [показать]When you’re done, it should look like this (that middle part is where one serge starts and the other ends):
 [показать]Now, to reinforce the holes, do a zigzag at the ends of each opening. I chose to use contrasting thread:
 [показать]Then (this is also optional) to add a little color and strength to your bag, you may choose to top-stitch all the way around your seam on the OUTside of your fabric. Using the presser foot to guide you in a straight line (line up the left edge of your foot with the seam, or something like that), sew a line about 1/4 inch to the right of the seam:
 [показать]Then do the opposite, to the left of the seam, so you have two lines like this (my, that’s not very straight but it’ll work!):
 [показать]Finally, make sure that the top of your bag is straight on both sides. If one side happens to be taller, cut it down so everything is even. Then serge all the way around the top (or zigzag):
 [показать]Fold the top portion down right where the top of the holes start. This will create your casing. You want to make sure that the Holes are completely backed by the casing, so that the drawstring straps won’t fall out of the casing and Iron down the casing:
 [показать]Then, stitch the casing closed. I usually do a double-stitch on this, sewing two lines 1/4 inch apart from each other:
 [показать]You’re almost done!
Take a safety pin and connect it to one end of your first strap:
 [показать]Insert it into the first Hole and push it all the way around (and PAST the second hole) till it comes back out where it started:
 [показать]Tie a knot into each end of your straps to finish them off and to keep them from going through the casing on their own:
 [показать]Then, using the same method, insert your other strap into the other hole:
 [показать]When you get to the next hole, just push past the strap that’s already there:
 [показать]It should look like this on each end:
 [показать]And pull the other strap through all the way. Woohoo! You did it!
If you’d like, add a decorative label to the outside:
 [показать]Then give your self a pat on the back…..and take a peek inside your totally cool and completed Hobo Sack!
 [показать]Think of all the treasures that will go in there….
 [показать]and Enjoy!
 [показать]
 [показать]———————————————————————
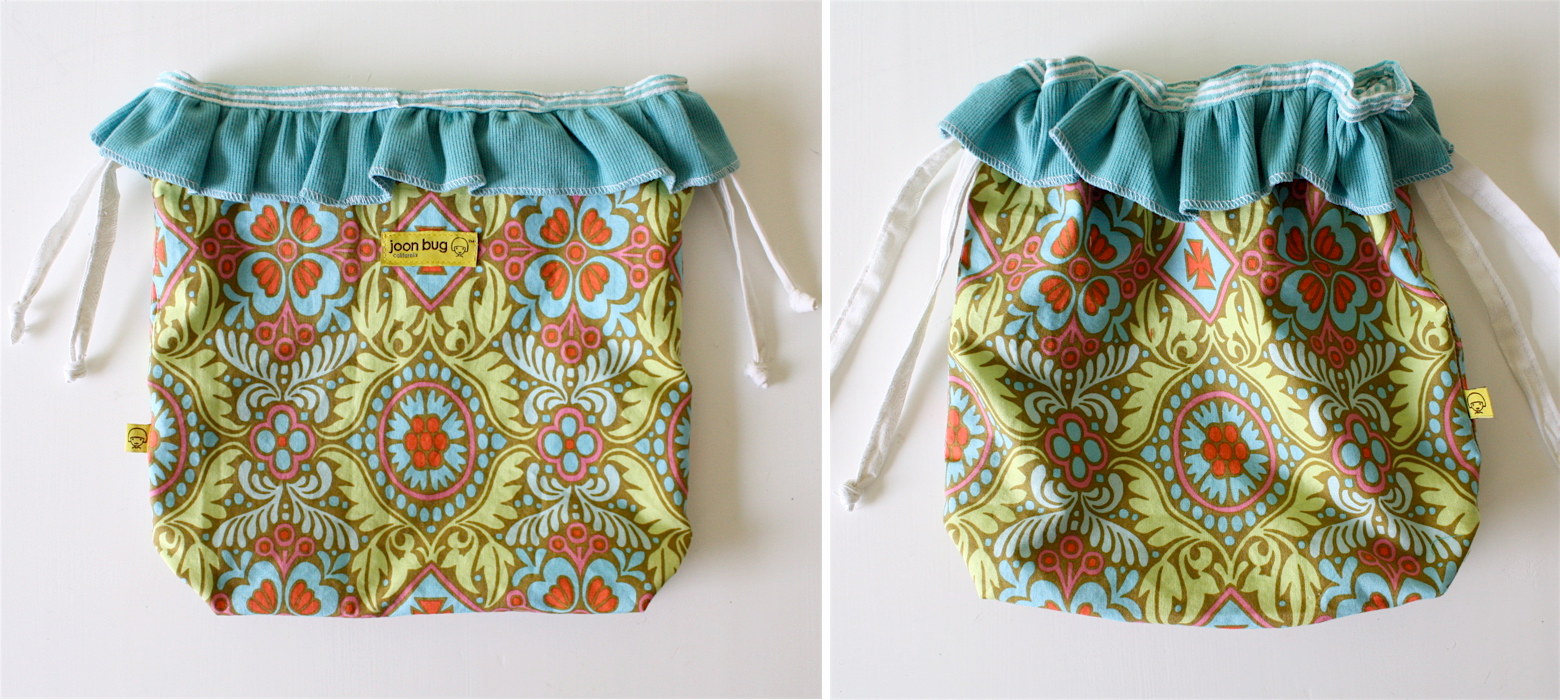
You can easily add a ruffle or a liner to your Hobo. We’ll show you how below….
Princess Ruffle:
 [показать]
 [показать]
 [показать]Lined Citrus Sack:
 [показать]
 [показать]
 [показать]It’s easy to add a liner to your Hobo Sack. And once you’re there, throw in a ruffle with no problem! Here are the added steps….
For the Citrus Sack, I chose to make the outer layer multi-colored. If you’re a quilter, you can come up with all sorts of ideas for this. But I kept it simple. 3 colors, 3 horizontal blocks. I marked on my pattern piece where I wanted each color section to start and then added an extra 1/2 inch on each side for seam allowance.
 [показать]So I cut the bottom piece to look something like this (and then the other two top colors in rectangular blocks):
 [показать]NOTE: I also cut out my liner pieces with solid yellow fabric. Cut your liner from whatever fun fabric you’d like.
Sew all the color blocks together and serge the seams (only serge if you are NOT adding a liner). If you’re adding a liner, you don’t really need to serge because the seams will be hidden inside.
 [показать]You get sick of me saying it, but IRON out the seams here. Just as you would with a quilting project, you want the sewn pieces to look like one big seamless piece of fabric:
 [показать]Okay, this is where you insert a bunch of the steps in the normal Hobo Sack Tutorial here.
Follow the steps in the tutorial above to create your hobo sack as you normally would and STOP when you get to the part about creating the casing.
Do the same thing for your liner piece. SO, it’s like you’ve created TWO hobo sacks that are going to be sewn together.
Then, with the outer hobo sack turned INSIDE-out and the liner turner RIGHT-side out, stuff them inside of each other. Basically, you want the RIGHT sides of the two sacks facing each other:
 [показать]Stuff the liner down inside so that it fits in there like a glove:
 [показать]IF you want to add a ruffle, here’s where you would do it. Create a ruffle to go all the way around your sack and sandwich it in-between the two sacks:
 [показать]like this:
 [показать]and pin it down:
 [показать]I chose not to add a ruffle, so we’ll continue without it.
I realized as I was going along that I would NOT be doing a fold-over casing as in the original sack (since we’re adding a lining). This meant that my bag was going to be a bit tall. SO, I cut the sack down an inch or so, about a 1/2 inch above the slit where the pull strings come out. In the future, you can adjust your pattern when cutting so you don’t have to trim later.
 [показать]Okay, pin the two sacks together, all the way around.
YOU NEED TO LEAVE AN OPENING at the top of the sack so that you can turn it Right-side out when you’re done. So mark an opening with double-pins so you don’t forget.
 [показать]Start sewing at one set of double-pins and continue all the way around to the other set of double pins:
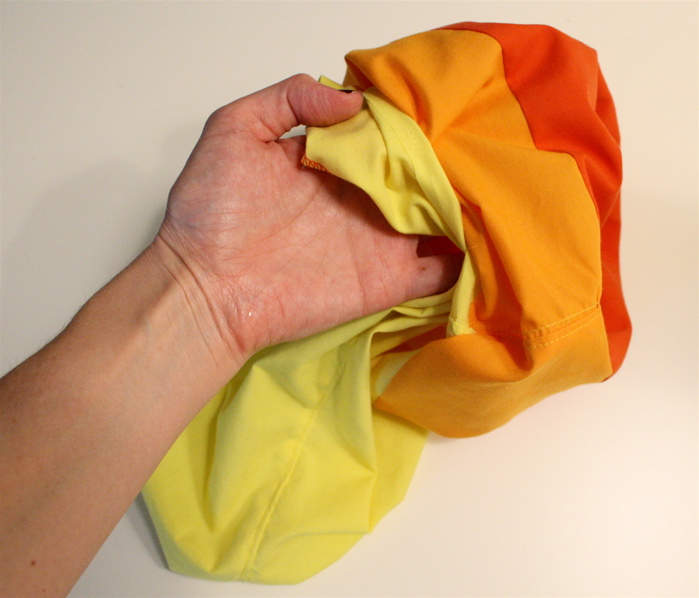
 [показать]When you’re done, stick your hand into the opening:
 [показать]And pull the whole bag Right-side out:
 [показать]Fit the two sacks into each other again, and let’s finish up the pull-string casing. First do a nice top-stitch at the edge of the sack to hold the two sacks together and for decor. I do mine about 1/8 inch from the edge:
 [показать]Then, using the silver plate on your machine as a guide, sew another line about 3/4 inch down to create a casing:
 [показать]Do a double-line next to it for added decor:
 [показать]Create pull-strings for you sack, pull them through the casings, and you’re done!
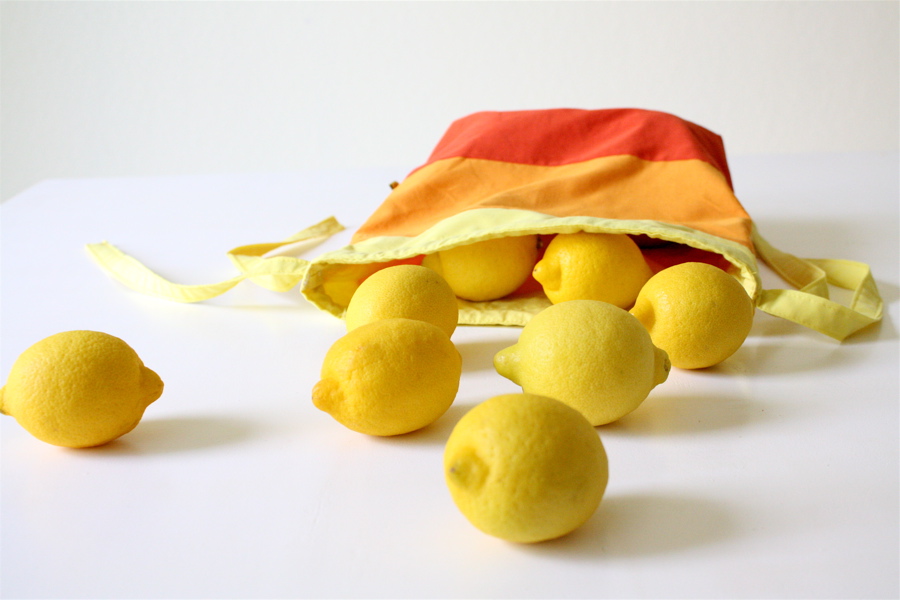
 [показать]The Citrus Sack makes a wonderful gift idea for Mother’s Day, Birthdays, for any occasion.
Gather your favorite citrus fruit into the colorful sack and include a copy of your favorite Citrus recipe.
 [показать]We recommend the summer fresh Lemon Cream Pie, recently added to our Tutorials Section. You’ll find the complete recipe HERE:
 [показать]
Share a bit of Summer to someone you care about.
 [показать]