Это цитата сообщения Оксана_Пилипенко Оригинальное сообщение
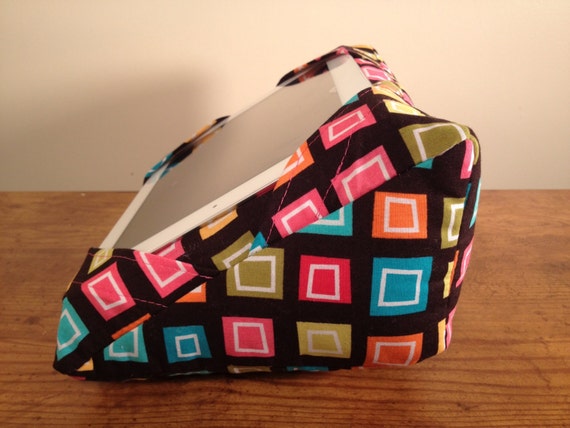
Подставка под iPad
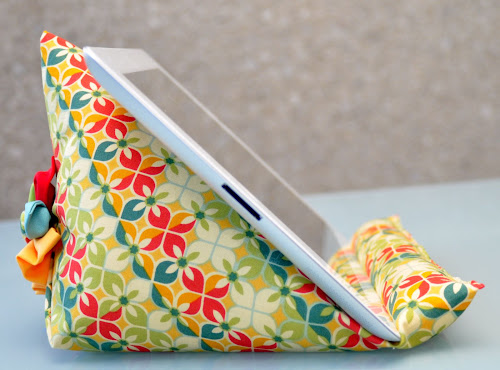

This iPad stand, wedge or bean bag is functional as well as decorative. When I made my first iPad bean bag I realised that the item is quite large and therefore very visible in any room. Therefore this time I wanted to add some touches that make the stand not only functional but also a pretty item to look at.
Video: How to make an iPad stand or beanbag
Watch this short 4 minute video tutorial first. On the video the iPad beanbag is made with denim but the method is the same as with quilting fabric.
Materials
- 1/2 yard of fabric
- fabric scraps for the flower
- self covered button
- polyfill
- a stone or weight
- cardboard
- iPad cardboard base (pdf). The top should be 3 3/4 in wide and the bottom part 7 3/4 in. The height is 5 3/4 in. If your printer gives you a different size you can adjust it easily before you cut the pattern.
- Denim iPad cardboard base (pdf) in smaller and bigger sizes. You may need to trim it
Making the flower
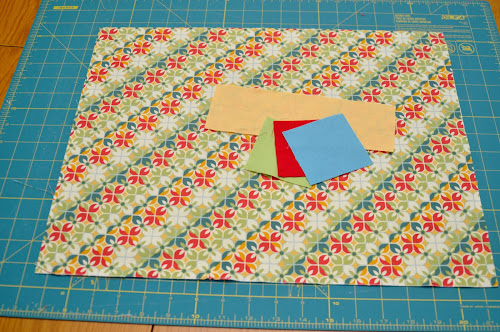
Cut 1 long rectangle 2 1/2 x 8 1/2 and 3 4 inch squares.
Fold the squares in half twice and iron each time.

Cut around the raw edge corner of each folded square as per picture.

Gather the pieces of fabric using a rather long stitch so that the bulk of the gathering is reduced and the hole in the middle is smaller than the the button that will cover it.
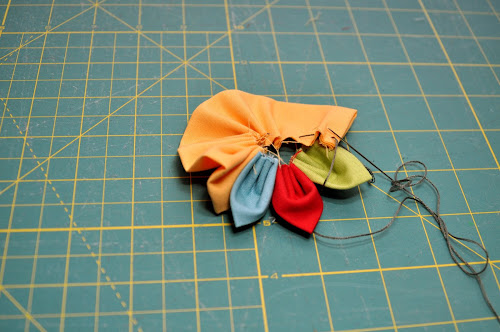
Attach button to the centre.


Sew around 2 sides leaving one of the narrow sides open. Trim the corners as per photo.

Turn bag inside out and open the bag placing the seam touching the table (see picture).
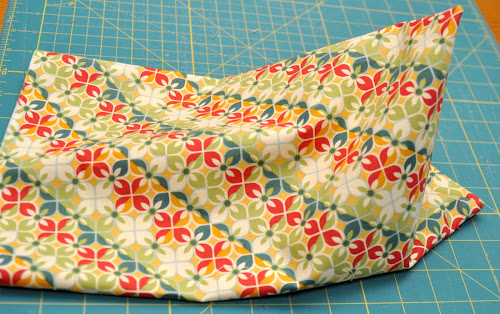
Make sure the seam is in the middle and flatten the bag as per picture.
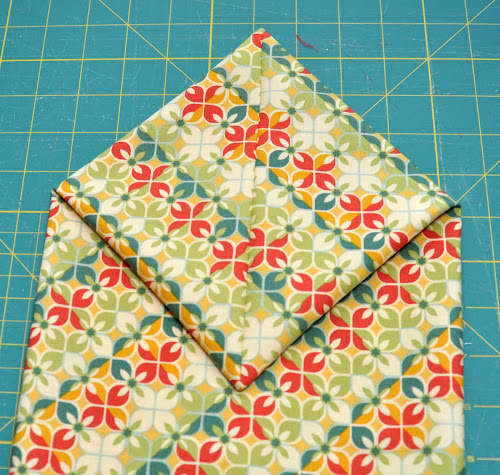
Find the middle point and mark using a pin (see picture).

Fold the bottom corner up as per picture. This is where the flower will be stitched.
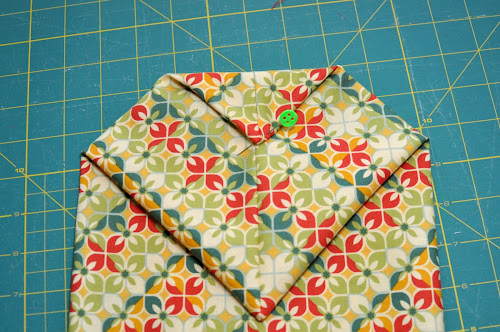
Hold the bag up with the pin in place ready for the flower to be attached.

Stitch the flower to the pinned location.

Filling the iPad stand
Using the iPad beanbag cardboard base (pdf), cut the cardboard pattern and place inside the bottom of the bag.
Then place a stone or something heavy on top of the cardboard. This weight will add stability to the stand.
Fill it with polyfill. Use as much filling as you like. My stand has enough fill to take the weight of the iPad but it’s not hard.

Once there’s enough fill, pin the tube together starting from the edge of the cardboard.
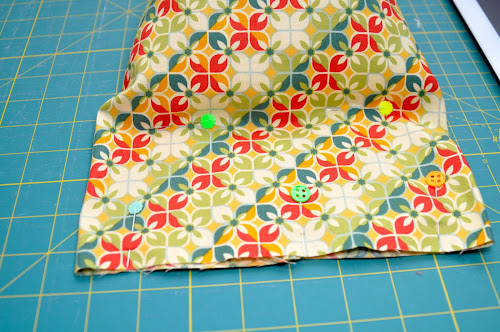
Stitch around the edge of the cardboard.

Making the wedge
Fold the fabric in half as per picture.
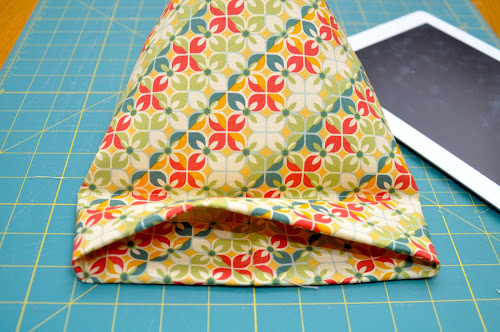
Pin along the edge.
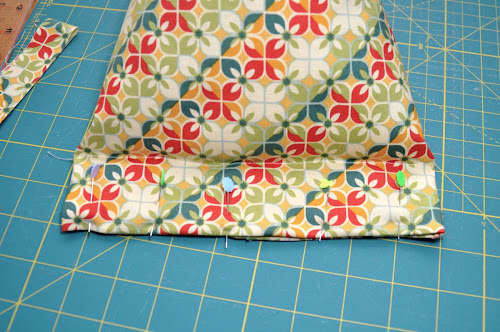
Stitch very close to the edge.
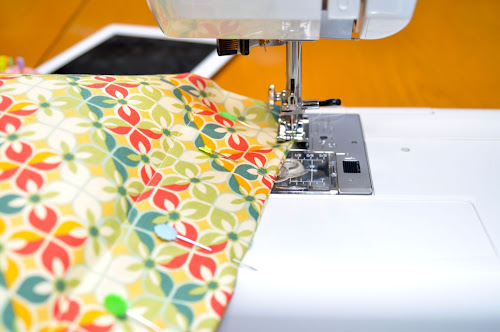
Leave a small opening and fill the small tube. You can fill the tube a bit more firmly than the bean bag.

When done stitch the opening by hand.
Et voila!

The stand from behind.
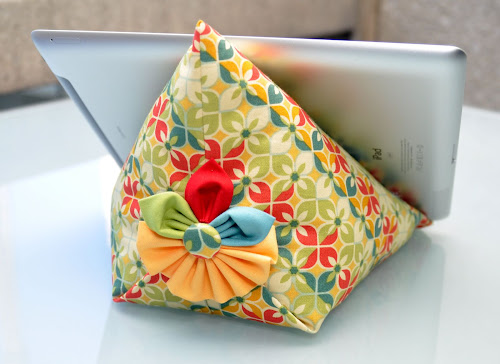
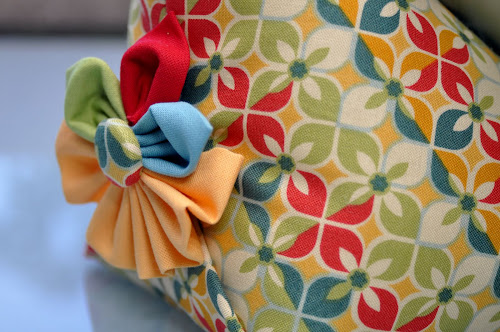
Closeup of the flower.

https://mypatchwork.wordpress.com/2012/12/29/ipad-stand-tutorial/
P.S. : Варианты---
http://mysticmandy.blogspot.com/2013/04/ipad-pillow.html