This Mad Hatter Tea Table project is whimsical and a wee bit zany!

The creative team at Heirloom Traditions Paint has sponsored this post, because yep, they’re awesome!
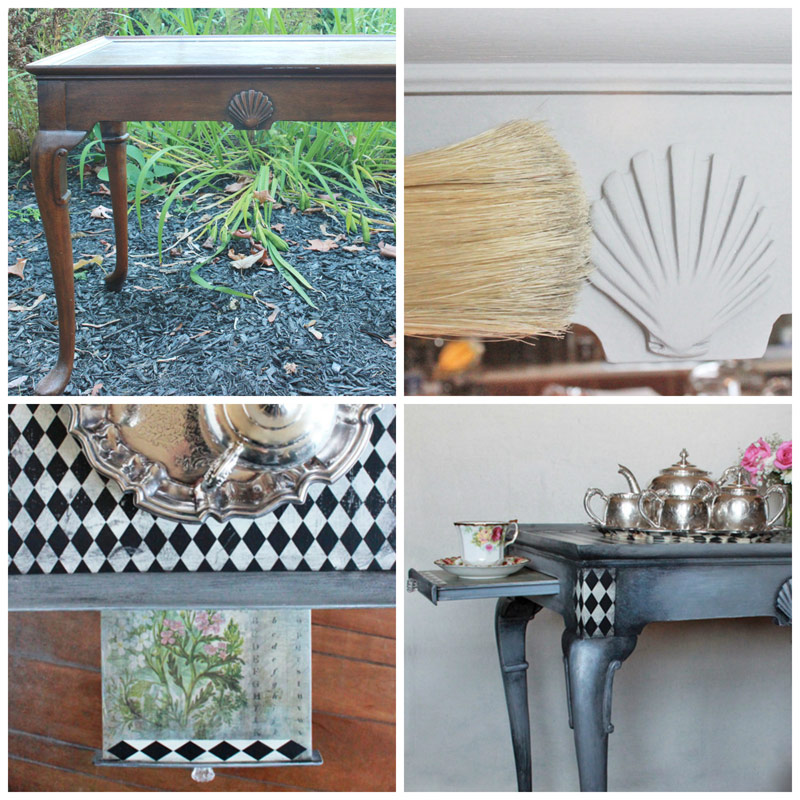
If you’d like to follow me down this rabbit hole, you’re gonna need some stuff!
Supplies:
- Heirloom Traditions Ultra Guard Primer & Sealer
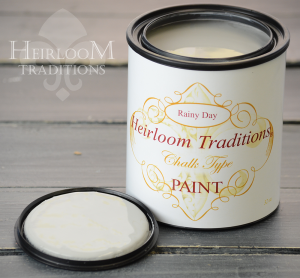
- Heirloom Traditions Chalk Type Paint: Rainy Day
- Heirloom Traditions Chalk Type Paint: Black Bean
- Heirloom Traditions Chalk Type Paint: Nickel
- A Best Chalk Brush
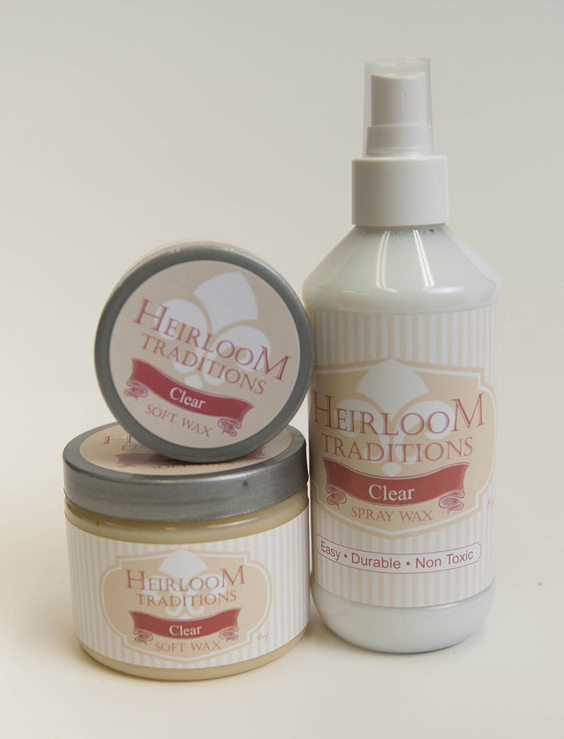
- Heirloom Traditions Soft or Spray Wax: Clear
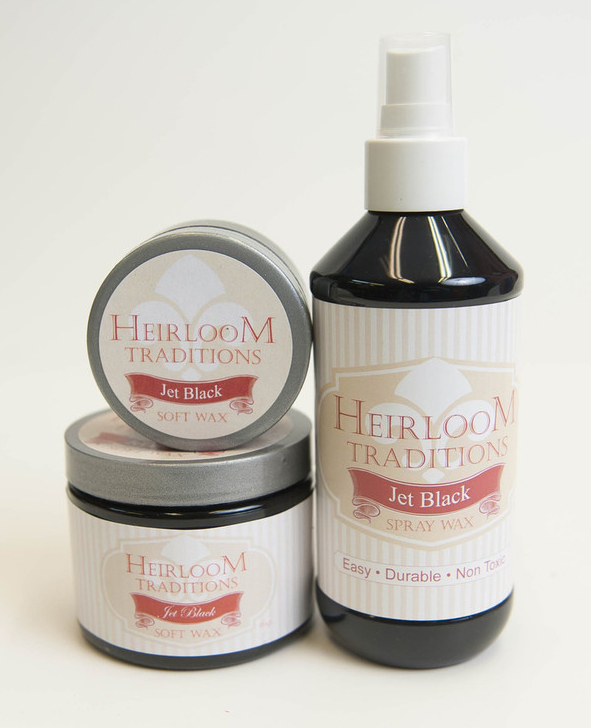
- Heirloom Traditions Soft or Spray Wax: Jet Black
- Heirloom Traditions 1Gel Transfer & Decoupage Medium
- A ratty chip brush for creating shadows
- A regular synthetic bristle brush for highlighting
- A generous amount of bold patterned paper. (I got my harlequin wrapping paper at Hobby Lobby)
- Pretty vintage style scrapbook paper (I used a sheet from the 12 x12 Tim Holtz Idea-Ology Wallflower Paper Stash)
- Scissors
- A brayer really helps to smooth the decoupaged paper
- 400 grit sandpaper
- Clean rags for buffing the soft wax (not needed for spray wax)
- Damp rags for distressing
- A work surface that can take a few drips of paint
- A playful attitude!
How-to:
When she came to me, this charming little tea table had good lines, functional pull-out trays and lovely scallop medallions – but the tabletop had been badly abused.
(Too many mad tea parties, one supposes…)
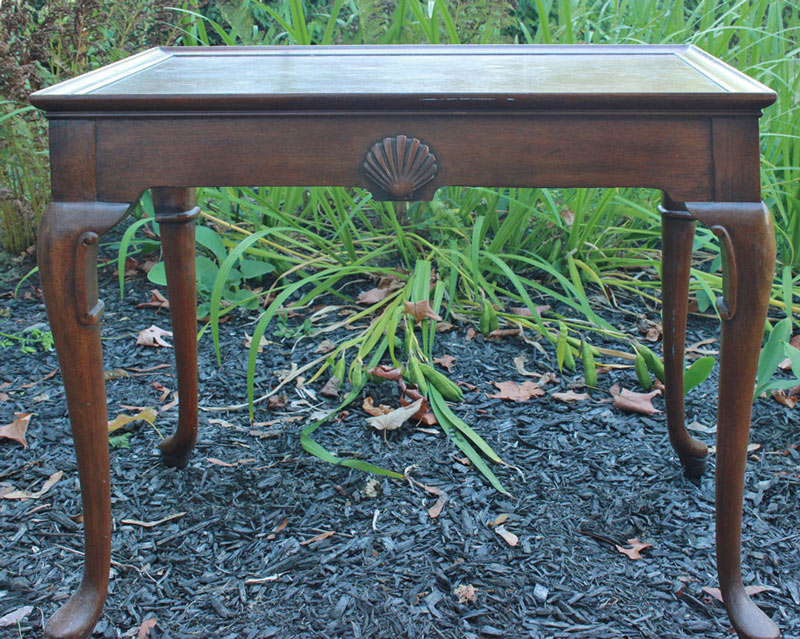
The veneer had bubbled and was quite marred. Goodness knows what she’s been through!
I felt an instant affinity for her. Something about her feminine lines, coupled with signs of active use seemed, well, familiar.
Those of us of a certain age can perhaps relate…
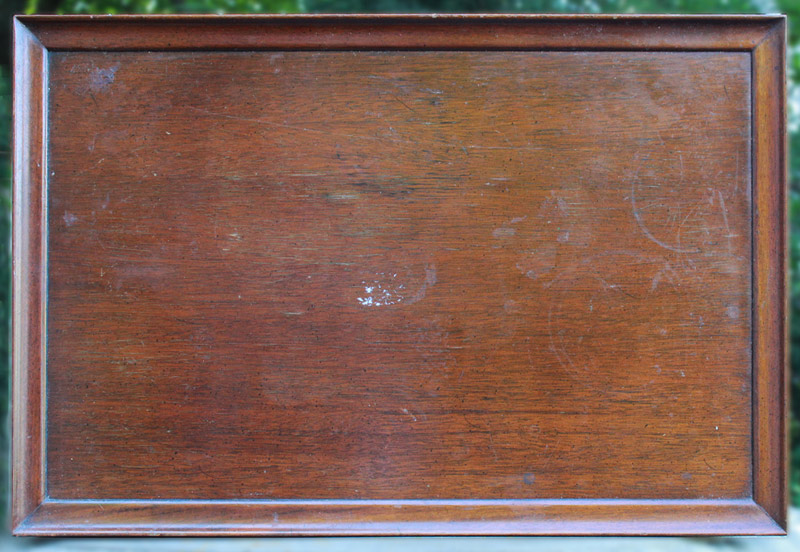
After a quick but strenuous session with a hot iron, some parchment paper and an electric sander, the damage had been brought under control.
If only I could work this same magic on MY veneer…
- A quick coat of Ultra Guard was in order, to seal in the tannins and stain prior to painting.
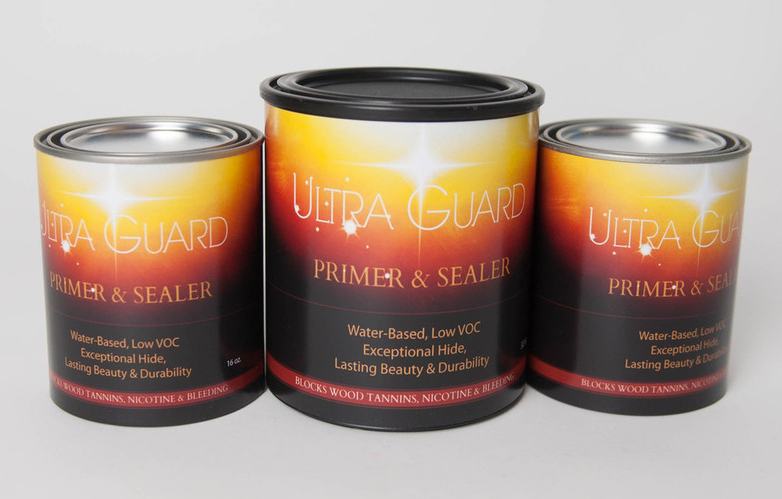
That’s better…a creamy foundation makes our makeover so much smoother!

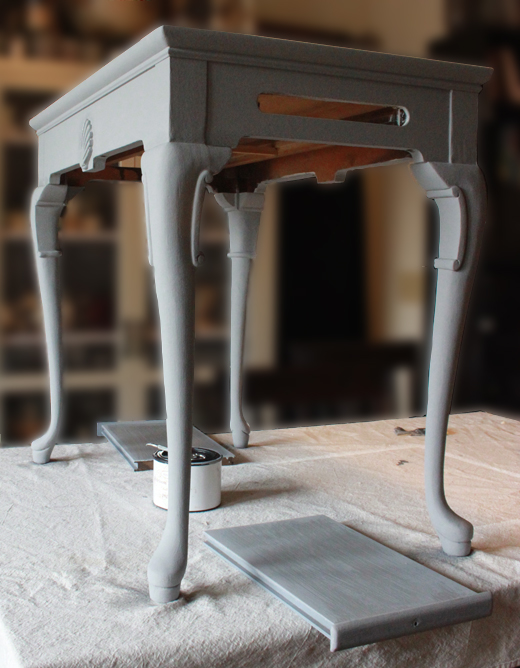
2. Once the primer has dried (about an hour) a single coat of Heirloom Traditions Rainy Day Chalk Type Paint creates an excellent basis for our whimsical finish.
Such a pretty gray!
Note: for best results, allow the paint to cure overnight prior to applying waxes and distressing.
3. The first layer of Clear Soft Wax is applied to the entire surface with a Best Chalk Brush.
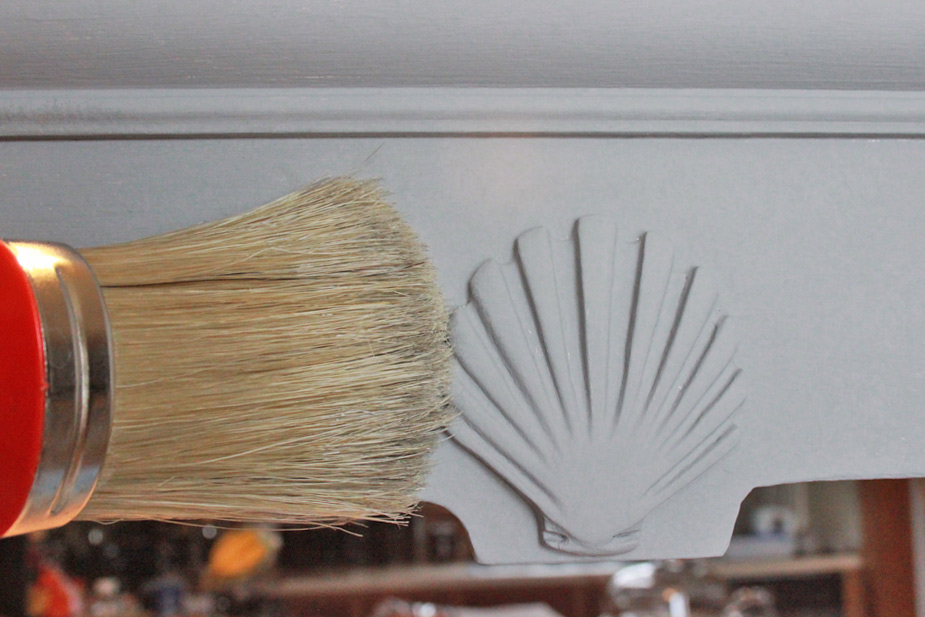
4. Use clean lint-free rags to wipe back the Clear Soft Wax.
Note: If you use Spray Wax, no wiping back is required!
5. Next, a layer of Jet Black Soft Wax is applied to all the nooks and crannies.
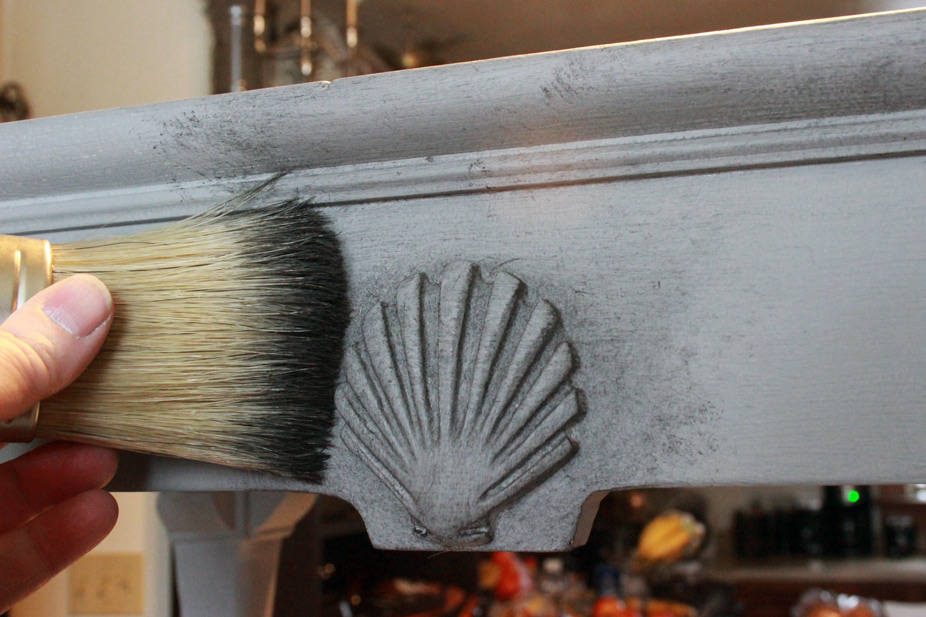
6. Wipe back with a clean rag to bring out the lovely qualities of this beautiful wax:
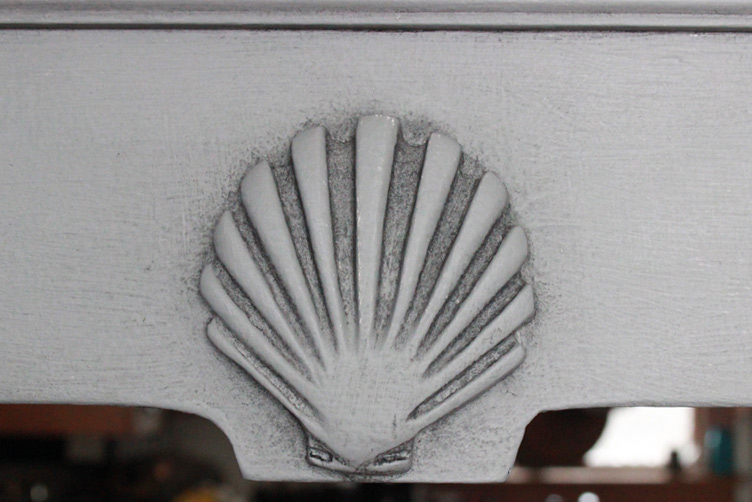
7. Now it’s time to embellish! Cut a piece of patterned paper large enough to cover your tabletop.

8. Apply a generous coat of 1Gel to the surface of the wood, and carefully adhere the paper.
A brayer really helps to get any wrinkles and/or bubbles out.
Note: A spicy vocabulary can facilitate the process, as well.
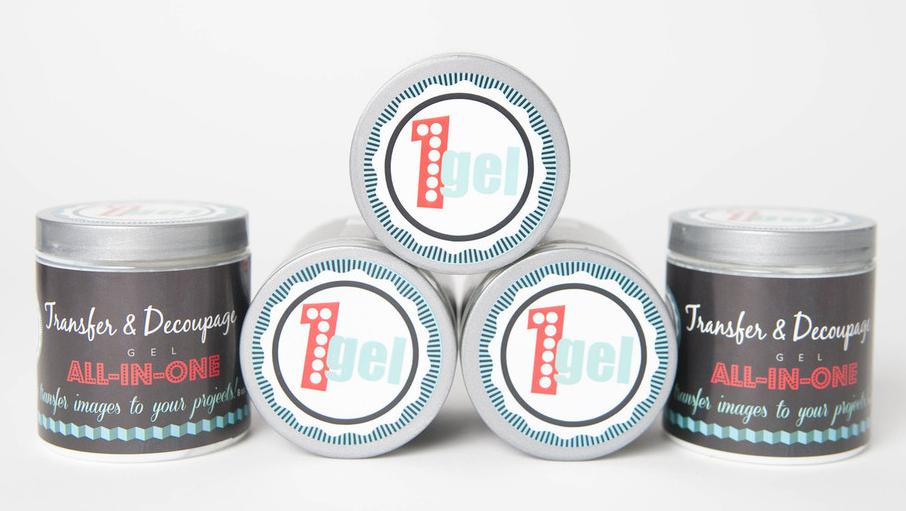
The 1Gel dries very quickly – I was able to begin distressing the surface of the paper within the hour.
9. A few swipes with sandpaper, and the surface of the slick paper now begins to show signs of wear:

10. To add depth to the finish, Heirloom Traditions Chalk Type Paint in Black Bean, thinned just a bit with water is haphazardly applied with a chip brush…
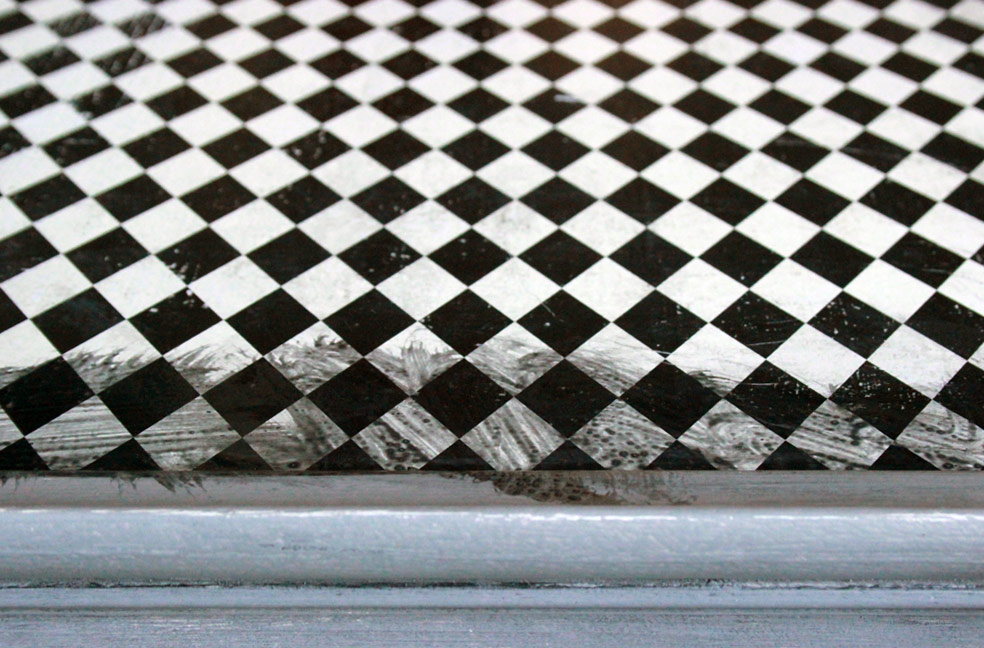
11. Then wiped back with damp absorbent toweling, leaving a soft layer of shadowing ‘round the edges of the top.

12. Decoupage pretty scrapbook paper to the surface of the pull-out trays, using 1Gel.
13. Sand the paper lightly when dry, to age.
14. Add Jet Black Soft Wax to soften the transition at the edges.
15. When dry, coat with 1Gel to seal and protect.

16. Add detail areas of the bold patterned paper on the trays and on vertical surfaces, to create cohesion in your design:
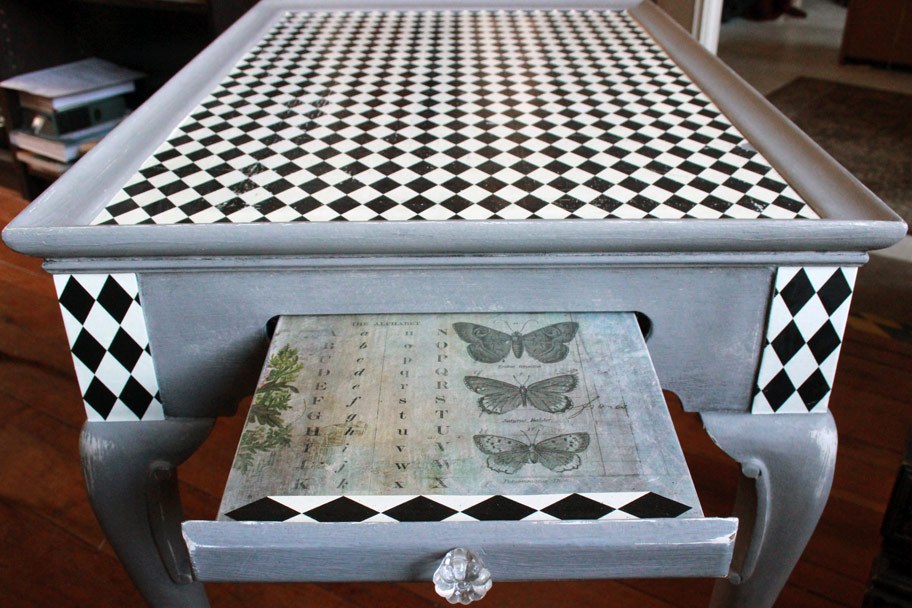
17. Distress the ‘wear points’ with 400 grit sandpaper, if desired, to expose layers of primer:
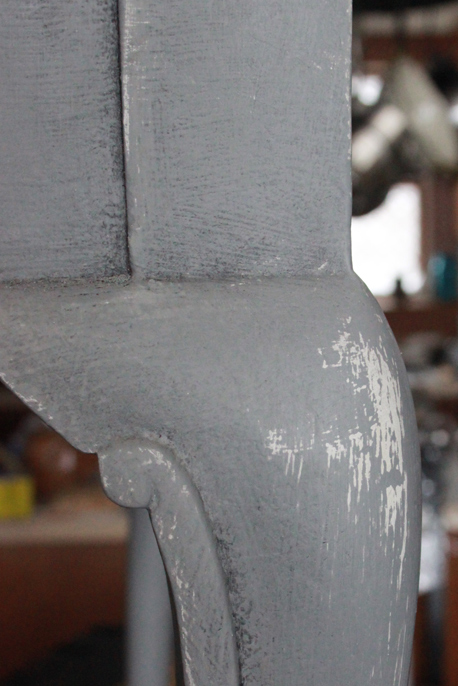
She had no knobs when she came to me, but Hobby Lobby had just the right thing.
These little clear glass floral knobs subtly echo the scallop shape of the medallions, unifying the design further:

18. Add a casual ombre effect to the legs by simply painting the feet with thinned Black Bean Chalk Type Paint, and feathering your application upward.

19. Apply Black Bean full strength to just the feet when this layer had dried, leaving a gradually lightening effect from the base to mid-leg.
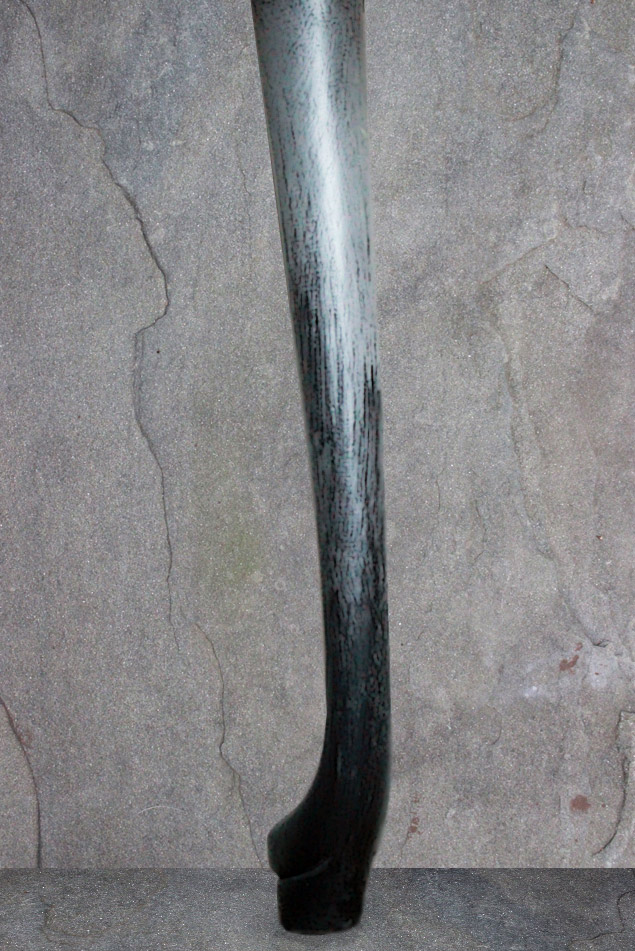
20. Stipple Black Bean anywhere you wish to create the impression of shadow.
21. Keep a moist rag handy, and alternate between painting pigment on, and wiping it back to get a feathered effect.
22. For this admittedly over-the-top look, keep working the areas of shadow and light until an almost cartoon effect takes shape.
23. Messy stippling with a ratty chip brush gives a slightly deranged over-emphasis to the shadowing, and accentuates the playful mood:

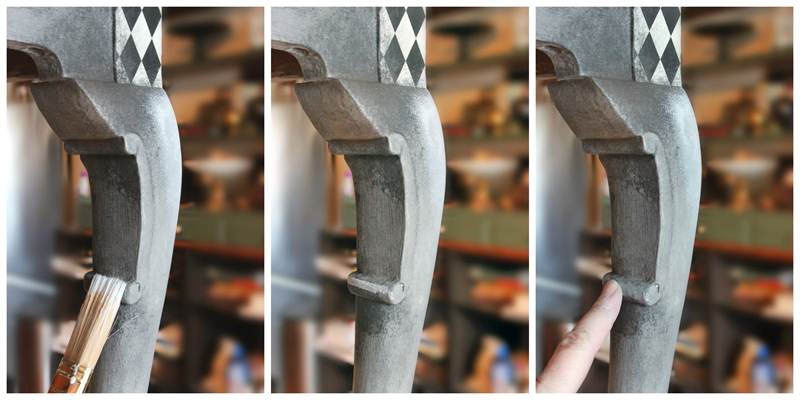
24. Retouch the areas you want to emphasize with a lighter shade.
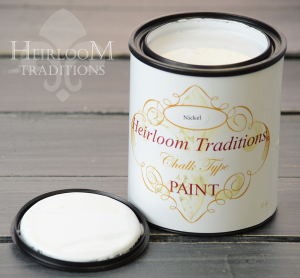
Here, Heirloom Traditions Nickel Chalk Type Paint has been used to gently highlight areas of interest.
25. Add highlights, then soften with a fingertip:
26. Once the paint has thoroughly cured, apply Jet Black Wax over the darkened areas and buff to a sheen.
27. Finally, apply a coat of 1Gel over the entire piece to seal and protect.
It dries so quickly, you’ll be sipping your well-earned cuppa within the hour!
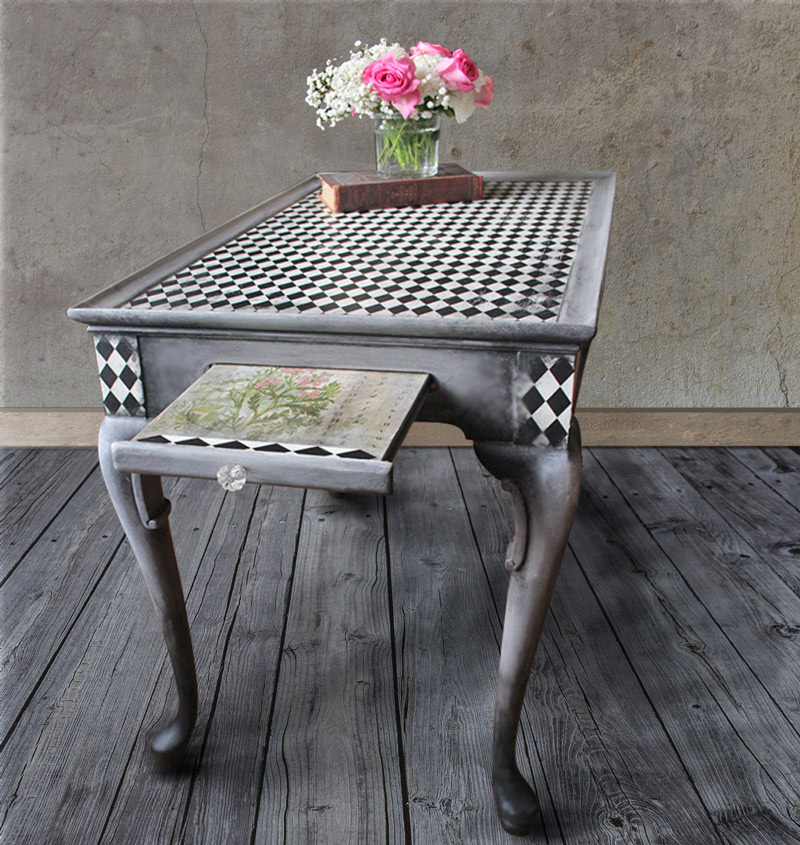
The perfect place to sit with a good book and cup of tea…
This piece has just enough silliness to make me smile every time I catch a glimpse…
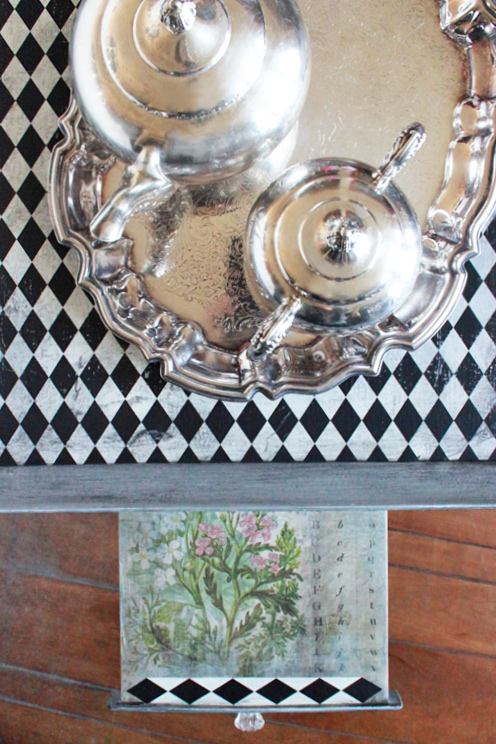
I love the combination of pretty florals with bold black and white:
For more information on Heirloom Traditions Products, please visit www.heirloomtraditionspaint.com
* Full Disclosure: Heirloom Traditions supplied their products to be used in this project, and they sponsored this post – however, I supplied the elbow grease, rescued furniture, design concept, and silliness! All of which reflect my own point of view, regardless of affiliation…
Thank you for visiting The Graphics Fairy today!
Hope you’ve enjoyed this little excursion into zaniness. It was such a fun process creating this Mad Hatter Tea Table…I can’t wait to add humor and whimsy to another furniture project!
Break out your own favorite papers and experiment with playfully embellishing your next reclaimed piece of furniture: it’s sure to make you smile.
If you appreciate a bit of nonsense from time-to-time, stop by Thicketworks to see what all the mayhem is about!
Heather