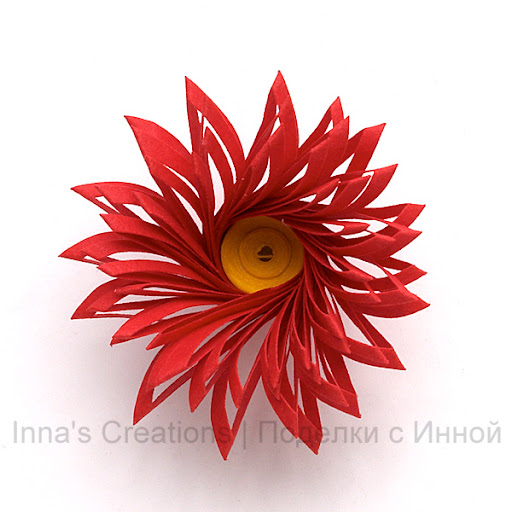
How to make double fringed flowers
 [показать]
Another tutorial on quilled fringed flowers. This type is rather rear and I've never seen a detailed description of it. I already explained how to make simple fringed flowers earlier.
You will need double-sided colored paper, scissors, glue, a ready-made or a do-it-yourself slotted tool, or just a wooden toothpick.
1. Cut a paper strip about 2-3 cm (1 inch) wide and 10 cm (4 inch) long. Fold it lengthwise.
 [показать]
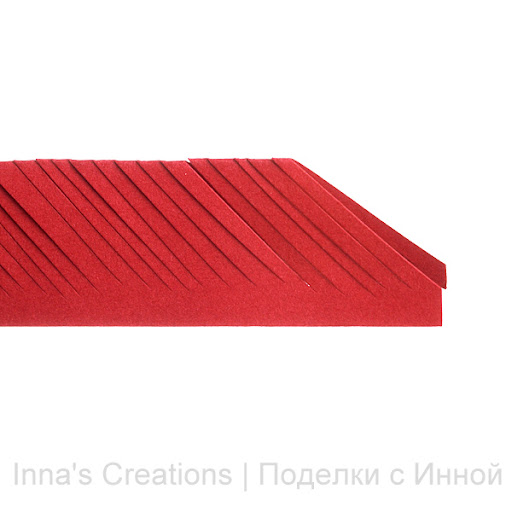
2. Create a fringe by making small cuts at 45 degrees along the closed edge.
 [показать]
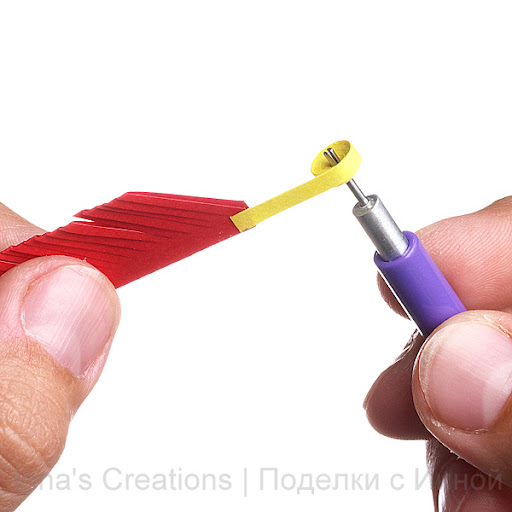
3. Attach to its end a regular — 3 mm (1/8 inch) wide and 25-30 cm (10 inch) long — quilling strip. This will make the center of the flower.
 [показать]
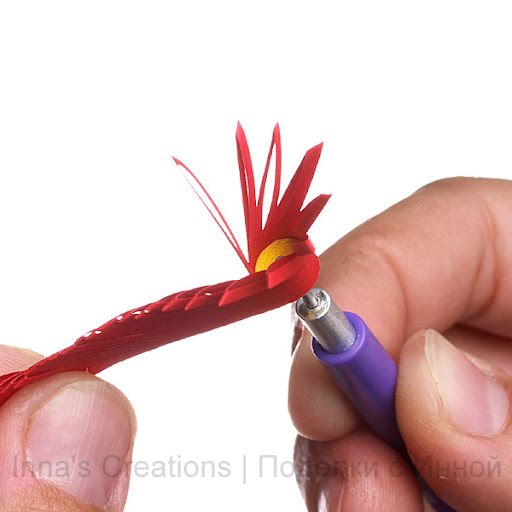
4. Roll tightly using a toothpick or quilling tool, starting from the tip of the narrow strip.
 [показать]
You don't have to shape the petals, they will fluff up by themselves.
 [показать]
  [показать]
5. After the fringe is rolled up, glue its tip and hold for a couple of minutes to let the glue dry a little.
 [показать]
Now you can use your flower for a greeting card or any other purpose.
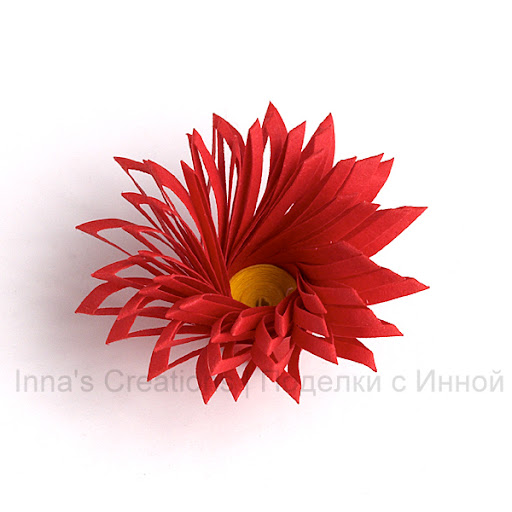 [показать]
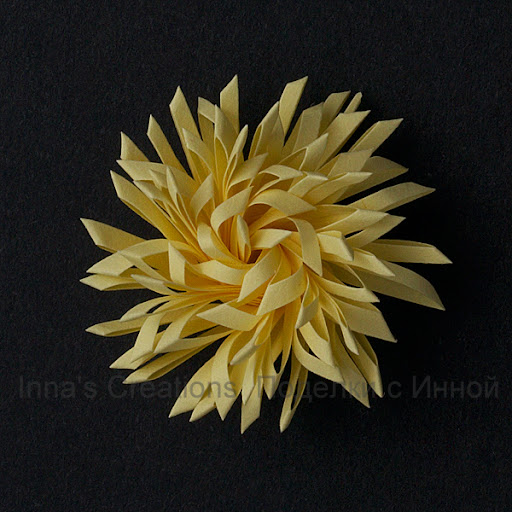
In order to make a flower of the type shown below use only a wide strip. In this case it should be longer, about 20-30 cm (8-12 inch). Don't glue a narrow strip for the center, start rolling the fringe right away.
 [показать]
Tips
To create a nice and smooth coiling when making a flower with center, try gluing the joint between the fringe and inner strip down to the coil. Do so right after you've finished rolling the center and before starting to roll the fringe. This will keep your coiling in place. Also, try rolling very tightly and apply a small amount (just a tiny dot) of adhesive after every wind.
Try different papers, too thick or heavy paper may be unsuitable for this technique. You may also want to use a thicker tool than the usual quilling tool, for example a wooden toothpick or a bamboo skewer.
Good luck!