Это цитата сообщения
Голубая_лилия_28 Оригинальное сообщениеЦветок для торжества. МК
 [показать]
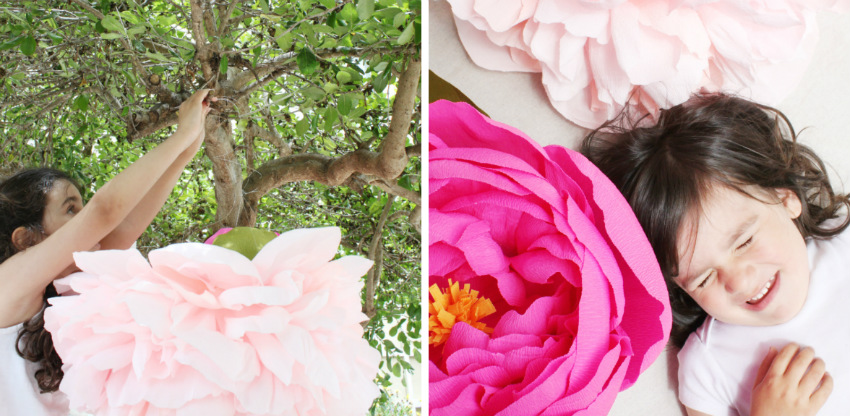
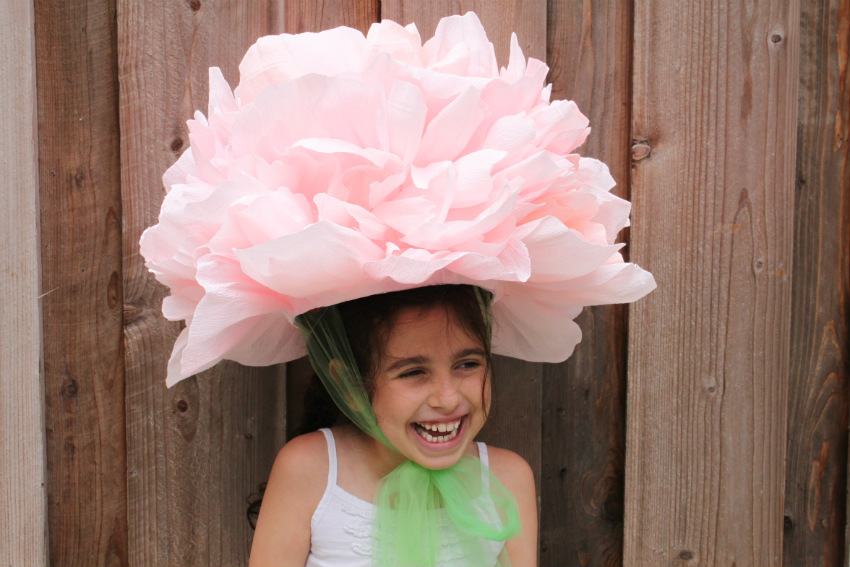
Did I mention they also make UNBELIEVABLY FABULOUS HATS?
Welcome to my summer salvo. I'm from the school of "if it didn't take you a really long time to do, you didn't do it right". Not a great school to come from, but it has always served me well.
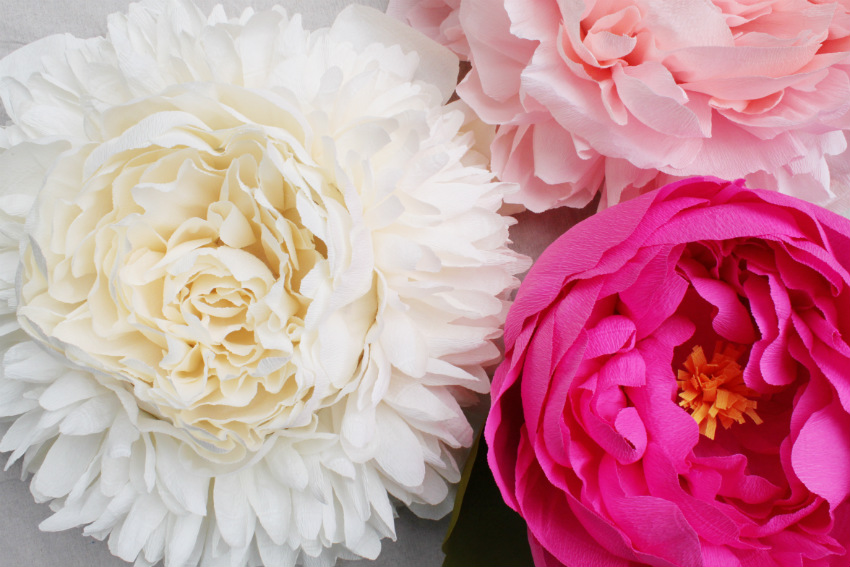
These beautiful piñatas are labor intensive, except for the one shaped like a partially opened peony. That one I did in one sitting and I'll share a tutorial for that in the future. For now, click "read more" below to learn the secret to making these extravagant, expansive, over-the-top paper peony piñatas!
NOTE:
The peonies can now be found in my Etsy shop! Click HERE to see my current stock!
You want to start with a nice paper machéd balloon base. For the peach colored peony shown above I used a balloon that was about twice the size of Oliver's noggin.
I did three layers of paper maché, letting each layer dry before applying the next. My paste started as a 1:1 ratio of flour and water, but I added a little more water to loosen it as needed.
Here is my big trick. After much study, I realized the top of the peony base needed to be recessed so that the inner petals could be ensconced by the more outward petals, much like a real peony.
To create that recess, lop around 2 1/2" of the dried paper maché balloon from the round end, OPPOSITE of where the balloon was tied off.
Invert that piece back into the balloon, creating a concave end. Tape to hold in place as needed, and stitch all around the rim through the paper maché with a needle and thread. Finally, run a bead of hot glue over the stitching for extra reinforcement.
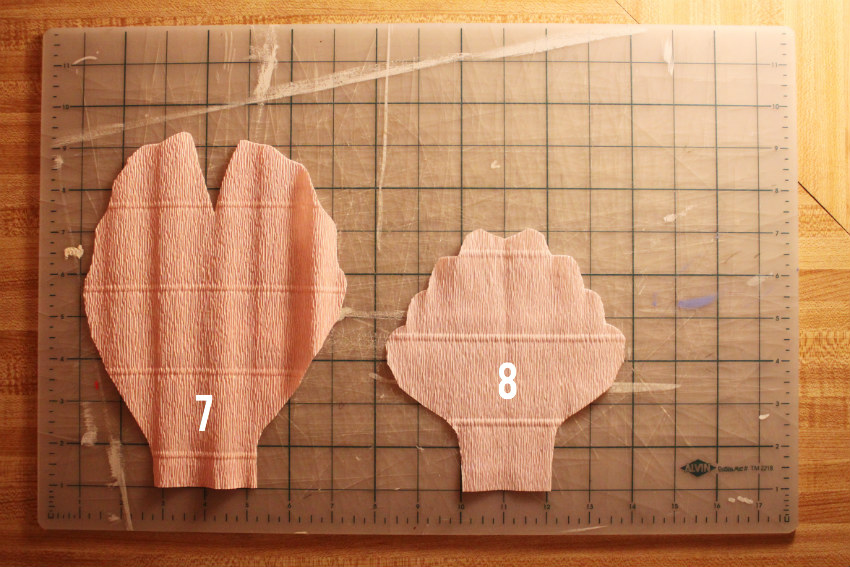
Now the petals. This is a really rough guide for the different shapes and sizes I cut from floral crepe paper for the petals. The petals are sitting on a 1" grid in the photos below to give you an idea of their size, but I suggest you find a photo of a peony (or a real peony) and see what you come up with! They are numbered so they can be referred back to during the rest of the tutorial, but there are some random ones thrown in as well. Think of nature's organized chaos!
There are a few more petal shapes at the end of the tutorial, but yours will really depend on the peony or peony image you are using as a guide.
Here's my standard technique for the petals:
Gently stretch the centers out wide to create a full and cupped petal form, then bend the bottom back to create a base for affixing the petals to the piñata.
And now the steps.
Petal Type 1:
Petal type 1 is used to create the "bud" and upward-pointing cluster in the center of the peony. Pinch the bottom of the starting petal together and hot glue lightly to secure that form. Wrap a second petal around the first as shown. Apply hot glue to the flaired base that forms and glue at the very center of the concave portion of the piñata.
You want the bud to stick up past the rim a few inches, like so:
Note:
I set the bottom of the piñata in a wide vase so it would stay put while I worked on it. I don't recommend chopping the other end off yet, even though it would sit nicely on the table while you work. It needs to stay intact until the layers of petals give it a little more stability.
Add about a dozen more of these type 1 petals around the bud, stretching the outermost ones a little wider than the inner.
Before you get much further, stop to glue matching crepe paper around the rim of the piñata. This will be helpful when trying not to leave any newspaper exposed later.
Petal Types 2-5:
Keep working outward from the center cluster, gradually cupping the petals more and more as they grow larger. I used eight each of petal types 2-4 and four type 5 petals.
After you get the type 5 petals in, you want to secure them to the rim of the piñata like so:
Petal Type 6:
This one is big! Space four evenly around the rim, placing so the top of these petals really cup all of the other petals a bit. Think about a peony and how those outer petals protect all the smaller inner ones. Glue the bottom centers first, then stretch and tack down the bottom sides to help achieve the cupping effect.
Can you see that outer cupping action?
This is a good time to stop and cut the "bottom" of the piñata off. This will be the opening of the bucket formed inside the piñata for packing in the treats. It also could be the opening for your head if you plan on wearing it as a hat. I cut about 3-4" off of the end. You want to make sure that you are cutting enough away to leave you with the globe-like shape of a peony. If the piñata is too oblong or tall, it won't read as well as a peony. Peonies are all about roundness, and a little squatness, too.
Petal Type 7:
I added five type 7 petals next, then covered all of the remaining newspaper surfaces with crepe paper. I filled in between the type 7 petals with much smaller, more slender petals to give it some bulk.
Petal Type 8:
These are fun. I added lots of these. Maybe 30? My notes say "millions", so somewhere between 30 and 1,000,000. Stretch these petals as you did the others, but also stretch the tops, then curl the tops backward as I've shown here. It makes a lovely, realistic effect. Apply these willy-nilly until you get about an inch or so away from the bottom of the piñata.
At the very bottom rim of the piñata, cut and add simple, large petals that you can shape into a big cup. These outermost petals will be cupping all of the petals above them. Fill in the gaps with whatever shaped smaller petals you think appropriate, then flip those bottom petals up and use small dots of hot glue along the bottom sides to keep them flipped up.
This is what you'll get for your efforts. Stunning!
Flip it over and add fishing wire hangers embedded in thick lines of hot glue. Three evenly spaced hangers work great when tied together several inches above the opening. Add wide tulle ribbons (two, located opposite each other) and you'll have a way to tie the giant beast as a faerie queen hat under your chin.
Fill it with candy, hang it in a tree and start whacking!
Although how could you, right?
I'll be taking a break for a few weeks now, so I hope you enjoyed this! I am considering putting these in my Etsy shop in August, but it'll be hard to let them go!