Это цитата сообщения Ирина_Зелёная Оригинальное сообщение
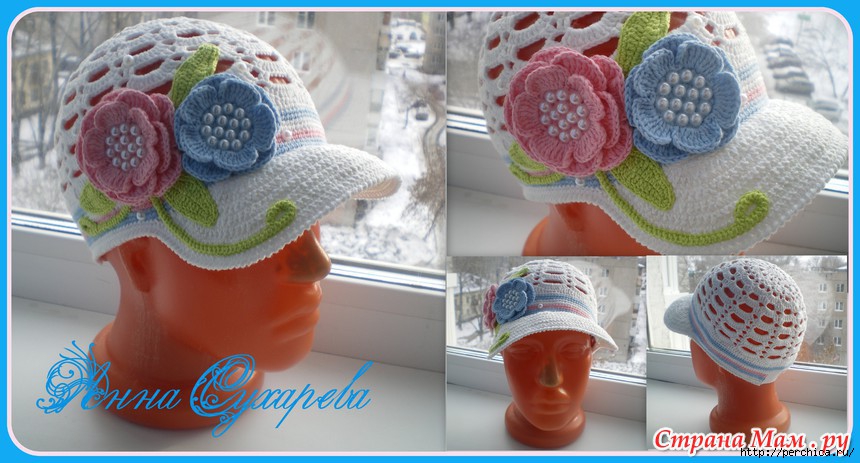
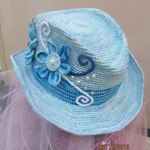
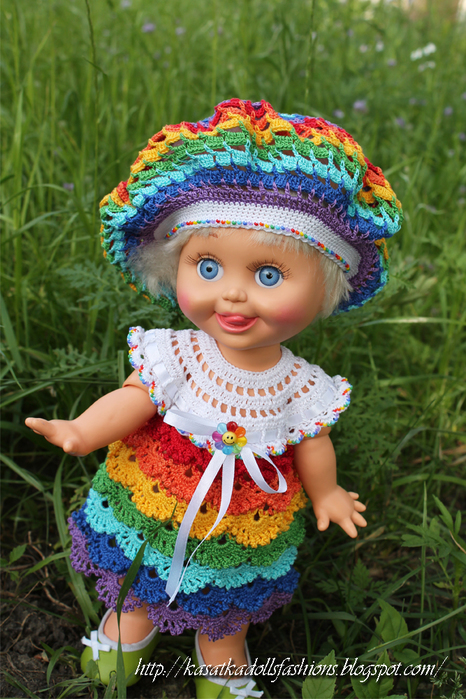
Кепка с цветами и отделкой шнуром гусеничка -пошаговый мастер-класс


Это цитата сообщения Ирина_Зелёная Оригинальное сообщение
Как рассчитать размер вязаной шапки - полезные советы
Для того чтобы вывязать шапочку нужного размера, нам достаточно знать только обхват головы. Обычно мы сначала вывязываем плоское донышко, равномерно увеличивая количество петель в каждом ряду, а после перестаем делать прибавки, чтобы у нас получился бортик. Поэтому два главных вопроса, которые возникают у нас при вязании – это диаметр донышка и высота изделия – от середины до края.
 [525x700]

Это цитата сообщения Ирина_Зелёная Оригинальное сообщение
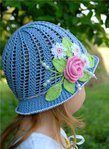
Летняя ажурная кепка с цветком - подробный мастер-класс
Это цитата сообщения Ирина_Зелёная Оригинальное сообщение
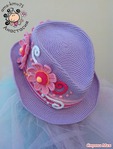
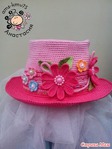
Шляпка в мужском стиле для маленькой модницы - мк
 [350x461] [350x461] |
 [336x448] [336x448] |
 [350x263] [350x263] |
 [300x300] [300x300] |
Это цитата сообщения Мелисса Оригинальное сообщение
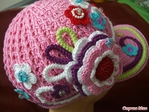
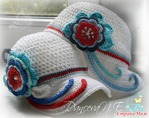
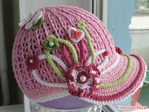
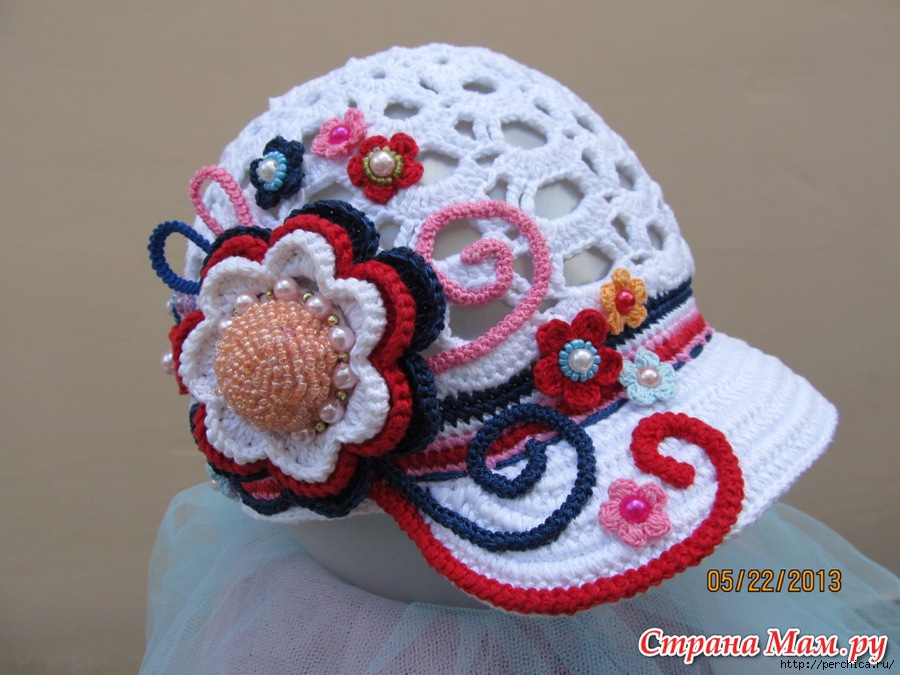
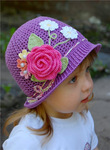
Вяжем чудесные летние шляпки-панамки для девочек
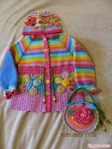
На весну-лето можно связать для маленьких модниц вот такие замечательные шляпки-панамки. Яркие и цветочные, они станут красивым дополнением к любому наряду малышки.


Это цитата сообщения Ирина_Зелёная Оригинальное сообщение
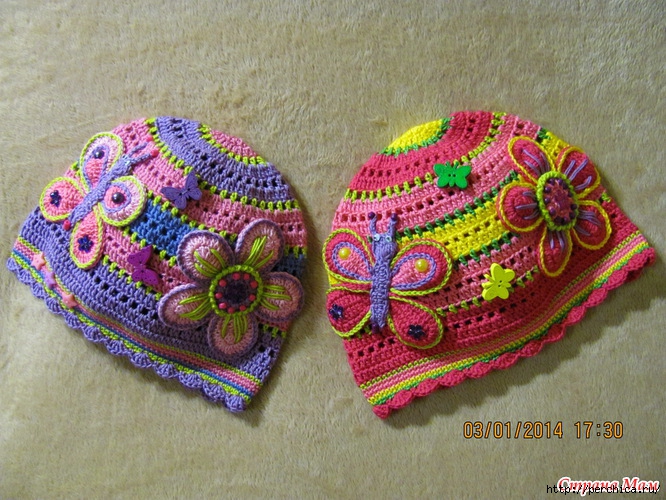
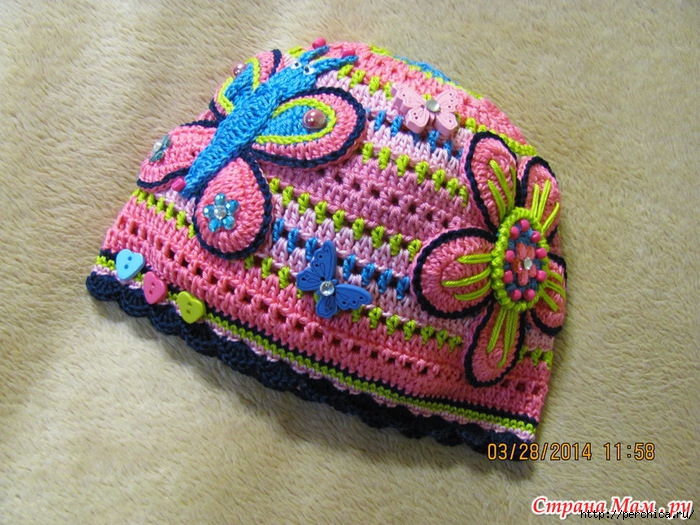
Шапочки *Весеннее настроение* из Страны Мам

Это цитата сообщения ljalja777 Оригинальное сообщение
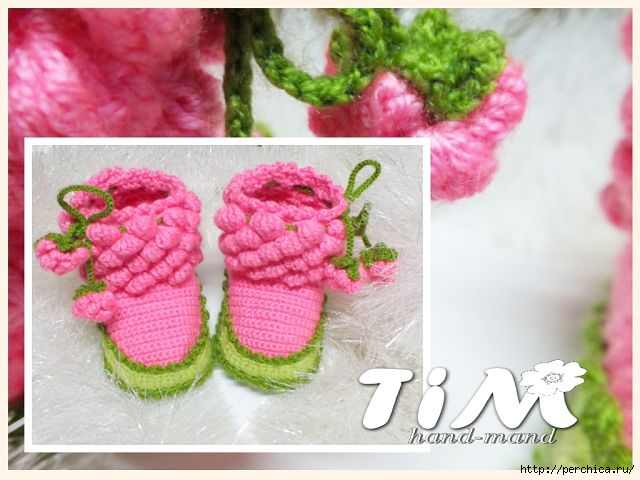
Журнал по обуви для кукол №2
второй журнал

Это цитата сообщения Надежда-Эсперанса Оригинальное сообщение
Делаем домик-шкатулку "Грибок" из полимерной глины...
Автор мастер-класса Татьяна Понаморенко пишет:
Хочу рассказать, как я делаю домики-шкатулки из полимерной глины. Их можно делать совсем малютками (4-5 см) или побольше. Все зависит от основы. У домиков съемная крыша, они могут послужить коробочкой для подарка (кольцо, цепочка), просто для любования. Именно этот домик будет шкатулкой для денег на свадьбу.
 [показать]
 [показать]
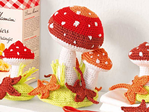
Это цитата сообщения Надежда-Эсперанса Оригинальное сообщение
Декорируем баночку и ложку тортиком «Северный мед»
Автор мастер-класса Ирина Федорова (IFpodarki) пишет:
[показать]Наконец-то наступило долгожданное лето. Кто-то собирается отдыхать, ну а кому-то еще жужжать, как пчелкам, на работе. Подумав о пчелках, я и захотела создать этот мастер-класс.
Для работы нам понадобятся:
[показать] Это цитата сообщения pawy Оригинальное сообщение
Мастер-класс: Колготки для кукол своими руками от Светличной Елены
Это цитата сообщения Lovely69 Оригинальное сообщение
Мастер-класс: Платье «Русалочка» для кукол Беби Фейс
Привет!
Ну что, хотите связать такое платьице?

или такое ))))
Это цитата сообщения Хьюго_Пьюго_рукоделие Оригинальное сообщение
вязаная русалочка
ВЯЗАНЫЕ РУСАЛОЧКИ
автор мастер класса Наталия Панченко
далее слова автора
 [показать]
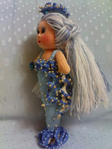 [показать]
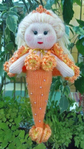 [показать]
 [600x466]
Это цитата сообщения Luyda52 Оригинальное сообщение
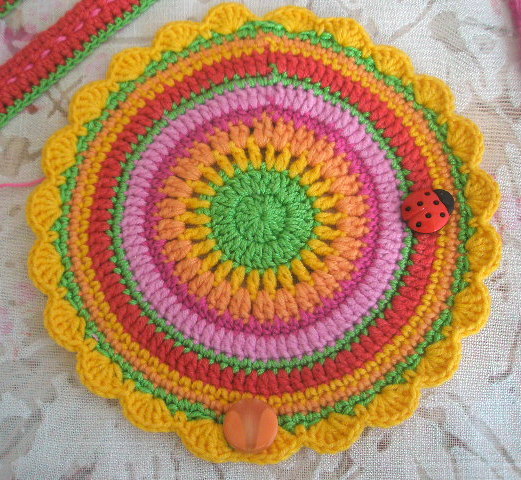
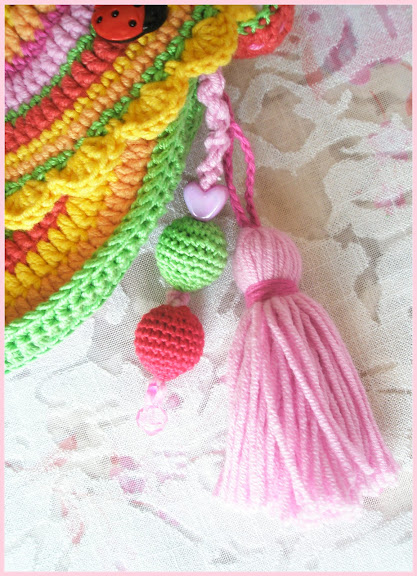
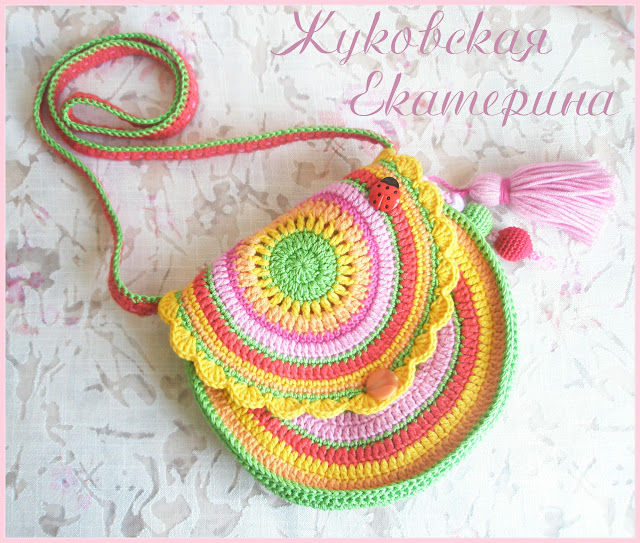
Шапочка и сумочка крючком. Работы Марины Стоякиной
[показать]Это цитата сообщения svetoknv Оригинальное сообщение
Без заголовка
http://www.stranamam.ru/post/3160673
Автор: Smollfish
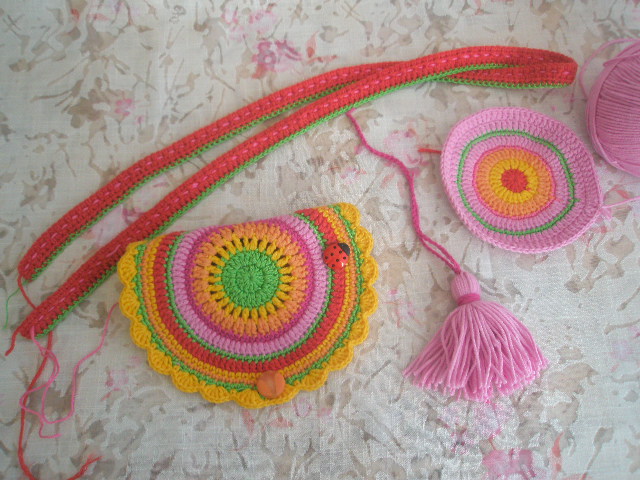
Моя сумочка по мотивам Vendula Maderska (фото процесса)
Вязала из пряжи Джинс от ЯрнАрт (кроме зелёного, это Успешная Пехорка в две нити), крючок №2.
Вязала без схем, по принципу круга. У меня вышла сумочка в диаметре 16.5см. Бусинками мы решили не расшивать, может позже добавим.
Фото и краткое описание процесса( я вязала интуитивно, не утверждаю что именно так правильно):
Крышечка:
Ручку связала отдельно, потом пришила
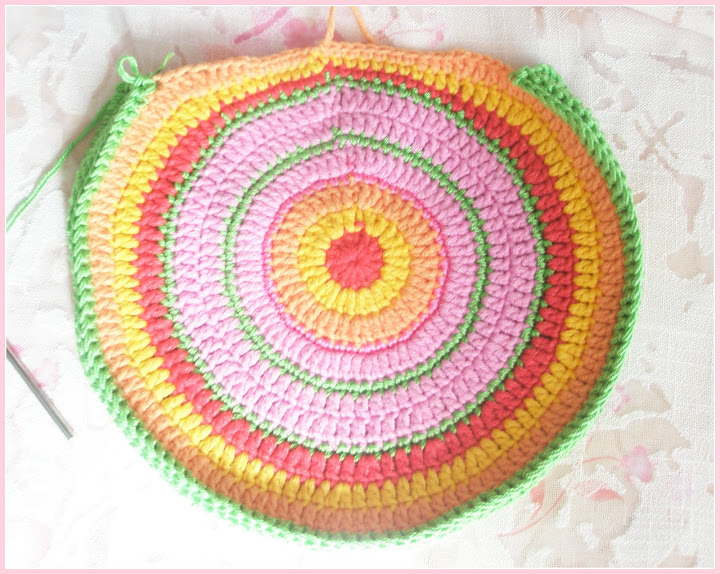
Так вяглядят боковинки(правда СБН в двух последних рядах я убрала потом)
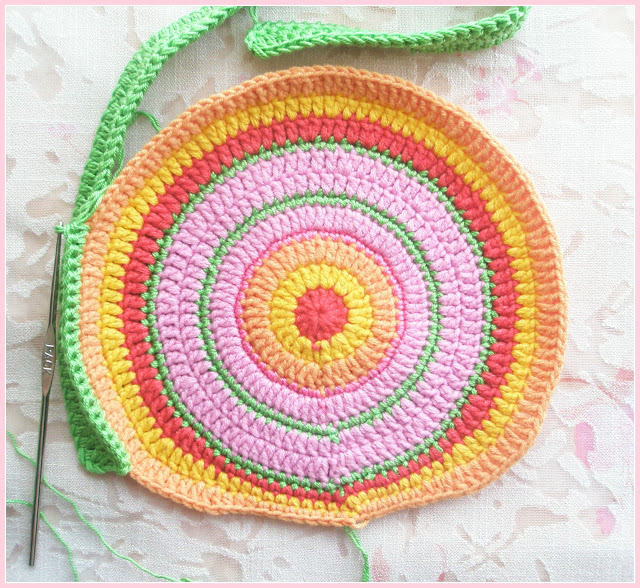
Зелёную полоску (боковую вставку) я связала отдельно. Длина равна количеству петелек по краю круга(у меня 94), ширина примерно 2см(у меня два ряда ССН)
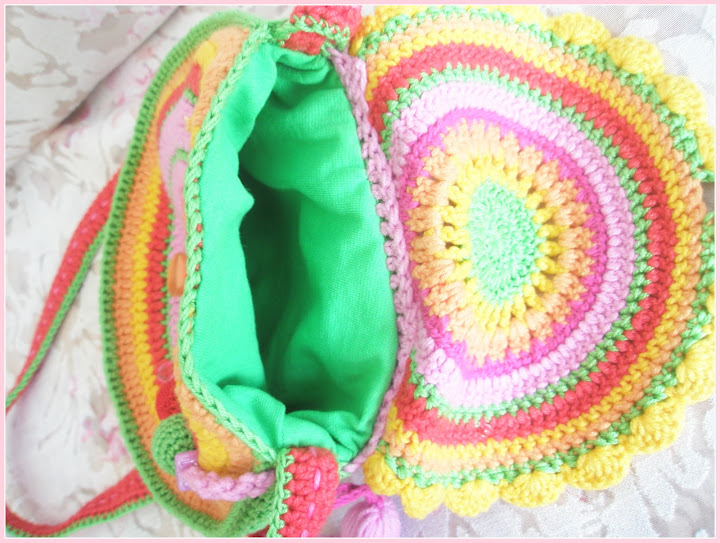
Эту полоску к боковинками соеденила СБН

Пришила крышечку к задней боковинке, ручку, пуговицу.
Из трикотажа сшила подклад. Пришила потайными стежками.
Это цитата сообщения Chachka94 Оригинальное сообщение
Золотые рыбки спицами - мастер-класс на английском
http://susandennis.org/knitting/goldfish/index.htm
 [478x311]
How to make your own Goldfish!
These goldfish are fun and easy to make. As pictured here, they are about the size of a grapefruit.
The complete pattern with notes and photos is below, just keep scrolling. If you just want the pattern with the how-to pictures,
here is a PDF version for you.
September 13, 2011: Maepatel on Ralvery, made a great fish and spelled out two errors in the pattern. I had known there were some but just had not gotten around to sussing them out. She not only identified the errors but she clearly, and perfectly wrote out what should be there so all I had to do was copy and paste! Thank you, Maepatel!! Pattern now fixed (PDF, too!)
December 22, 2008: I got an email this morning from Melissa Starkweather who said she had found my pattern via Knitting Pattern Central. She sent photos of her fish and she has some amazing variations! I can't wait to try some of them myself. I asked her for some details and she provided them plus other pictures. Thanks so much, Melissa! You totally made my day!
Melissa's fish presented with the help of the lovely Fyn. Melissa and Fyn divide their time between North Carolina and Michigan and she knit these beauties for her grandson, grand nieces and nephew.
(click to see a bigger version for detail)
More pictures and details below.
While I've been knitting for more than 50 years, this is the first time I have ever created a pattern. Rather than make it a traditional knitting pattern, I tried to create it as though I was showing you how to do it the way I do. A few items to note:
I hate to sew. I will do anything to avoid sewing stuff on or together. This pattern (and these instructions) are created with that in mind. However, it could easily be otherwise. The fins, for instance could easily be done separately and sewn on.
This pattern is offered free to use any way you wish. Feel free to make tons of fish from it and sell them or give them away. Feel free to change this pattern in any way you want. Feel free to publish this pattern any where you want. It is free. Enjoy.
The fish are made starting from the bottom of the back fin and knit, in one piece to their their little puckered fishlips. The top and side fins are knitted in after the body is stuffed and finished. There are two versions. One has a stuffed tail fin which balances it better. The other has a ribbed tail fin which looks better. They start off differently but end up the same.
Here's what I used to make the fish in the pictures:
Caron Simply Soft Brites! Yarn
Size 6 needle for most of the work (I use a 60" circular.)
Size 4 needle for the fins (I used a shorter circular.)
4 stitch markers
one size 5.5 mm crochet hook (Nearly any size will do and used only for the version with stuffed fin.)
2 eyeballs and sewing thread to attach
Stuffing (I use Fairfield's poly-fil stuffing)
Most all of the pictures are linked to bigger way more detailed versions.
Ribbed Tail Fin version
Cast on 40 stitches.
Work 2 rows of K2,P2 ribbing.
On the next row and all other rows: Delete 1 stitch at the beginning and end of each row.
Until there are 10 stitches.
Knit one row even.
Continue the round by picking up 10 stitches on the back side of the work. See photo at right.
You are establishing a round of 20 stitches. Place a marker in between stitches 5 and 6 on each side of the round.
Knit one round evenly.
K1, increase 1, knit to within 1 stitch of the marker, increase 1, K1, move marker, K1, increase 1, knit to within 1 stitch of the marker, increase 1, K1. Repeat for the second half of the round.
Work one round even.
Repeat these two rows until there are 19 stitches on either side of the marker on each needle (76 stitches total).
Work round after round on those same 76 stitches until you have 1.5" since the last increase row.
Stuffed Tail Fin version
Crochet a chain of at least 25 chains.
Load 24 stitches onto the needle.
Load 24 stitches from the other side of the chain onto the needle so you will have a round of 48 stitches.
Knit two rounds even.
K1, SSK*, knit until the last three stitches. K2 together, K 1. Repeat for second half of the round.
Knit 1 round even.
Repeat these two rows until you have 10 stitches on each side of the round.
*SSK=Slip one stitch, then slip the next. Insert left needle into the front loops of the slipped stitches and knit them together from this position (through the back loops).
Stuff lightly.
I like to 'seal' the stuffing in at this point by picking up 3 evenly space stitches across the stuffing.

Это цитата сообщения Хьюго_Пьюго_рукоделие Оригинальное сообщение
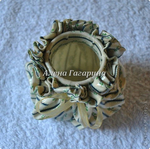
баночка в технике POWERTEX
баночка в технике POWERTEX
Автор Алена Гагарина
далее слова автора
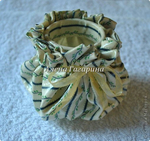
Стеклянная баночка. Ткань. ПВА. И вот что получается в конечном итоге
Техника сама по себе проста, но результат мне нравится
(баночка получается похожа на фарфоровую)
Это цитата сообщения anngol Оригинальное сообщение
Пасхальные магнитики - МК
Использую формочки от киндер-сюрпризов
Разводится гипс(алебастр) до состояния жидкой сметаны, и наливается в формочки, я наливаю не в край, потому что в прошлом году, когда делала, пришла к выводу о том, что надо делать их полыми. Получаются они не такие тяжелые))))
Сверху придавливаю