Это цитата сообщения БЛОГбастер Оригинальное сообщение
Бумажный скульптор Джефф Ничинака
Уроженец Лос-Анджелеса Джефф Ничинака (Jeff Nichinaka) – один из ведущих бумажных скульпторов с 28-летней карьерой. Коммерческое портфолио Джеффа включает работы для Coca-Cola, Visa, Sprint, Paramount Pictures и т. д. Обладателем самой большой коллекции скульптур Джеффа Ничинака является его друг, известный актер Джеки Чан (Jackie Chan). Невольно вспоминаются не менее прекрасные работы Карлоса Мейра.
 [показать]
 [580x320]
Ги Белле - французский поэт, родившийся в 1932. Друживший с Рене Танка, Жоржем-Луи Годо и Жоржем Муни, работал учителем. Сегодня он живет скромной жизнью пенсионера где-то между Нантом и заливом Морбиана. У нас он издавался в сборниках французской прозы вместе с другими авторами. Советский сборник "Современной французской поэзии". В книге представлено двадцать три поэта:
Ги Белле, Бернард Варгафтиг, Франк Венай, Жан-Поль Гиббер, Жорж Годо, Доминик Гранмон, и т.д. Очень достойно. Вот несколько переводов Белле на русский.
ДОБРЫЙ ВЕЧЕР перевод Л. Ведениной
Ревут дети
из темноты зовет бабка
кричит муж требует чтобы все замолчали
Молчат лишь цветы.
Прежде чем потушить свет женщина
переставляет цветы
Кусочек. Если хотите поупражняться в английском, то смотрите все - там небольшое вступление. В смысле почему и как. . Если прямо к делу - то с 5:00 . Речь о том, как викарий (вот та полная брюнетка) приходит пригласить Деппа (играет сам себя) в церковь. К вагончику дамы подходят в 3:42. Полторы минуты они готовятся постучаться. Кстати, не судите строго - еще неизвестно, как среагирововали бы вы))
Кусочек. Речь о том, как викарий (вот та полная брюнетка) приходит пригласить Деппа (играет сам себя) в церковь.
Это цитата сообщения ВРЕДИНКА- Я Оригинальное сообщение
Супер коллекция МК по цветочкам.
Коллекция МК по цветочкам
2. Из ткани, оплавленные на свечке
3. Из мятой бумаги по шаблону
5. Дырокольные розочки с листиками
14. Дырокольные из бумаги и бисера
27. Еще одна дырокольная розочка
28. Шаблоны дырокольных цветов и инструкции по складыванию
30. Бумажный из рваных полосок
35. Состаренный цветок
The big things in life look after themselves. Birth, love, death - they're all terrifically exciting but they happen whether we like it or not. It's the little things in life that cause the most trouble.
Это цитата сообщения Оригинальное сообщение
Художник William Whitaker [42 фото]
[показать]+ 41 >>>
[показать]Получать новые посты дневника на почту:Отличный урок. Особенно если смотреть в замедленном воспроизведении))
Отличный пример тому, что успех зависит от ясного понимания того, ЧТО ты делаешь.
Сайт художника: http://www.djahalland.com/en/home
Vancouver Film School (VFS) - частная художественная кинематографическая школа, расположенная в Ванкувере, Британская Колумбия, Канада. Основана в 1987, заслужила национальное признание. Находится в деловой части города и занимает шесть зданий.
Фильмы все абсолютно разные, под стать авторам. Я выкладываю несколько роликов и только в жанре анимации. И на собственный вкус. А на самом канале YTube можно найти короткометражки и с совсем другим настроением.
Это цитата сообщения EFACHKA Оригинальное сообщение
Архив старых добрых фильмов
|
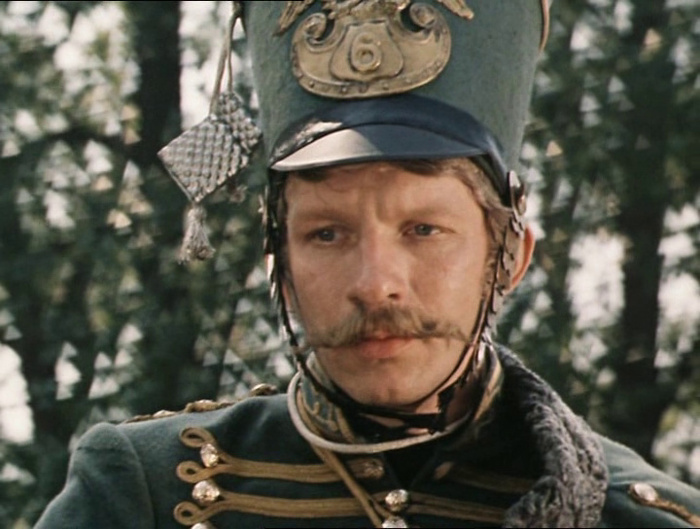
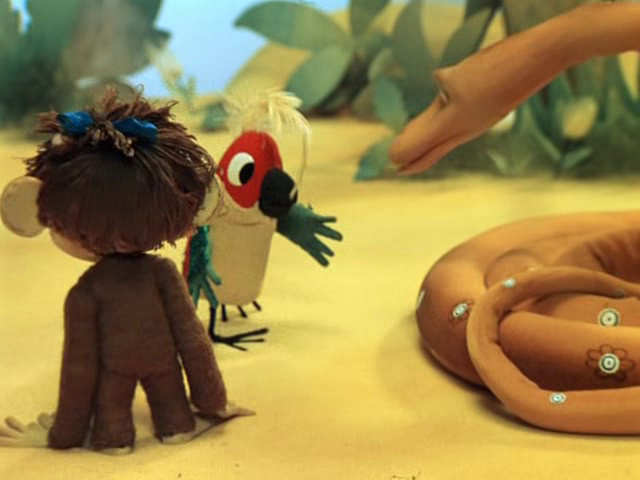
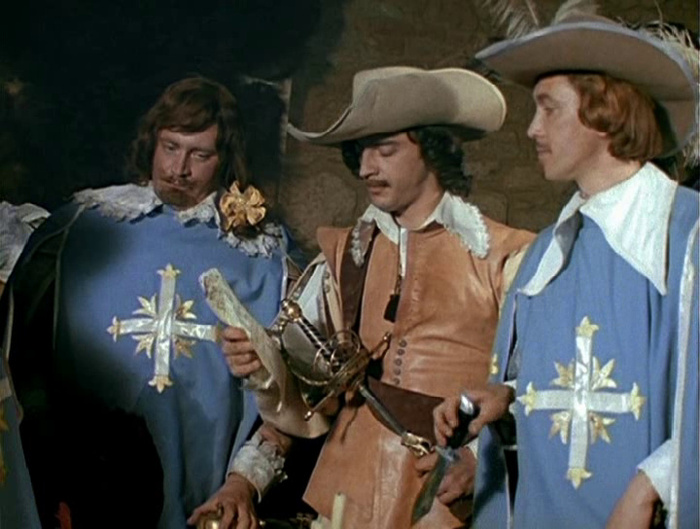
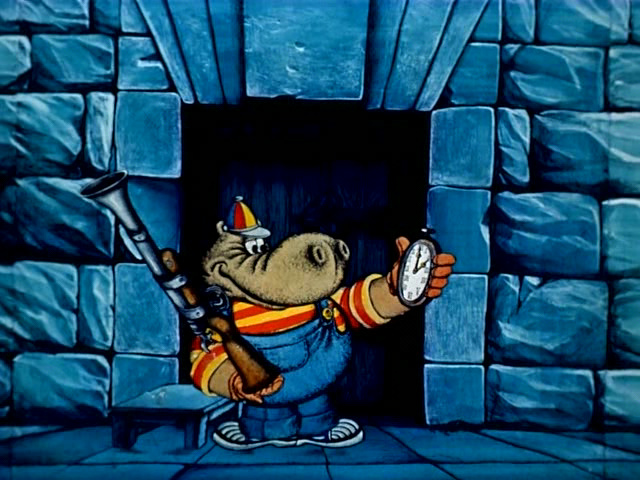
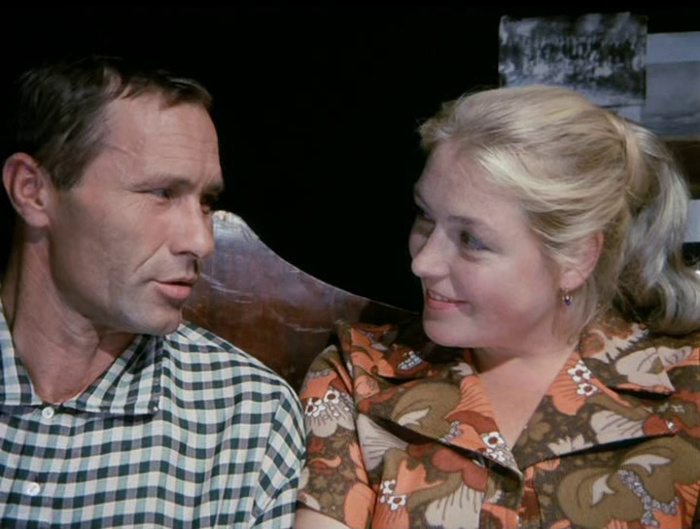
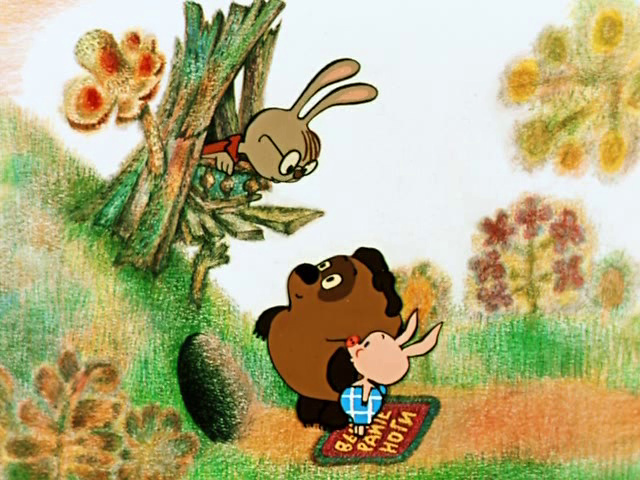
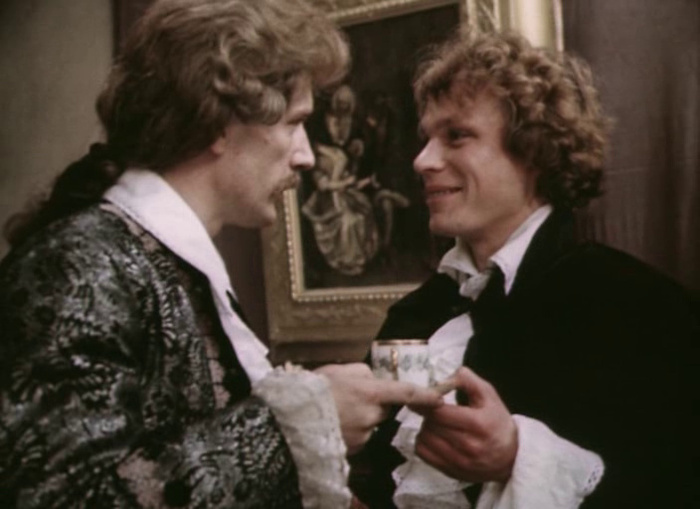
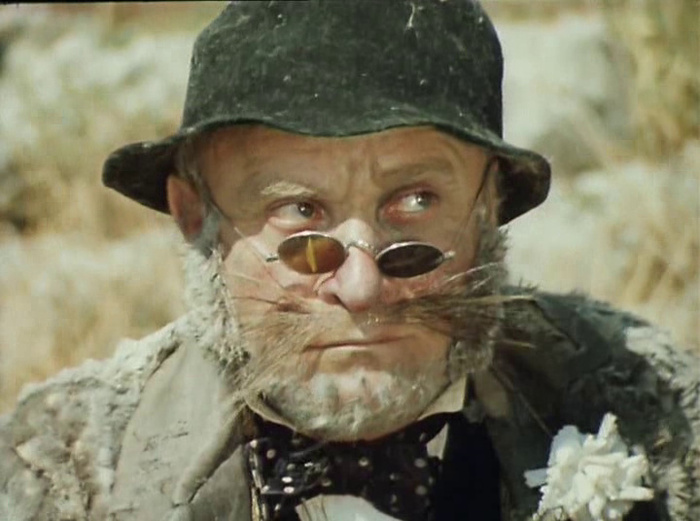
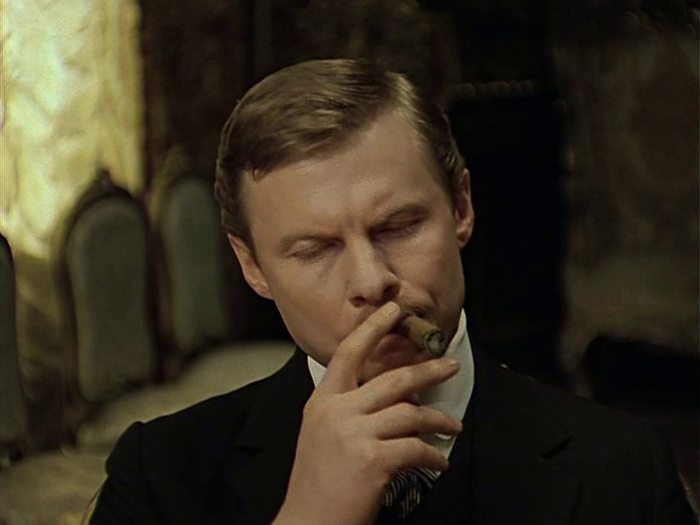
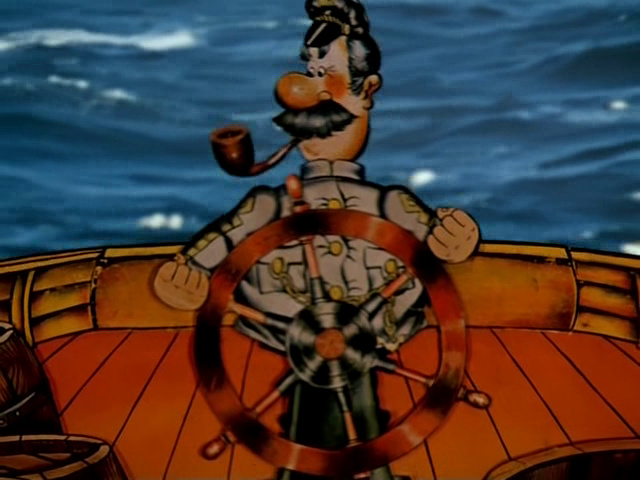

Каждая наша страшная любовь, каждое безумное увлечение..есть отражение наших хорошо спрятанных - от самих же себя - потаенных желаний..и извините за пошлое слово - потерявшихся потребностей .. ставших от этого ни менее мертвыми, ни менее слабыми..
Или же это все ообще не имеет никакого отношения к тому, что мы знаем о себе.

| Тебе выпала Мандала МУЛАДХАРА ЧАКРА (корневая) |
| [показать] Слово муладхара на санскрите означает «основной фундамент». Муладхара чакра первооснова индивидуального человеческого бытия. Это трамплин для достижения более высоких уровней понимания жизни. Она является резервуаром огромного количества жизненной энергии и связана с сексуальным аспектом. Отвечает за инстинкт самосохранения, иммунитет и долголетие. Сбалансированная муладхара чакра является гарантией энергетической устойчивости организма. Люди, у которых преобладает влияние этой чакры, имеют необыкновенную физическую силу и выносливость.Местоположение: область промежности Символическое изображение: темно-красный 4-х лепестковый лотос |
| Пройти тест |
Спасибо Тамаре Таранжиной и главному даосу - за источник))
Если вы хоть раз проходили собеседование, устраиваясь на работу, вам наверняка доводилось слышать хотя бы один из этих вопросов.
Из года в год, во всех компаниях мира, вне зависимости от профиля, масштаба и внутренней политики, специалисты по кадрам задают соискателям
У Собянина поперло. К счастью пацан пришел. Пойдет ли он по пути Лужкова? Очень возможно.
На днях новый московский мэр заявил о том, что ему не нравится асфальтовое покрытие и что в Москве его повсеместно будут заменять на плитку.
Это цитата сообщения M_A_G_D_A Оригинальное сообщение
making faux pearls
Step by Step Faux Pearls
March 1, 2009 by kaysminiatures

Pearls galore
I played around with faux pearls yesterday and after a few people saw the pics that I posted I was asked “tute please?” So here goes. This is really not a difficult project, loads of fun and is suitable for all levels of polymer clay skill.
What you need:

Materials and equipment
White, pale gold, pale pink or pale blue pearlescent or pearlex powders.
Premo Pearl or similar polymer clay.
Minwax Polycrylic Clear Gloss Sealer or similar.
Blade, tile for curing, soft brush, craft knife and a soft cloth for buffing.
How to Make the Pearls:

Getting started
Thoroughly condition a piece of pearl polymer clay about the size of a golf ball.
Roll it into a log about 3/8 inch in diameter.

Cut sections
Cut slices of varying thickness off the log. These will form the pearls. The smaller the pearl the thinner the slice. If needs be cut the slices in half if you want even smaller pearls.

Formed pearls
Roll the slices of clay between your hands to form a round ball. Don’t worry about the mica shift that happens at this stage. That will give the tonal variations in the colour of the finished pearl.

Pearlescent powders
Place a tiny bit of the pearlex or pearlescent powder into a small ziplock baggie. If the base colour is too intense use a ratio of 1 part colour to 3 parts white and mix thoroughly. That will make the colour a lot softer.

Coating the pearl
Drop the clay ball into the bag (do one at a time!) and shake thoroughly. Remove the “pearl” from the bag and roll on a flat surface to work the pearlescent powder into the surface of the clay.

Adjusting the shape
This is where you decide what shape your pearl is going to be. If you want round pearls, simply keep the coated clay balls round. You can pierce holes before hand or drill them through afterwards. I recommend you bake the pearls on a layer of cornstarch if you want to keep
Это цитата сообщения Vera-verinka Оригинальное сообщение
Robert Kushner (American, born 1949)
- Robert Kushner (American, born 1949)
![[info]](http://l-stat.livejournal.com/img/userinfo.gif?v=1)